
Cretors (CTDA-X) Butter Dispenser Hose Replacement

Cole A Shive and one other contributor
Last updated on Jun 14, 2022
Views: 217
View statistics:
- Past 24 Hours:
- 0
- Past 7 Days:
- 7
- Past 30 Days:
- 43
- All Time:
- 217
Comments: 0
No one has left comments on this guide. Will you be first?
Go to guide commentsCompleted: 0 1
No one has marked this guide "completed." Will you be the first?
1 person has marked this guide "completed." It's you — great job!
Favorites: 0 1
No one has favorited (and subscribed to) this guide. Will you be the first?
1 person has favorited (and subscribed to) this guide — and that's you!
Introduction
Go to step 1 ↓If your Cretors (CTDA-X) butter dispenser is clogged, or the butter isn't flowing how it ought to, then this guide will show you how to remove and replace the tubing.
To avoid burns, be sure to power off and unplug the butter dispenser and let it fully cool before beginning.
What you need
-
-
-
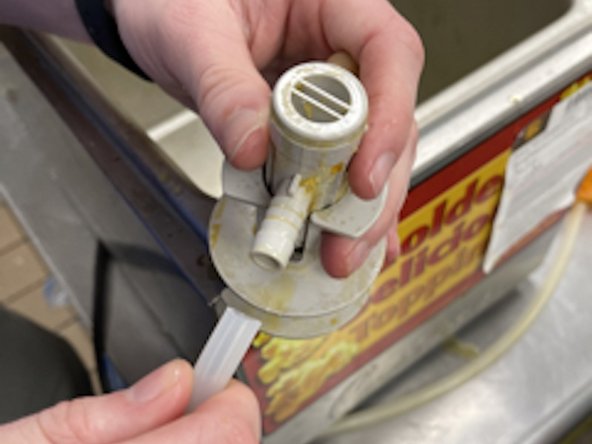
Place your thumbs on each of the two protruding tabs on the locking mechanism, hold the bottom with your other fingers, then depress your thumbs to release the nozzle.
-
-
-
Wiggle the tube back-and-forth as you pull to remove the tubing from the ribbed plastic connector.
-
-
-
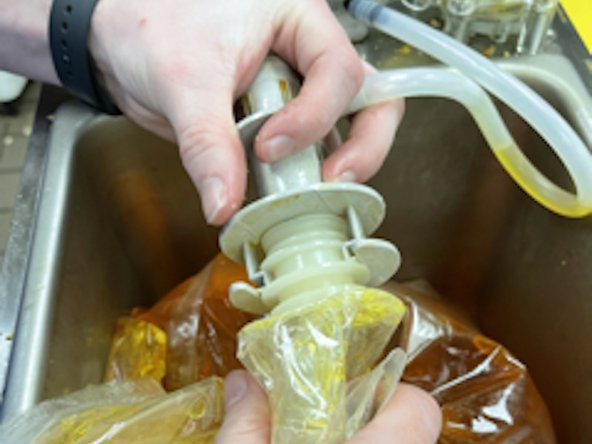
Wiggle and push your new tubing onto the ribbed plastic connector, making sure the connection is tight and secure.
-
-
-
To reattach the butter bag, firmly press the locking mechanism onto the bag's nozzle until the plastic arms "snap" into place.
-
-
-
-
Push the dispenser button to ensure all excess air exits the hose and that butter flows freely.
-


 Ask FixBot





Let the butter flow freely!

Team

University of Memphis, Team 3-1, Willis Spring 2022 Member of University of Memphis, Team 3-1, Willis Spring 2022
UM-WILLIS-S22S3G1
1 Member
12 Guides authored
