Free Shipping on Domestic Orders $75+

Google Pixel 5a Battery Replacement

Archived Guide
This guide is retained solely for historical purposes. Use the updated version of the guide to perform your repair.

What you need

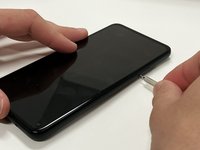
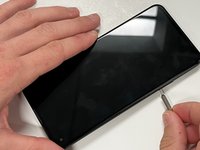
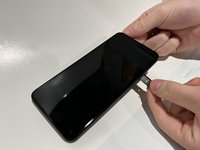
    1. Google Pixel 5a Battery Replacement, Screen: step 1, image 1 of 3 Google Pixel 5a Battery Replacement, Screen: step 1, image 2 of 3 Google Pixel 5a Battery Replacement, Screen: step 1, image 3 of 3
      • Shut down the device before starting screen removal.

      • Insert a paper clip or SIM card removal tool into the SIM card tray hole.

      • Apply a small amount of pressure until the tray pops out.

      • Slide the SIM card tray out of your Google Pixel 5a.

      Ask FixBot

      Add Comment

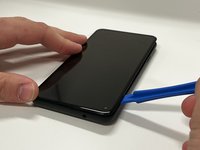
    2. Google Pixel 5a Battery Replacement: step 2, image 1 of 2 Google Pixel 5a Battery Replacement: step 2, image 2 of 2
      • Pry the screen off of your device using an opening tool around all four sides.

      Ask FixBot

      Add Comment

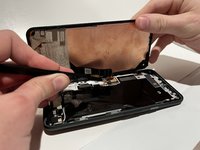
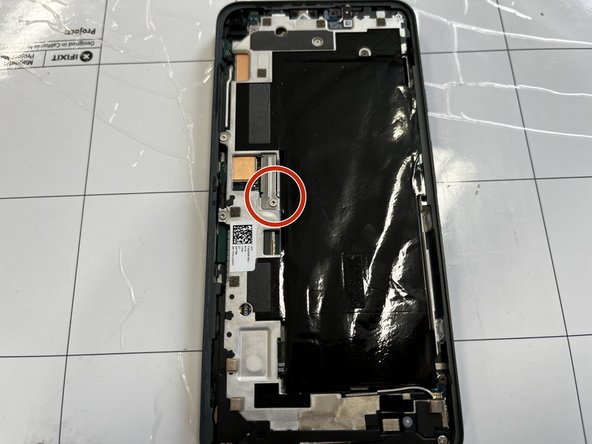
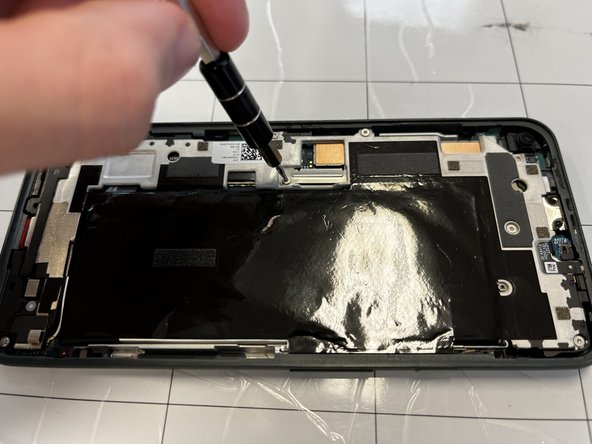
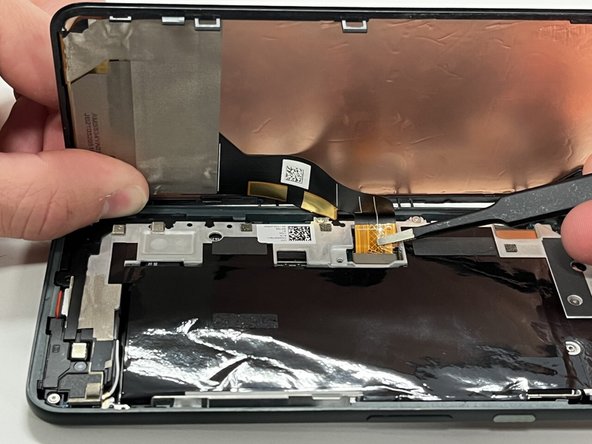
    3. Google Pixel 5a Battery Replacement: step 3, image 1 of 3 Google Pixel 5a Battery Replacement: step 3, image 2 of 3 Google Pixel 5a Battery Replacement: step 3, image 3 of 3
      • Remove the 4 mm screw using a T4 Torx screwdriver.

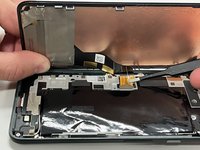
      • Disconnect the ribbon cable holding the screen in place.

      • Remove the screen from the rest of the phone.

      Ask FixBot

      Add Comment

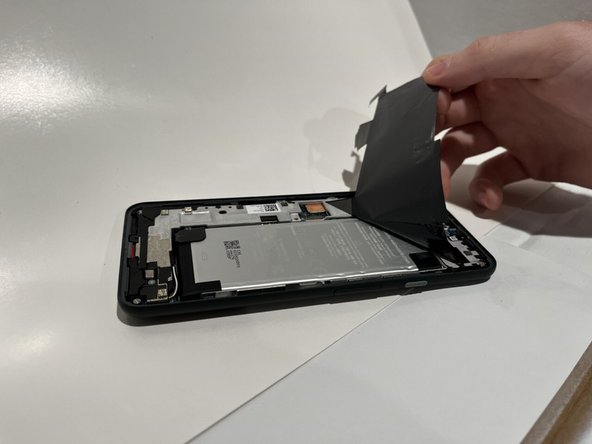
    1. Google Pixel 5a Battery Replacement, Midframe: step 4, image 1 of 3 Google Pixel 5a Battery Replacement, Midframe: step 4, image 2 of 3 Google Pixel 5a Battery Replacement, Midframe: step 4, image 3 of 3
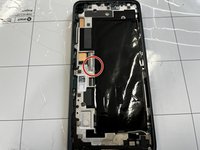
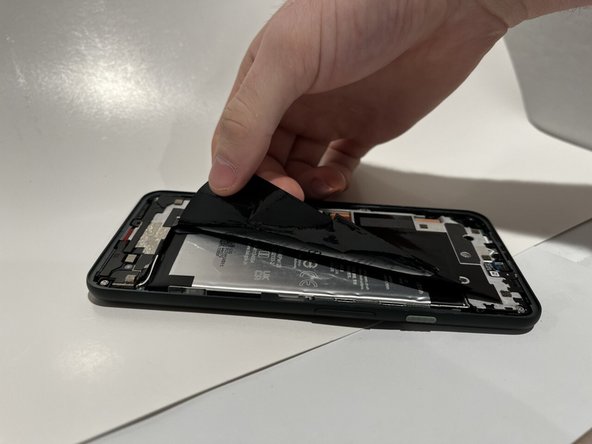
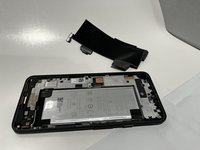
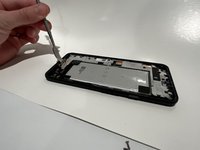
      • Peel back the black plastic film covering the battery.

      Ask FixBot

      Add Comment

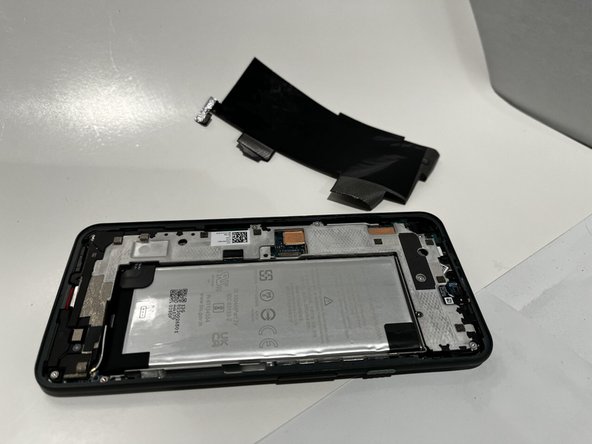
    2. Google Pixel 5a Battery Replacement: step 5, image 1 of 2 Google Pixel 5a Battery Replacement: step 5, image 2 of 2
      Tool used on this step:
      Tweezers
      $4.99
      Buy
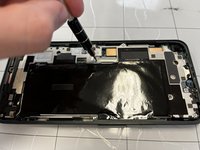
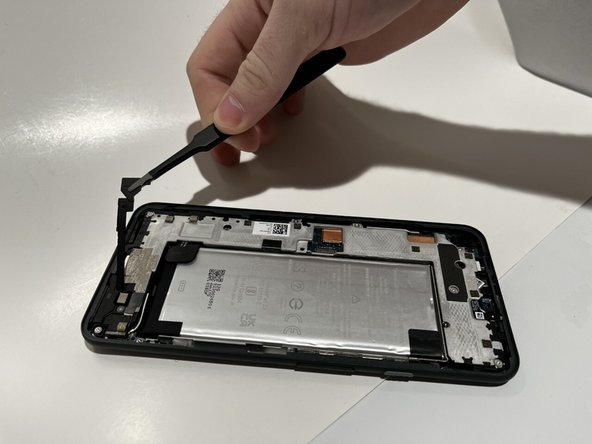
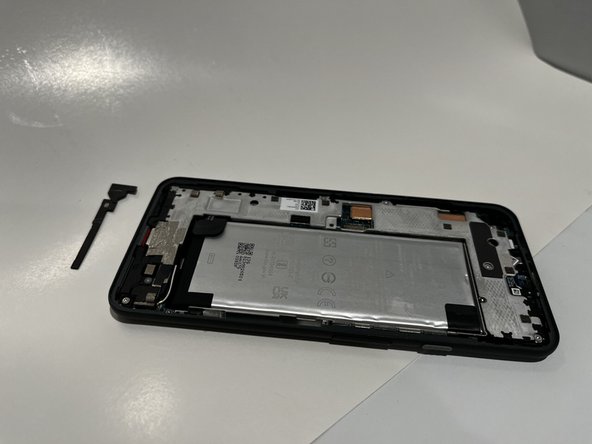
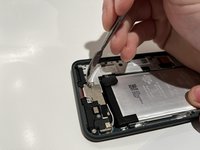
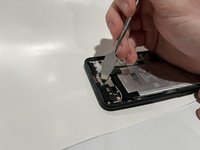
      • Use a pair of tweezers to remove the black plastic cover.

      Ask FixBot

      Add Comment

    3. Google Pixel 5a Battery Replacement: step 6, image 1 of 3 Google Pixel 5a Battery Replacement: step 6, image 2 of 3 Google Pixel 5a Battery Replacement: step 6, image 3 of 3
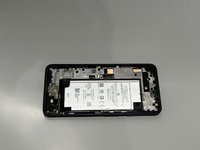
      • Use a spudger to peel back the protective tape covering two screws.

      Ask FixBot

      Add Comment

    4. Google Pixel 5a Battery Replacement: step 7, image 1 of 3 Google Pixel 5a Battery Replacement: step 7, image 2 of 3 Google Pixel 5a Battery Replacement: step 7, image 3 of 3
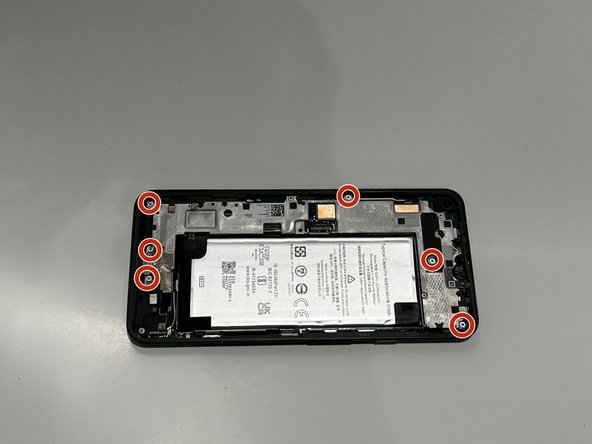
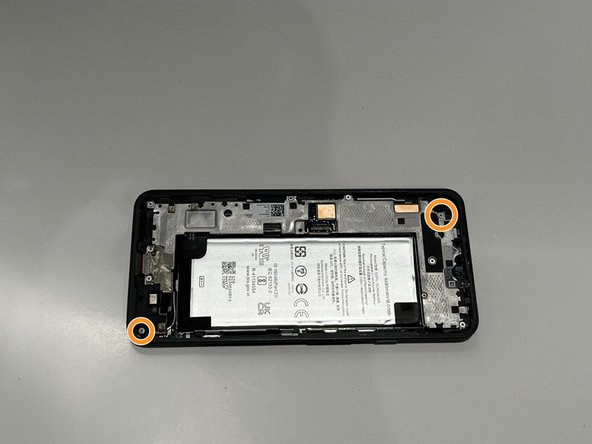
      • Using a T4 screwdriver, remove the six 4 mm screws.

      • Using a T4 screwdriver, remove the two 3 mm screws.

      • Using a T4 screwdriver, remove the 5 mm screw.

      Ask FixBot

      Add Comment

    5. Google Pixel 5a Battery Replacement: step 8, image 1 of 1
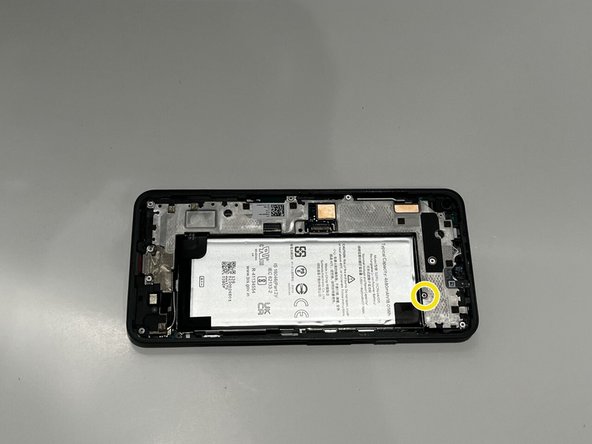
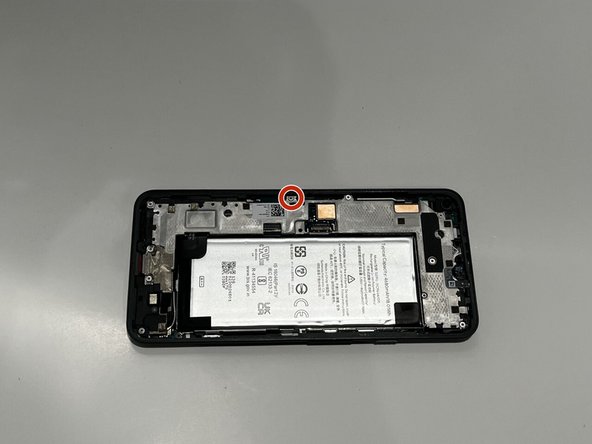
      • Using a T4 screwdriver, remove the single 1 mm screw.

      Ask FixBot

      Add Comment

    6. Google Pixel 5a Battery Replacement: step 9, image 1 of 2 Google Pixel 5a Battery Replacement: step 9, image 2 of 2
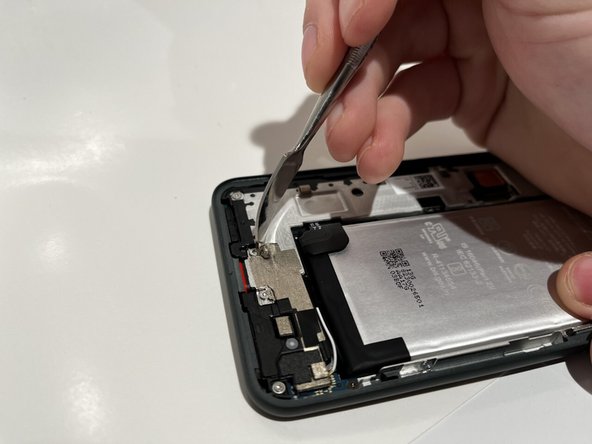
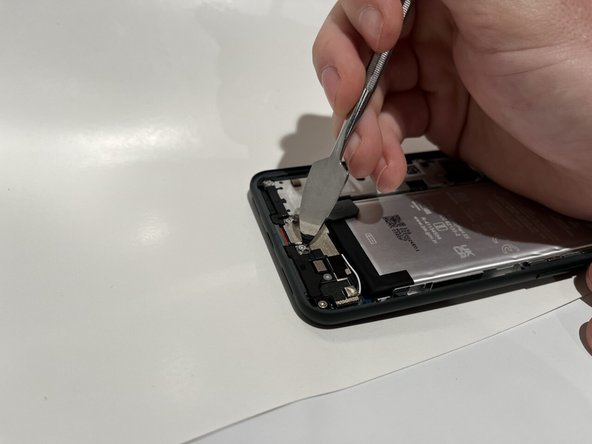
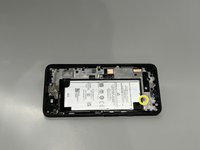
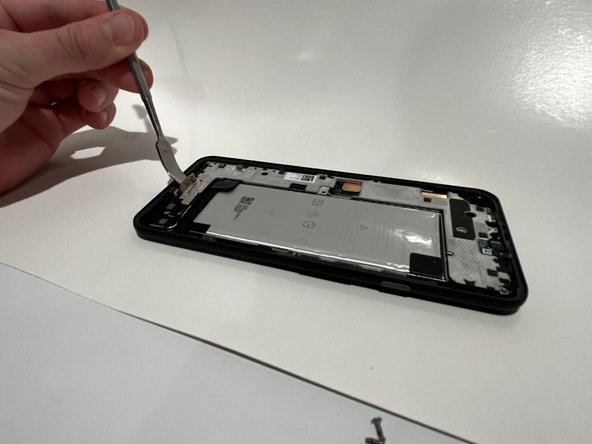
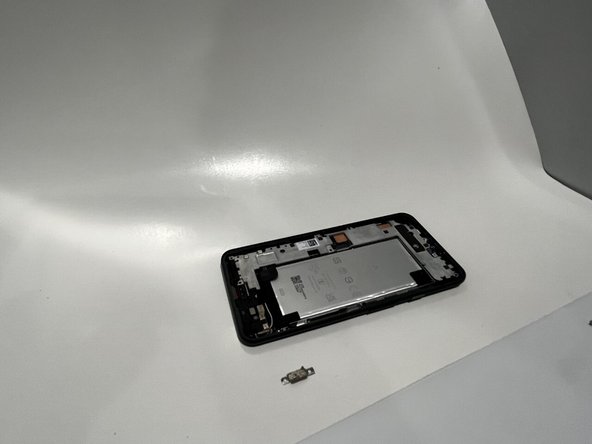
      • Place a spudger under the metal bracket that covers the charging port.

      • Pry the metal bracket upwards, and remove it from the phone.

      Ask FixBot

      Add Comment

    7. Google Pixel 5a Battery Replacement: step 10, image 1 of 3 Google Pixel 5a Battery Replacement: step 10, image 2 of 3 Google Pixel 5a Battery Replacement: step 10, image 3 of 3
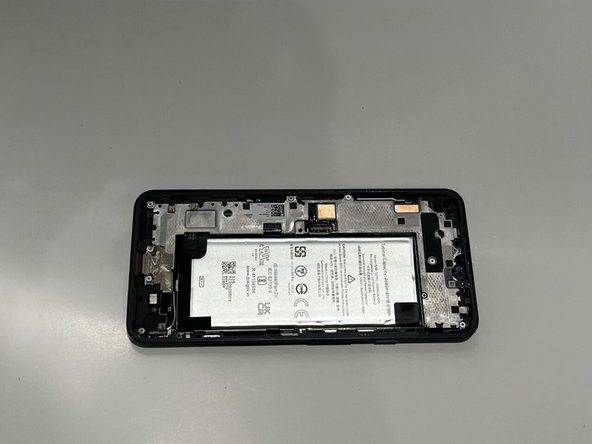
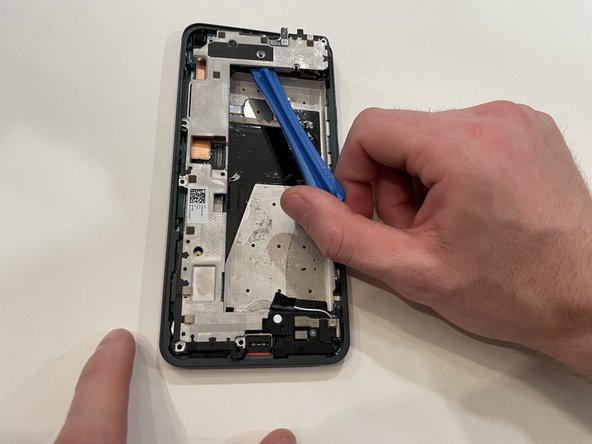
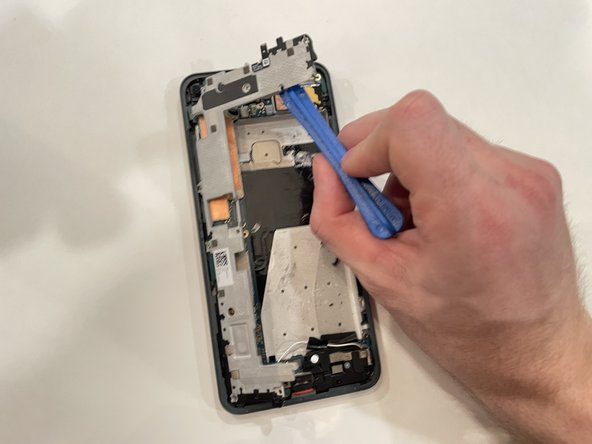
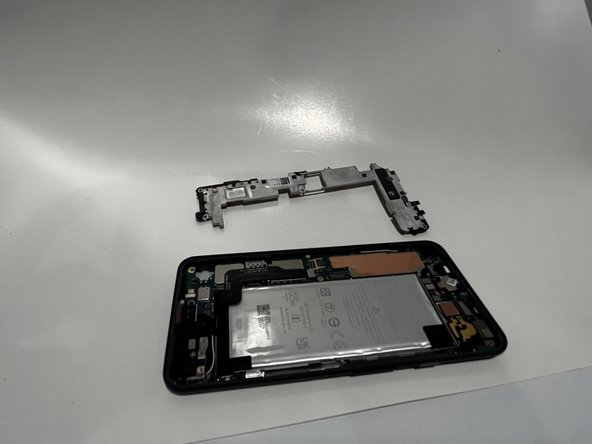
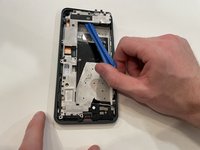
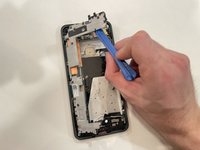
      • Place an opening tool under the midframe.

      • Pry the midframe up, and remove it from the phone.

      Ask FixBot

      Add Comment

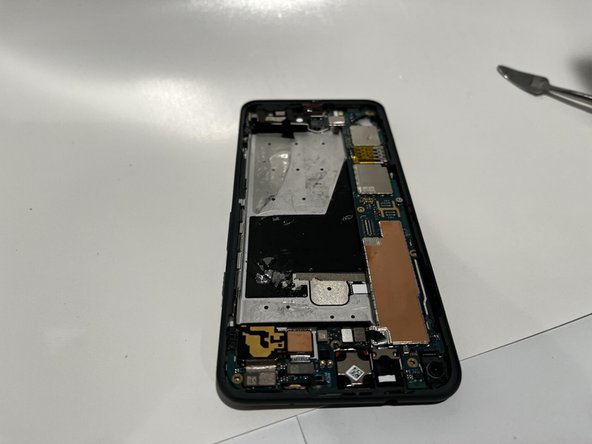
    1. Google Pixel 5a Battery Replacement, Battery: step 11, image 1 of 3 Google Pixel 5a Battery Replacement, Battery: step 11, image 2 of 3 Google Pixel 5a Battery Replacement, Battery: step 11, image 3 of 3
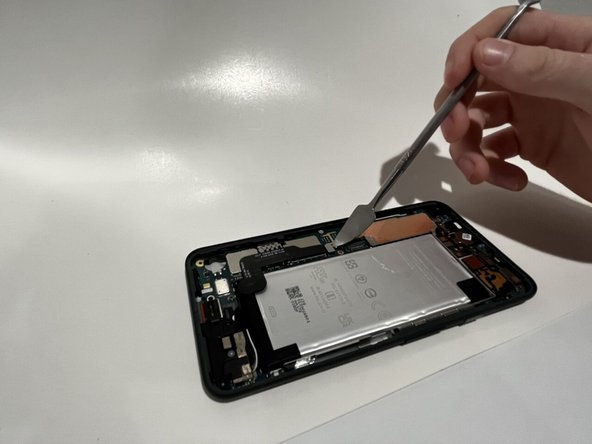
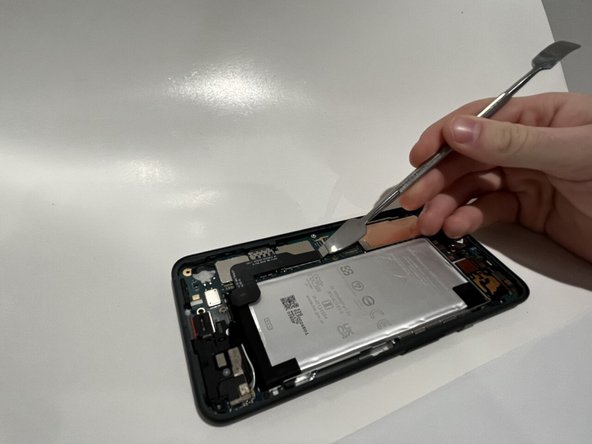
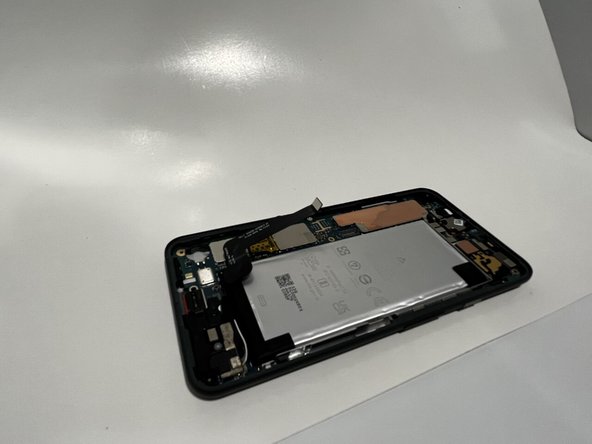
      • Place a spudger under the battery connector and pry upward.

      Ask FixBot

      Add Comment

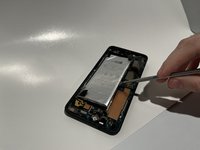
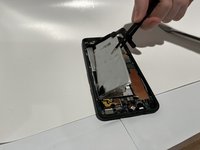
    2. Google Pixel 5a Battery Replacement: step 12, image 1 of 3 Google Pixel 5a Battery Replacement: step 12, image 2 of 3 Google Pixel 5a Battery Replacement: step 12, image 3 of 3
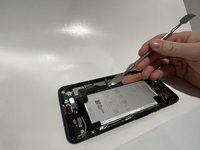
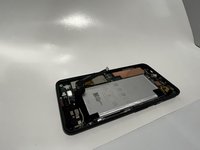
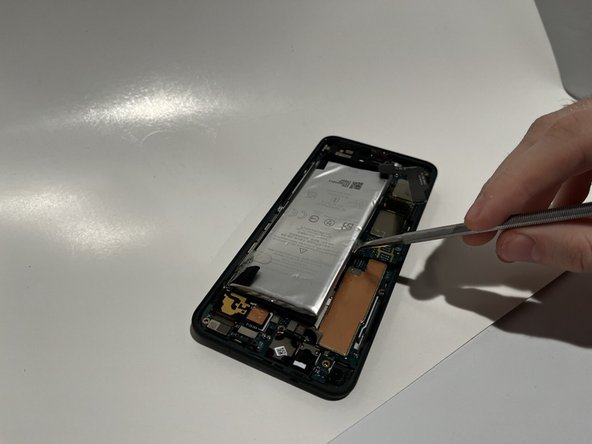
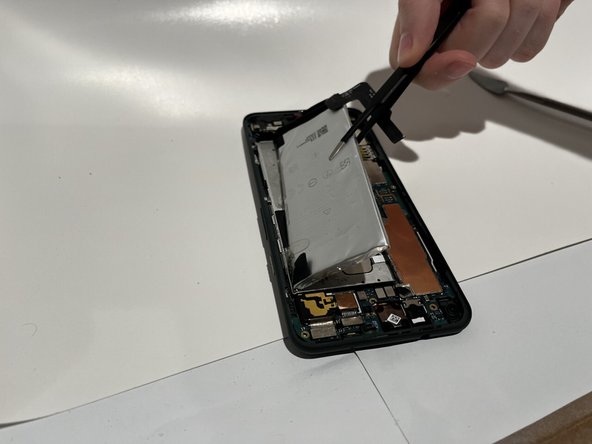
      • Carefully place a spudger under the battery and slowly pry upward.

      • Never use a metal spudger to remove a battery. Metal spudgers can puncture a battery, potentially causing a fire. Use an ESD-safe tool instead, such as an opening tool or nylon spudger.

      • Slowly work the spudger around the battery until loose.

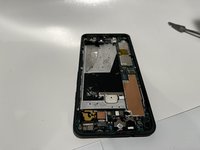
      • Remove the battery from the phone.

      Ask FixBot

      Add Comment

Conclusion

To reassemble your device, follow these instructions in reverse order.

Cancel: I did not complete this guide.

One other person completed this guide.

0 Guide Comments

Add Comment

View Statistics:

Past 24 Hours: 1

Past 7 Days: 3

Past 30 Days: 13

All Time: 310