Google Pixel 2 Display Replacement

Archived Guide
This guide is retained solely for historical purposes. Use the updated version of the guide to perform your repair.

What you need

  1. Google Pixel 2 Display Replacement, Display: step 1, image 1 of 2 Google Pixel 2 Display Replacement, Display: step 1, image 2 of 2
    • Heat up the iOpener in the microwave for 30 seconds.

    • Place the iOpener clear-side down on each edge of the phone for approximately 30 seconds.

    • Place the iOpener on top of the screen for an additional 30 seconds.

    • Be careful with the iOpener as it will get extremely hot.

  2. Google Pixel 2 Display Replacement: step 2, image 1 of 3 Google Pixel 2 Display Replacement: step 2, image 2 of 3 Google Pixel 2 Display Replacement: step 2, image 3 of 3
    • Attach the suction cup to the display by placing it on top of the display and pushing down on the top of the cup until it is flat.

    • Separate the display and the device by inserting the plastic opening tool between them and sliding the plastic opening tool along the perimeter of the display.

    • It is normal to hear popping noises as the plastic opening tool breaks the connection between the display and the device.

    • Remove the display from the device by grabbing the ring of the suction cup and pulling up.

  3. Google Pixel 2 Display Replacement: step 3, image 1 of 3 Google Pixel 2 Display Replacement: step 3, image 2 of 3 Google Pixel 2 Display Replacement: step 3, image 3 of 3
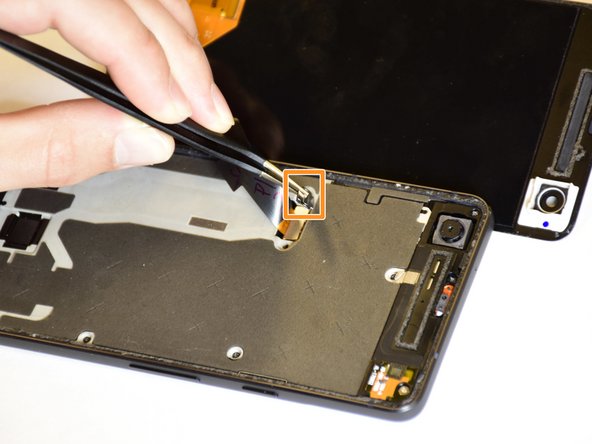
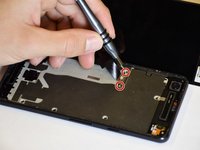
    • Remove the T4 4.0-mm screws from the latch under the display by turning the screwdriver counterclockwise.

    • Pull the latch off of the device by grabbing it with the tweezers and pulling up.

  4. Google Pixel 2 Display Replacement: step 4, image 1 of 1
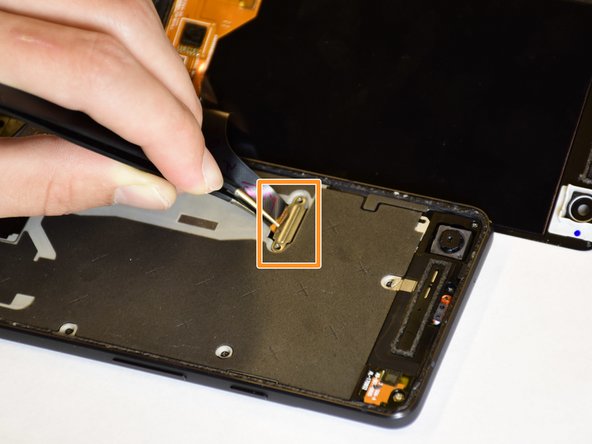
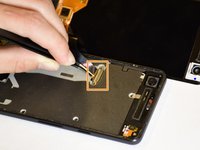
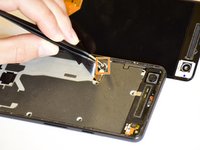
    • Remove the connector underneath the latch by grabbing it with the tweezers and lifting up.

    • It is normal to hear a popping noise during this step.

    • When reassembling, simply use your finger to pop this piece back into place by pushing it down into the device.

Conclusion

To reassemble your device, follow these instructions in reverse order.

One other person completed this guide.

Monica Andres

Member since: 01/24/18

286 Reputation

2 Guides authored

Team

Cal Poly, Team S18-G5, Livingston Winter 2018 Member of Cal Poly, Team S18-G5, Livingston Winter 2018

CPSU-LIVINGSTON-W18S18G5

4 Members

11 Guides authored

0 Comments

Add Comment

View Statistics:

Past 24 Hours: 0

Past 7 Days: 0

Past 30 Days: 2

All Time: 1,110