Free Shipping on Domestic Orders $75+

This translation was generated by a machine and has not been reviewed by a person yet. Speak this language? Review it.

Replacing the BIOS battery on a why! P775DM3

What you need

    1. Replacing the BIOS battery on a why! P775DM3, Battery: step 1, image 1 of 2 Replacing the BIOS battery on a why! P775DM3, Battery: step 1, image 2 of 2
      • Unlock the lock circled in red.

      Ask FixBot

      Add Comment

    2. Replacing the BIOS battery on a why! P775DM3: step 2, image 1 of 3 Replacing the BIOS battery on a why! P775DM3: step 2, image 2 of 3 Replacing the BIOS battery on a why! P775DM3: step 2, image 3 of 3
      • Lift the battery while unlocking the lock circled in red.

      Ask FixBot
      Add Comment

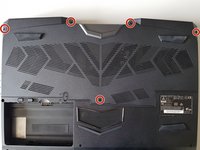
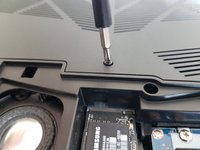
    1. Replacing the BIOS battery on a why! P775DM3, Access to major components: step 3, image 1 of 2 Replacing the BIOS battery on a why! P775DM3, Access to major components: step 3, image 2 of 2
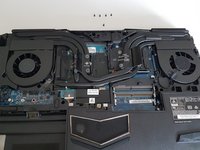
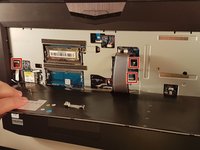
      • Unscrew the five screws circled in red.

      Ask FixBot
      Add Comment

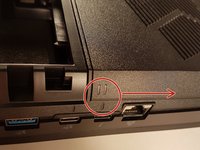
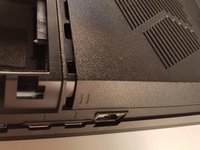
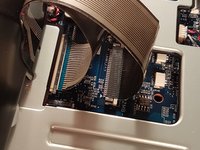
    2. Replacing the BIOS battery on a why! P775DM3: step 4, image 1 of 2 Replacing the BIOS battery on a why! P775DM3: step 4, image 2 of 2
      • Slide the plate in the direction of the red arrow.

      Ask FixBot
      Add Comment

    3. Replacing the BIOS battery on a why! P775DM3: step 5, image 1 of 2 Replacing the BIOS battery on a why! P775DM3: step 5, image 2 of 2
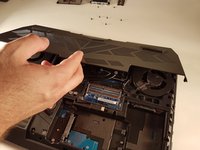
      • Lift the cover.

      Ask FixBot

      Add Comment

    1. Replacing the BIOS battery on a why! P775DM3, Keyboard: step 6, image 1 of 2 Replacing the BIOS battery on a why! P775DM3, Keyboard: step 6, image 2 of 2
      • Unscrew the two screws circled in red

      Ask FixBot

      Add Comment

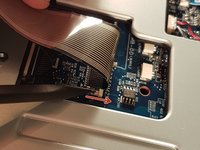
    2. Replacing the BIOS battery on a why! P775DM3: step 7, image 1 of 3 Replacing the BIOS battery on a why! P775DM3: step 7, image 2 of 3 Replacing the BIOS battery on a why! P775DM3: step 7, image 3 of 3
      • Press a paper clip in the three places marked in red

      • Lift the keyboard and feel free to put some strength

      Ask FixBot
      Add Comment

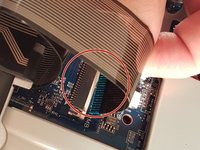
    3. Replacing the BIOS battery on a why! P775DM3: step 8, image 1 of 2 Replacing the BIOS battery on a why! P775DM3: step 8, image 2 of 2
      • Disconnect the three framed connectors in red

      Ask FixBot
      Add Comment

    4. Replacing the BIOS battery on a why! P775DM3: step 9, image 1 of 2 Replacing the BIOS battery on a why! P775DM3: step 9, image 2 of 2
      • Pull the white drawer in the direction of the arrow to unlock the connector

      • Disconnect the red circled connector

      Ask FixBot

      Add Comment

    5. Replacing the BIOS battery on a why! P775DM3: step 10, image 1 of 2 Replacing the BIOS battery on a why! P775DM3: step 10, image 2 of 2
      • Pull the black drawer in the direction of the arrow to unlock the connector

      • Disconnect the red circled connector

      Ask FixBot

      Add Comment
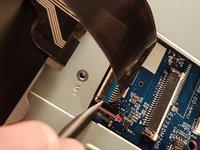
    6. Replacing the BIOS battery on a why! P775DM3: step 11, image 1 of 3 Replacing the BIOS battery on a why! P775DM3: step 11, image 2 of 3 Replacing the BIOS battery on a why! P775DM3: step 11, image 3 of 3
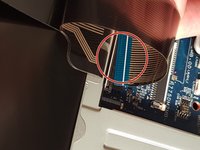
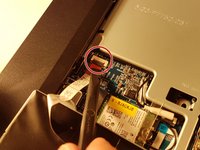
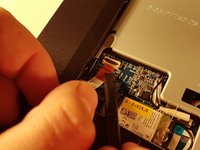
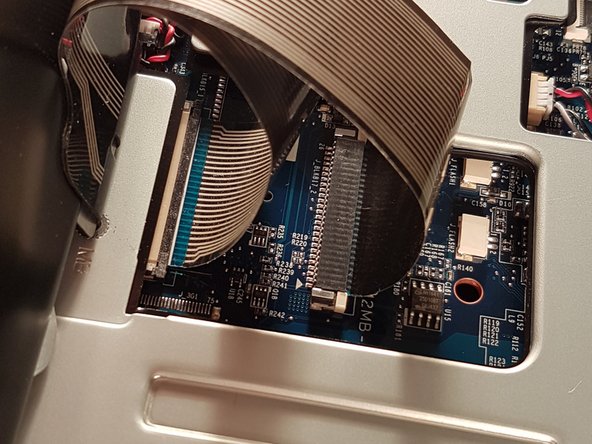
      • Lift the flap that holds the connector circled in red

      • Disconnect the red circled connector

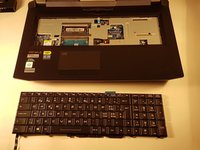
      • Remove the keyboard

      Ask FixBot

      Add Comment

    1. Replacing the BIOS battery on a why! P775DM3, BIOS Battery: step 12, image 1 of 3 Replacing the BIOS battery on a why! P775DM3, BIOS Battery: step 12, image 2 of 3 Replacing the BIOS battery on a why! P775DM3, BIOS Battery: step 12, image 3 of 3
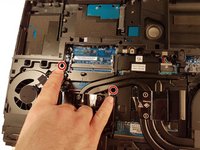
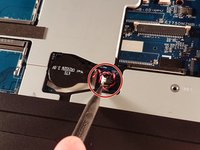
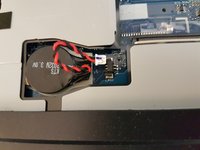
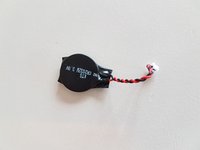
      • Disconnect the connector circled in red.

      • Remove the battery.

      Ask FixBot

      Add Comment

Conclusion

To reassemble your device, follow the instructions in the reverse order.

Cancel: I did not complete this guide.

3 other people completed this guide.

Special thanks to these translators:

fr en

100%

These translators are helping us fix the world! Want to contribute?
Start translating ›

Felice Suglia

Member since: 06/15/13

33,634 Reputation

283 Guides authored

1 Guide Comment

When sourcing a replacement battery note which connector pin has the red wire. This is shown most clearly in the middle photo for step 12. Be careful, as similar batteries have the reverse polarity.

I bought a ten-pack of batteries for less than some suppliers were selling a single battery. EEMB CR2032-Molex51021-RP (CR2032-MX51021-RP). The connecting wires were longer than the original, but were easy to fit into the battery space.

Very many thanks for this great guide - it saved me a lot of unnecessary work.

Terry Payman - Reply Share

Add Comment

View Statistics:

Past 24 Hours: 5

Past 7 Days: 36

Past 30 Days: 162

All Time: 3,712