Introduction
After calling your service provider, if you are having bad cellular reception or other service issues, use this guide to replace the antenna.
What you need
-
-
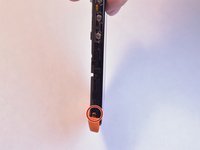
Insert the plastic opening tool into the seam between the front of the device and the rear cover.
-
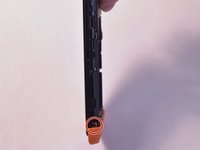
Slide the plastic opening tool from the bottom of the phone to the top.
-
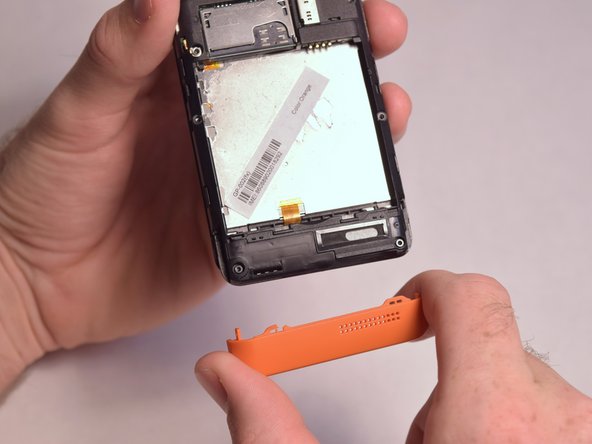
Use the plastic opening tool to free all the clips attached to the phone.
 Ask FixBot
-
-
-
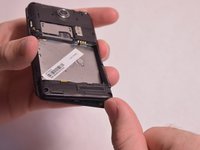
Insert the plastic opening tool into the groove between the bottom of the phone and the battery.
-
Lift the battery with the plastic opening tool and finish removing battery by hand.
-
-
-
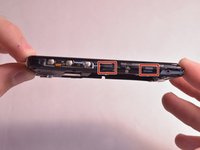
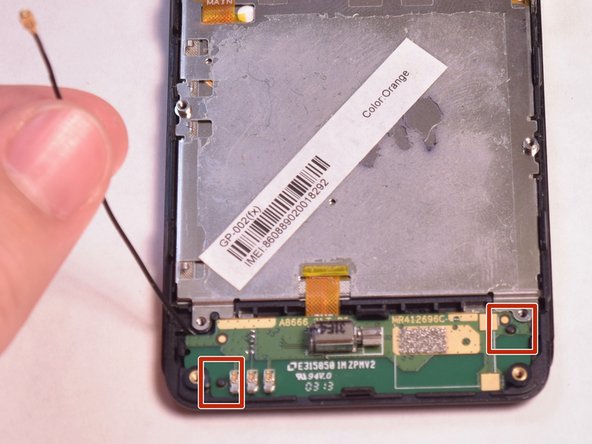
Remove the two 5mm T4 screws on the sides of the small orange plate.
-
-
-
-
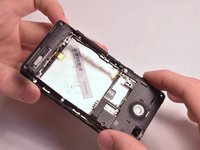
Remove the following screws securing the back plate to the device:
-
Two silver 2mm T3 screws
-
Five black 3mm T3 screws
-
-
-
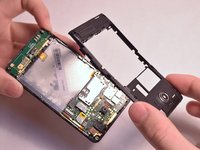
Slightly lift up the bottom corner of the backplate.
-
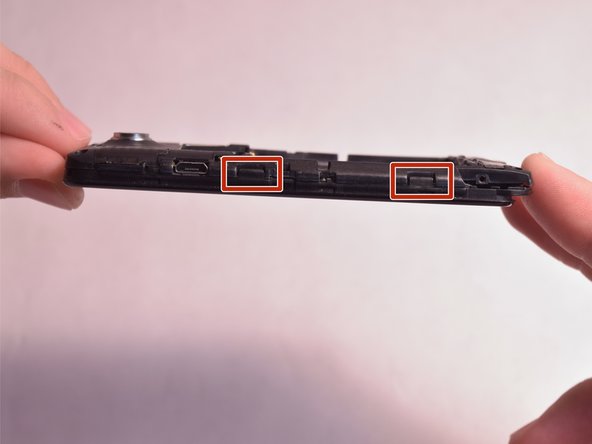
Release the four clips on both sides by pulling them away from the device.
-
-
-
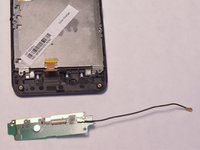
Unfasten the black wire from the metal clamps by hand and lift the black wire away from the device.
-
Unfasten the plastic clamps attached to the antenna.
-
-
-
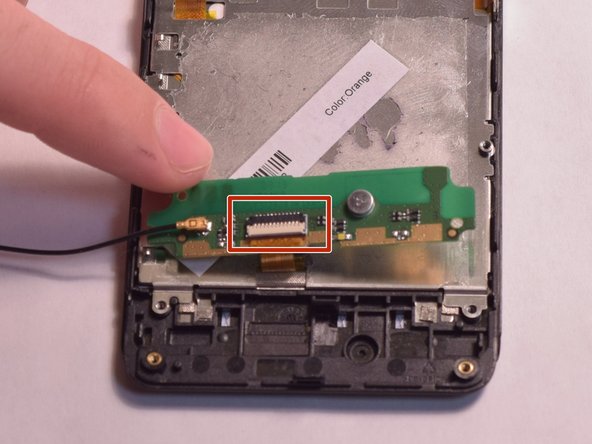
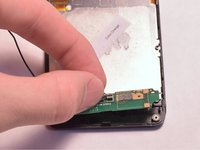
Gently lift the antenna and flip it over to reveal a ZIF connector on the back.
-
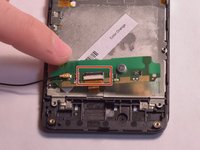
Flip up the small retaining flap on the ZIF connector and pull the ribbon cable out.
-


To reassemble your device, follow these instructions in reverse order.
Team

USF Tampa, Team 3-5, Eyestone Fall 2015 Member of USF Tampa, Team 3-5, Eyestone Fall 2015
USFT-EYESTONE-F15S3G5
4 Members
12 Guides authored