Introduction
This guide details how to replace the keyboard on a Gateway NV59C34u laptop. This laptop was released in 2010 and is part of the NV series of Gateway laptops. The model number for this specific laptop is NV59C34u.
If you're experiencing issues with your keyboard, such as unresponsive or missing keys, this guide will walk you through removing and replacing the keyboard. This will require disassembling some laptop parts, so follow the steps carefully and note any warnings or tips.
Before you begin, it's important to note that some laptop batteries can swell over time and cause damage to the device. If you notice any signs of a swollen battery, such as bulging, excessive heat, or a hissing noise, do not attempt to remove it and instead seek professional help.
Additionally, some laptops have glass displays that can shatter if mishandled. If you have a damaged display, replacing it before attempting any other repairs is recommended.
Always disconnect the power and remove the battery before opening up your laptop to avoid any electrical shock or damage to the device.
It's also important to use ESD-safe (materials that reduce the discharge of static electricity) tools and techniques when working on electronic devices to avoid damaging sensitive components. Furthermore, proper disposal of electronic waste is essential to prevent environmental harm.
If you need clarification on any step in this guide, consult an expert or refer to additional resources. With that said, let's get started!
What you need
-
-
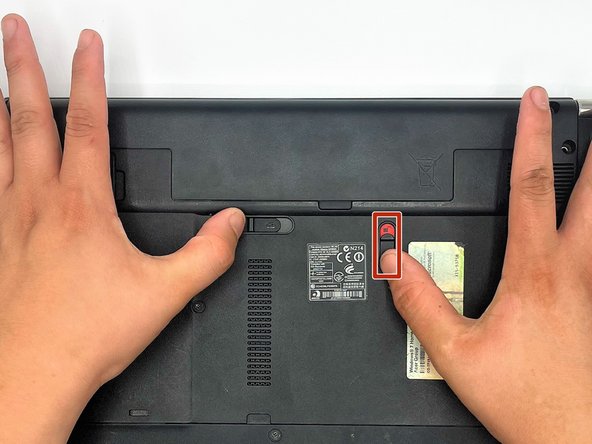
Pull down the battery lock switch to open it.
-
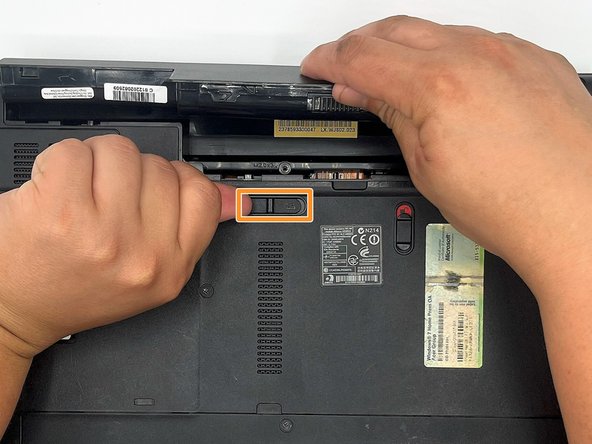
Push the battery release switch to lift the battery.
-
Lift the battery and remove it from the case
-
-
-
-
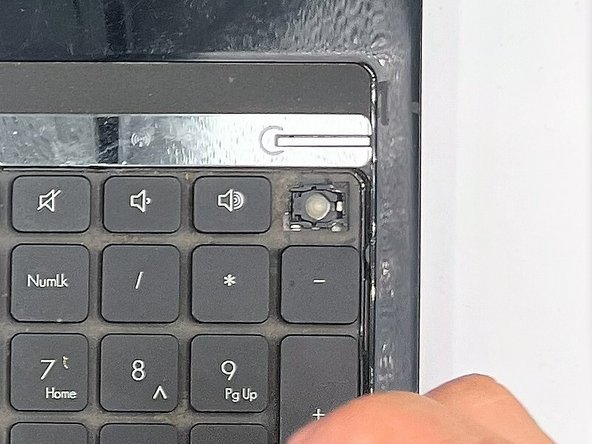
Insert the metal spudger between the keyboard and the laptop frame.
-
Push the spudger down towards the frame to lift the bottom of the keyboard.
-
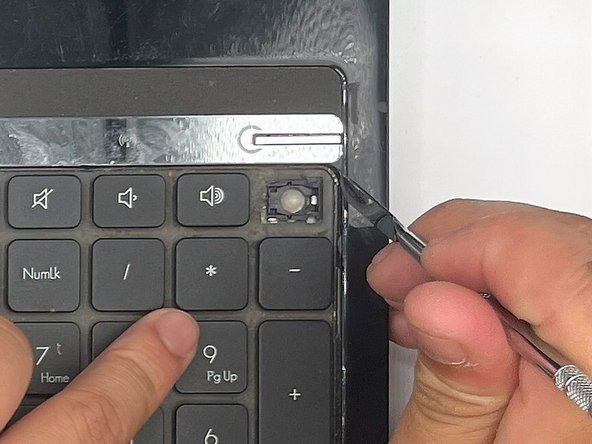
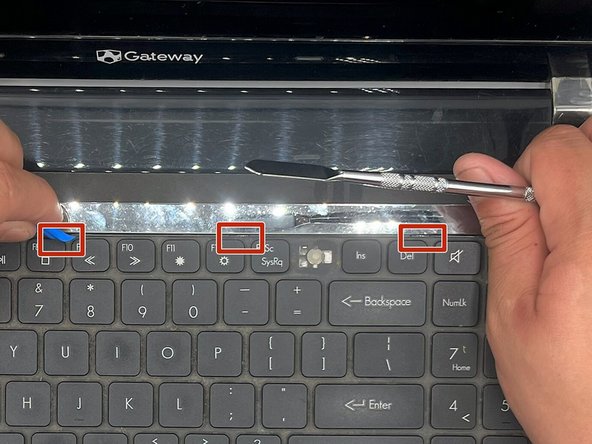
Use the opening tool to push in the spring-tabs located on the top-right corners of the Del, F12, F8, and F4 keys.
-
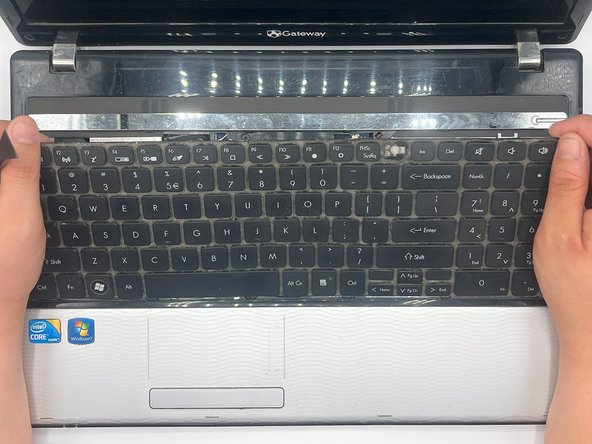
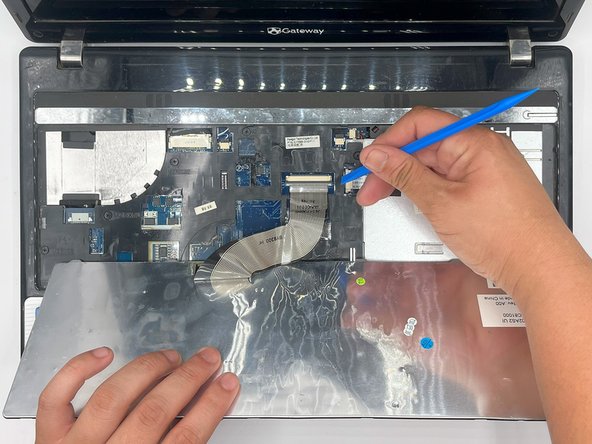
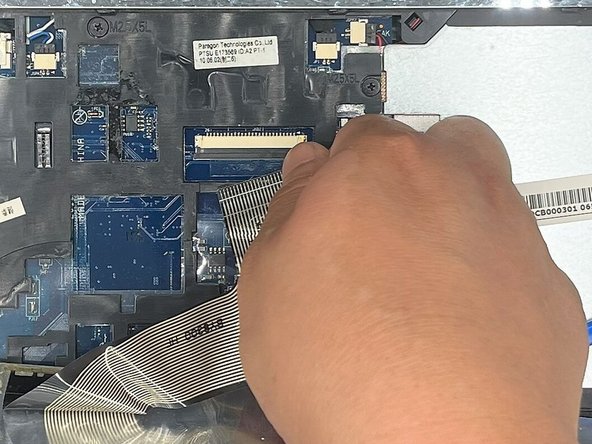
Carefully lift the top of the keyboard without pulling on the ribbon cable.
-

To reassemble your device, follow these instructions in reverse order.
To reassemble your device, follow these instructions in reverse order.
Cancel: I did not complete this guide.
2 other people completed this guide.

Team

CSU Los Angeles, Team 1-99, Briggs Spring 2023 Member of CSU Los Angeles, Team 1-99, Briggs Spring 2023
CSULA-BRIGGS-S23S1G99
1 Member
1 Guide authored