
Gateway NE51006u RAM Replacement

Omer Tunagur and
Last updated on May 23, 2018
Views: 815
View statistics:
- Past 24 Hours:
- 1
- Past 7 Days:
- 13
- Past 30 Days:
- 54
- All Time:
- 815
Comments: 0
No one has left comments on this guide. Will you be first?
Go to guide commentsCompleted: 0 1
No one has marked this guide "completed." Will you be the first?
1 person has marked this guide "completed." It's you — great job!
Favorites: 0 1
No one has favorited (and subscribed to) this guide. Will you be the first?
1 person has favorited (and subscribed to) this guide — and that's you!
Better Introduction
Improve this guide by completing or revising its introduction.
What you need
Tools
-
Spudger4.9
-
-


-
-
-
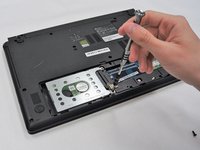
Use a PH0 Phillips head screwdriver to remove the 9.0 mm screw on the rectangular panel underneath the device.
-
-
-
-
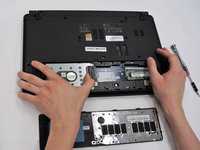
Use a plastic opening tool to pry open the rectangular panel the 9.0 mm screw was removed from.
-
-
-
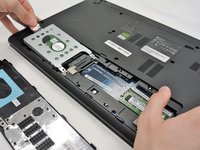
Remove a single 9.0 mm screw on the silver box containing the hard drive. Pull the plastic flap at the side opposite to the side of the screw housing back in order to remove the silver box containing the hard drive.
-
-
-
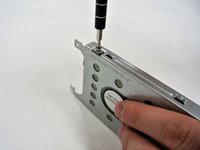
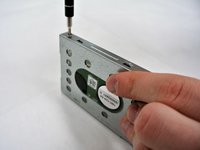
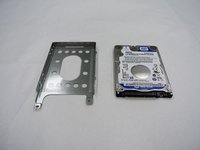
Remove the two 9.0 mm screws on each side of the silver box to slide the hard drive from the silver box housing.
-
-
-
-
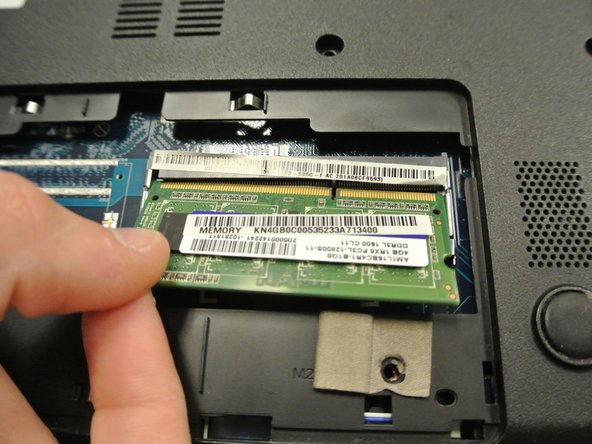
Use your fingers to pull the two metal hinges on either side of the RAM card.
-
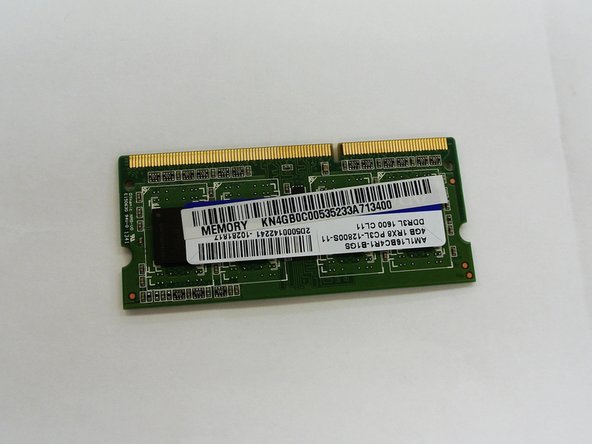
From here the card should lift upwards and pull off of the device easily.
-
-

 Ask FixBot







To reassemble your device, follow these instructions in reverse order.

Team

University of Alabama, Team S2-G8, Bedsole Spring 2018 Member of University of Alabama, Team S2-G8, Bedsole Spring 2018
UA-BEDSOLE-S18S2G8
4 Members
60 Guides authored
