Shop the Holiday Gift Guide
Free Shipping on Domestic Orders $75+

Gateway MS2285 RAM Replacement

Views: 3.2K

View statistics:

Past 24 Hours:
7
Past 7 Days:
21
Past 30 Days:
91
All Time:
3,206
Comments: 0

No one has left comments on this guide. Will you be first?

Go to guide comments
Completed: 0

No one has marked this guide "completed." Will you be the first?

Favorites: 0

No one has favorited (and subscribed to) this guide. Will you be the first?

Time Required: 10 minutes
Difficulty: Moderate
Gateway MS2285 RAM Replacement

Introduction

Go to step 1 ↓

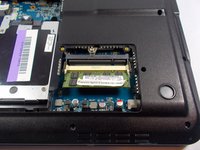
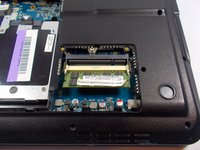
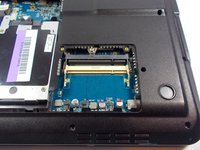
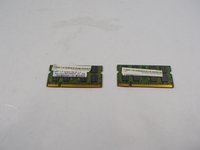
This guide will teach you how to remove your RAM modules. Upgrading RAM is a common practice among users. One thing to note is that if you want to only remove the lower RAM module, you have to remove the top one first.

What you need

Tools

    1. Gateway MS2285 RAM Replacement, Turn Laptop Over: step 1, image 1 of 1
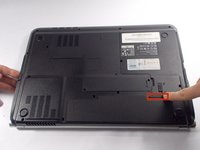
      • Turn the laptop over so that the underside is facing towards you.

      Ask FixBot

      Add Comment

    2. Gateway MS2285 RAM Replacement, Unlock The Battery: step 2, image 1 of 2 Gateway MS2285 RAM Replacement, Unlock The Battery: step 2, image 2 of 2
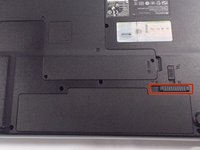
      • Slide the short slider one towards the unlocked lock symbol.

      Ask FixBot

      Add Comment

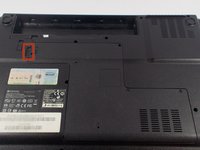
    3. Gateway MS2285 RAM Replacement, Release The Battery: step 3, image 1 of 2 Gateway MS2285 RAM Replacement, Release The Battery: step 3, image 2 of 2
      • Slide the long slider towards the unlocked lock icon.

      • This slider is spring loaded and may require a little force.

      • If done correctly, a click will be heard and the battery will be slightly raised.

      Ask FixBot

      Add Comment

    4. Gateway MS2285 RAM Replacement, Remove The Battery: step 4, image 1 of 2 Gateway MS2285 RAM Replacement, Remove The Battery: step 4, image 2 of 2
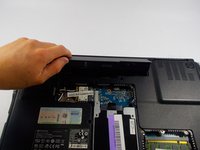
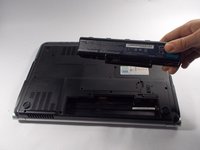
      • Grasp the battery's raised end and lift upwards.

      Ask FixBot

      Add Comment

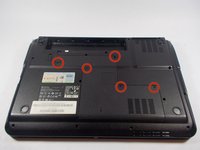
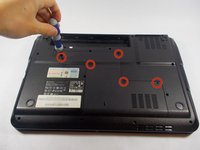
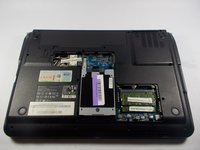
    1. Gateway MS2285 RAM Replacement, Unscrew Backplate: step 5, image 1 of 2 Gateway MS2285 RAM Replacement, Unscrew Backplate: step 5, image 2 of 2
      • Use the phillips head screwdriver to remove the five screws holding the back plate.

      • The screws are counter-clockwise threaded.

      Ask FixBot

      Add Comment

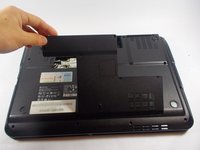
    2. Gateway MS2285 RAM Replacement, Remove Back Plate: step 6, image 1 of 3 Gateway MS2285 RAM Replacement, Remove Back Plate: step 6, image 2 of 3 Gateway MS2285 RAM Replacement, Remove Back Plate: step 6, image 3 of 3
      • Place fingers under back plate via the indentation and lift upwards to remove.

      Ask FixBot

      Add Comment

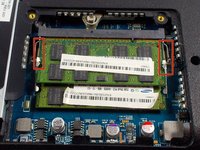
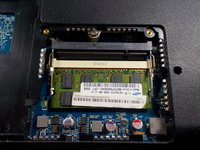
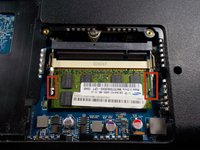
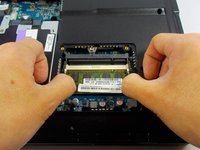
    3. Gateway MS2285 RAM Replacement, Unlock Upper RAM Module: step 7, image 1 of 3 Gateway MS2285 RAM Replacement, Unlock Upper RAM Module: step 7, image 2 of 3 Gateway MS2285 RAM Replacement, Unlock Upper RAM Module: step 7, image 3 of 3
      • Push the upper RAM module's two pins outwards at the same time.

      • If done correctly, the module should have lifted.

      Ask FixBot

      Add Comment

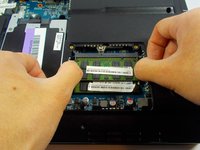
    4. Gateway MS2285 RAM Replacement, Remove Upper RAM Module: step 8, image 1 of 2 Gateway MS2285 RAM Replacement, Remove Upper RAM Module: step 8, image 2 of 2
      • Grab onto the module and pull away in a straight direction.

      • Do not touch the gold connectors.

      Ask FixBot

      Add Comment

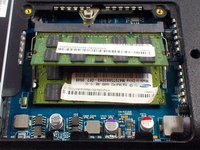
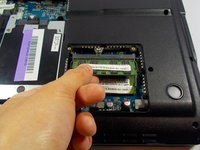
    5. Gateway MS2285 RAM Replacement, Unlock Lower RAM Module: step 9, image 1 of 3 Gateway MS2285 RAM Replacement, Unlock Lower RAM Module: step 9, image 2 of 3 Gateway MS2285 RAM Replacement, Unlock Lower RAM Module: step 9, image 3 of 3
      • Push the lower RAM module's two pins outwards at the same time.

      • If done correctly, the module should have lifted.

      Ask FixBot

      Add Comment

    6. Gateway MS2285 RAM Replacement, Remove Lower RAM Module: step 10, image 1 of 3 Gateway MS2285 RAM Replacement, Remove Lower RAM Module: step 10, image 2 of 3 Gateway MS2285 RAM Replacement, Remove Lower RAM Module: step 10, image 3 of 3
      • Like removing the upper module, grab the module and pull away in a straight direction.

      • Do not touch the gold connectors.

      Ask FixBot

      Add Comment

Conclusion

To reassemble your device, follow these instructions in reverse order.

Cancel: I did not complete this guide.

Author

with

Chris mello

Member since: 10/22/14

331 Reputation

3 Guides authored

Team

UMass Dartmouth, Team 1-7, Shastany Fall 2014 Member of UMass Dartmouth, Team 1-7, Shastany Fall 2014

UMASSD-SHASTANY-F14S1G7

3 Members

36 Guides authored

0 Guide Comments

Add Comment

View Statistics:

Past 24 Hours: 7

Past 7 Days: 21

Past 30 Days: 91

All Time: 3,206