Introduction
In this guide you will learn how to replace the fan for your MA7 laptop. Due to the nature of the component, debris can often get caught in it and cause damage. Your fan may need t be cleaned upon removal or just replaced altogether.
What you need
-
-
-
This particular device is missing the battery.
-
To remove your battery, slide the plastic tabs on the back of the laptop and pull the battery out of the device.
 Ask FixBot
-
-
-
Remove the seven 6mm screws from the back panel with a Phillips #0 screwdriver.
-
-
-
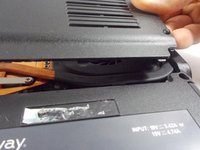
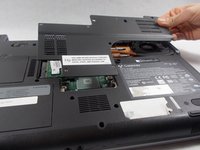
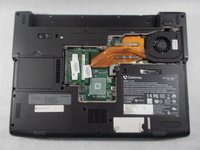
Pull upwards on the top of the plastic panel to remove it.
-
With the exception of the screw marked "K", all of the screws will remain connected to the plastic piece.
-
-
-
-
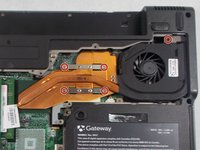
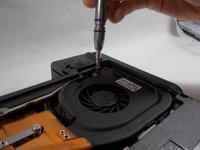
Remove the five 6 mm screws with a Phillips #0 screw driver to detach the fan and cooling unit from the motherboard.
-
-
-
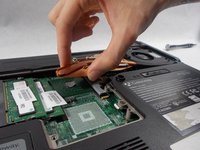
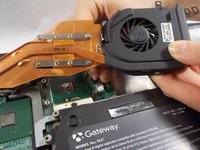
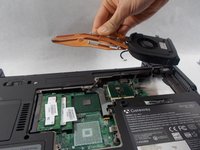
Lifting from the left side of the fan, start to pull the fan off of the motherboard.
-
-
-
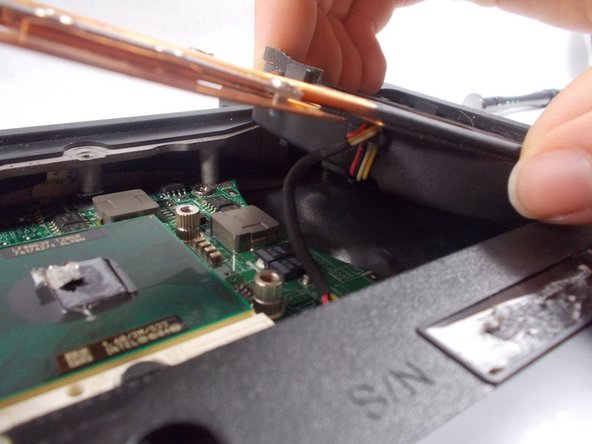
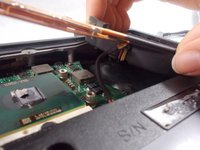
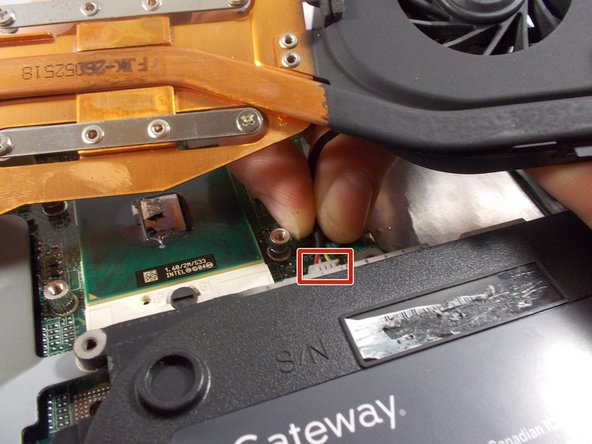
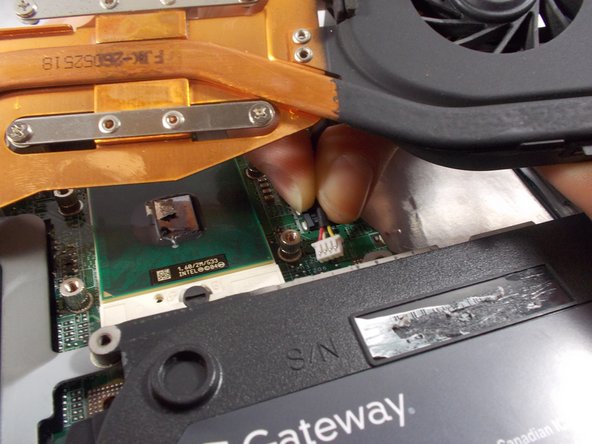
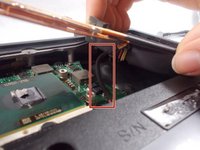
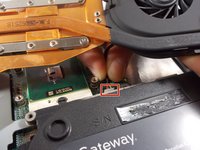
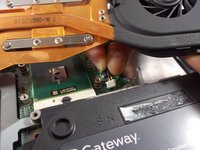
In order to properly remove the fan, disconnect the cable that is attached to the motherboard.
-
Gently grasp the connecting cable from under the fan and pull it out of the socket on the motherboard to disconnect it.
-
-
-
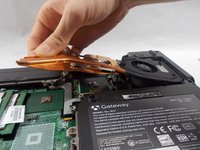
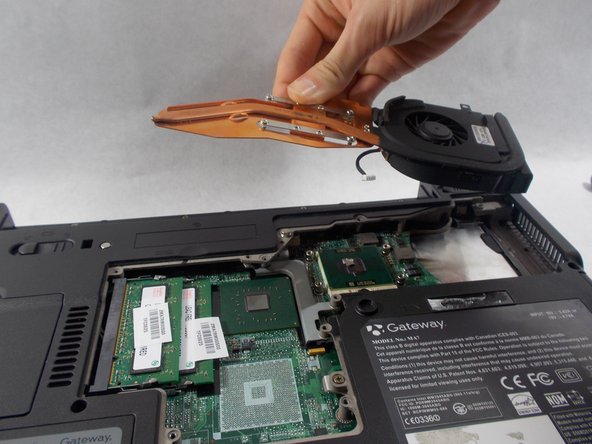
With the screws removed and the cable disconnected, just lift the fan off the motherboard to remove it.
-
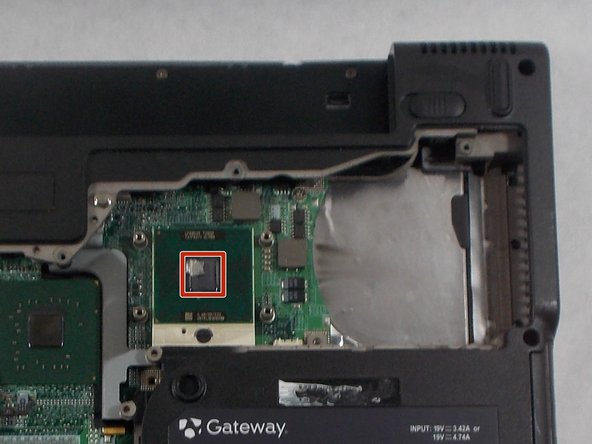
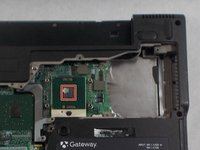
When you replace the fan, be sure to reapply thermal paste here.
-
-








To reassemble your device, follow these instructions in reverse order.

Team

UMass Dartmouth, Team S6-G2, Bernier Spring 2018 Member of UMass Dartmouth, Team S6-G2, Bernier Spring 2018
UMASSD-BERNIER-S18S6G2
3 Members
48 Guides authored
