Introduction
The RAM can be replaced if you have a Phillips #0 screwdriver.
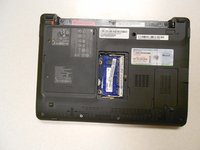
What you need
-
-
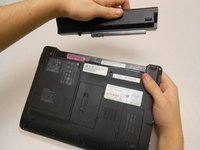
Unlock the tab located in the top left corner of the netbook.
-
The red tab indicated that the battery has been properly unlocked.
-
Remove the battery.
 Ask FixBot
-
-
-
-
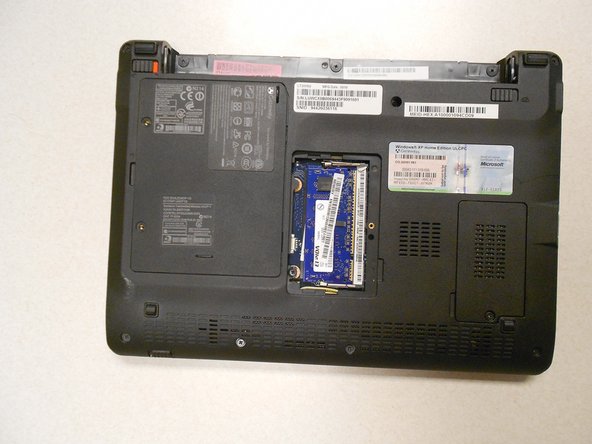
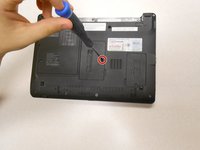
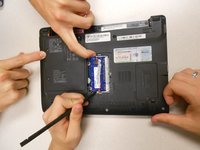
Using a Phillips #0 screwdriver, remove one (1) 5mm screw holding the cover in place.
-
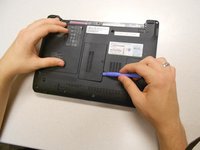
Use a plastic opening tool to remove the cover.
-
-
-
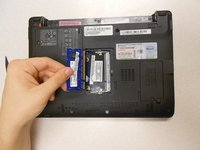
Unlock the RAM by pinching the metal clamps that keep the RAM in place.
-
Remove the RAM while the metal clamps are disengaged.
-


To reassemble your device, follow these instructions in reverse order.
Team

Clemson, Team 14-3, Benson Fall 2013 Member of Clemson, Team 14-3, Benson Fall 2013
CLEM-BENSON-F13S14G3
3 Members
22 Guides authored