Free Shipping on Domestic Orders $75+

Gateway GWTC116-2BL Display Replacement

What you need

  1. Gateway GWTC116-2BL Display Replacement, Back Panel: step 1, image 1 of 1
    • Ground yourself before disassembling and handling the computer.

    • Remove the ten 3.0 mm Phillips #00 screws from the back panel of the laptop.

    Ask FixBot
  2. Gateway GWTC116-2BL Display Replacement: step 2, image 1 of 2 Gateway GWTC116-2BL Display Replacement: step 2, image 2 of 2
    • Use the spudger to pry the back panel away from the body of the laptop.

    Ask FixBot
  3. Gateway GWTC116-2BL Display Replacement, Battery: step 3, image 1 of 1
    • Remove the five 3.0 mm Phillips #00 screws.

    Ask FixBot
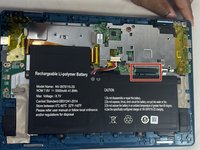
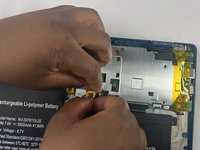
  4. Gateway GWTC116-2BL Display Replacement: step 4, image 1 of 2 Gateway GWTC116-2BL Display Replacement: step 4, image 2 of 2
    • Using your fingers, flick open the battery connector bracket.

    • Remove the connector from bracket.

    Ask FixBot
  5. Gateway GWTC116-2BL Display Replacement: step 5, image 1 of 1
    • Pull up the battery to remove from the base.

    Ask FixBot
  6. Gateway GWTC116-2BL Display Replacement, Motherboard: step 6, image 1 of 1
    • Using your fingers, flick the cable connector bracket open.

    • Remove the cable from the connector.

    Ask FixBot
  7. Gateway GWTC116-2BL Display Replacement: step 7, image 1 of 2 Gateway GWTC116-2BL Display Replacement: step 7, image 2 of 2
    • Using your fingers, disconnect the black and white connector brackets underneath the gray cable.

    Ask FixBot
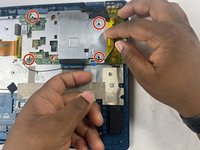
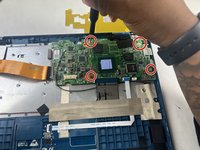
  8. Gateway GWTC116-2BL Display Replacement: step 8, image 1 of 2 Gateway GWTC116-2BL Display Replacement: step 8, image 2 of 2
    • Remove the four 3.0 mm Phillips #00 screws located on the motherboard casing.

    Ask FixBot
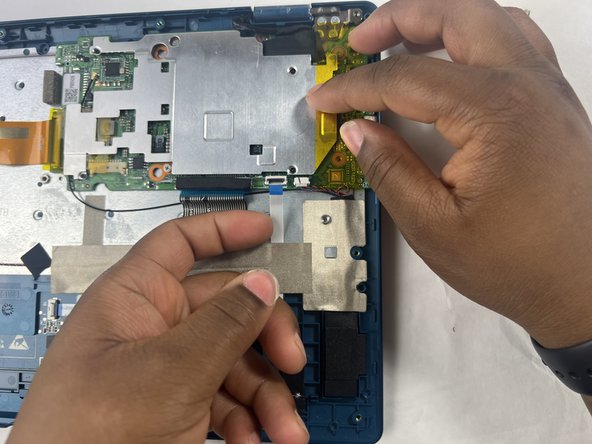
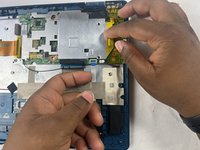
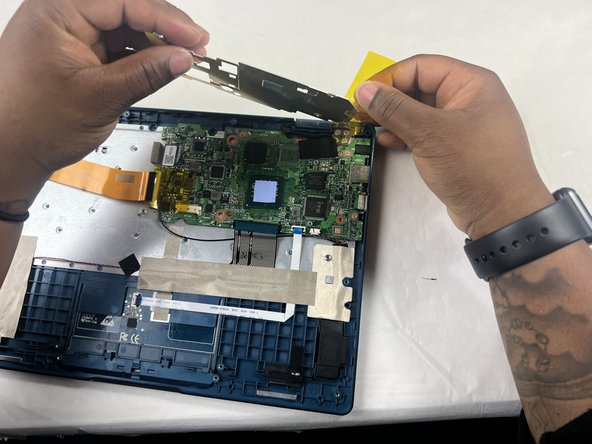
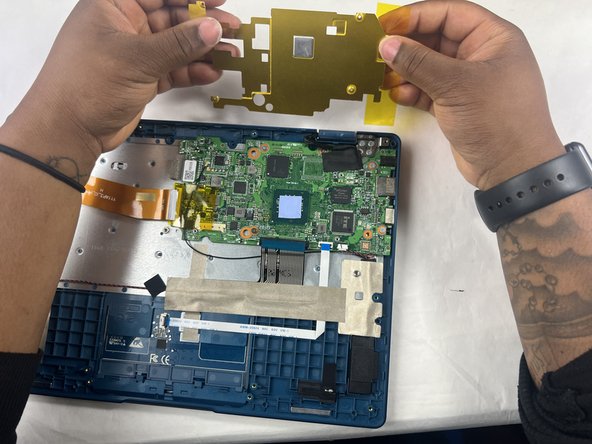
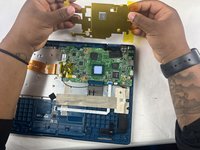
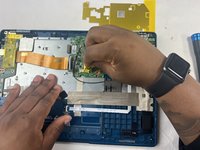
  9. Gateway GWTC116-2BL Display Replacement: step 9, image 1 of 3 Gateway GWTC116-2BL Display Replacement: step 9, image 2 of 3 Gateway GWTC116-2BL Display Replacement: step 9, image 3 of 3
    • Peel the yellow tape off of the casing.

    • Lift the casing off of the motherboard.

    Ask FixBot
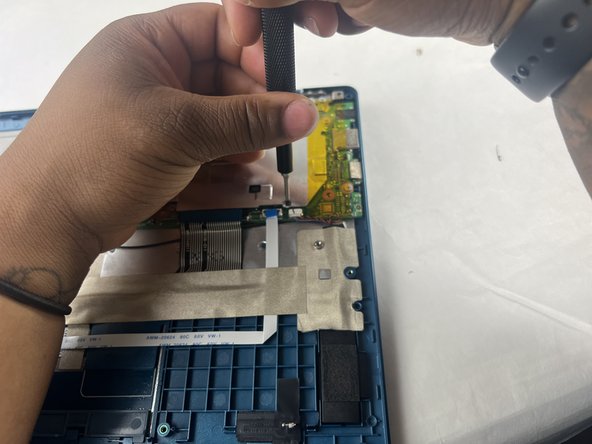
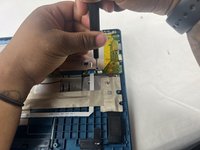
  10. Gateway GWTC116-2BL Display Replacement: step 10, image 1 of 2 Gateway GWTC116-2BL Display Replacement: step 10, image 2 of 2
    • Peel off the yellow tape.

    • Remove four 3.0 mm Phillips #00 screws.

    Ask FixBot
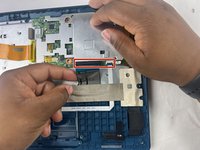
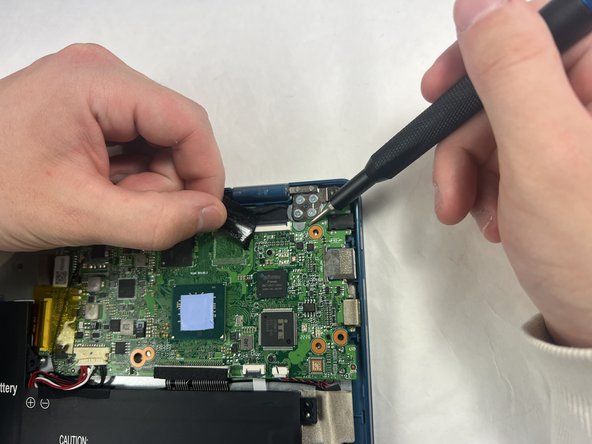
  11. Gateway GWTC116-2BL Display Replacement: step 11, image 1 of 2 Gateway GWTC116-2BL Display Replacement: step 11, image 2 of 2
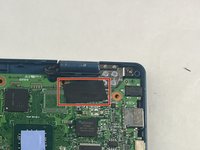
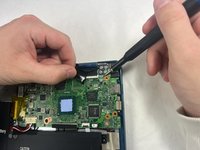
    • Peel off the black piece of tape covering the display cable.

    Ask FixBot
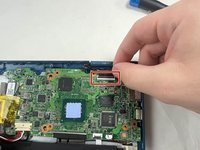
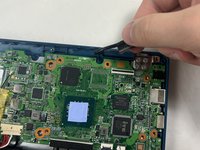
  12. Gateway GWTC116-2BL Display Replacement: step 12, image 1 of 2 Gateway GWTC116-2BL Display Replacement: step 12, image 2 of 2
    • Flick open the bracket securing the display cable and disconnect the cable from the motherboard.

    Ask FixBot
  13. Gateway GWTC116-2BL Display Replacement: step 13, image 1 of 1
    • Remove the motherboard from the device.

    Ask FixBot
  14. Gateway GWTC116-2BL Display Replacement, Display: step 14, image 1 of 1
    • Remove seven 3.0 mm Phillips #00 screws from the laptop.

    Ask FixBot
  15. Gateway GWTC116-2BL Display Replacement: step 15, image 1 of 1
    • Applying some force, use your hands to pry the display of the laptop away from the base.

    Ask FixBot
Conclusion

To reassemble your device, follow these instructions in reverse order.

One other person completed this guide.

Kailey Sousa

Member since: 03/22/24

522 Reputation

4 Guides authored

Team

1 Guide Comment

Mon écran ne s'allume pas au démarrage. Que faire ?

Youssouf SAWADOGO - Reply Share
Add Comment

View Statistics:

Past 24 Hours: 1

Past 7 Days: 20

Past 30 Days: 100

All Time: 1,312