
Garmin nuviCam LMTHD Dash Camera Replacement

What you need

  1. Garmin nuviCam LMTHD Dash Camera Replacement, Screen: step 1, image 1 of 2 Garmin nuviCam LMTHD Dash Camera Replacement, Screen: step 1, image 2 of 2
    • Remove the four 6.9 mm black screws using the T6 screw bit.

  2. Garmin nuviCam LMTHD Dash Camera Replacement: step 2, image 1 of 2 Garmin nuviCam LMTHD Dash Camera Replacement: step 2, image 2 of 2
    • Pry the device open using a plastic opening tool.

    • We suggest starting from the dash camera side for easier opening

    • You may have to use a little force, the screen is hard to remove.

  3. Garmin nuviCam LMTHD Dash Camera Replacement: step 3, image 1 of 1
    • Disconnect the black and red wire from the screen.

  4. Garmin nuviCam LMTHD Dash Camera Replacement: step 4, image 1 of 2 Garmin nuviCam LMTHD Dash Camera Replacement: step 4, image 2 of 2
    • Disconnect the orange strip by flipping up the connector with a plastic opening tool and sliding the cable out.

  5. Garmin nuviCam LMTHD Dash Camera Replacement, Dash Camera: step 5, image 1 of 2 Garmin nuviCam LMTHD Dash Camera Replacement, Dash Camera: step 5, image 2 of 2
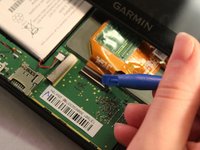
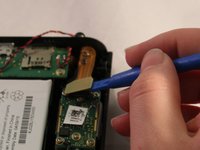
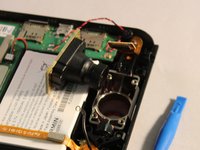
    • Remove green strip of tape over orange strip.

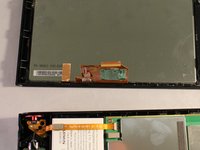
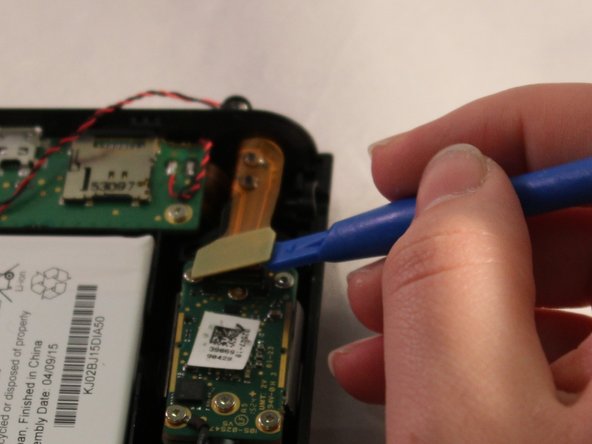
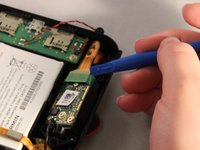
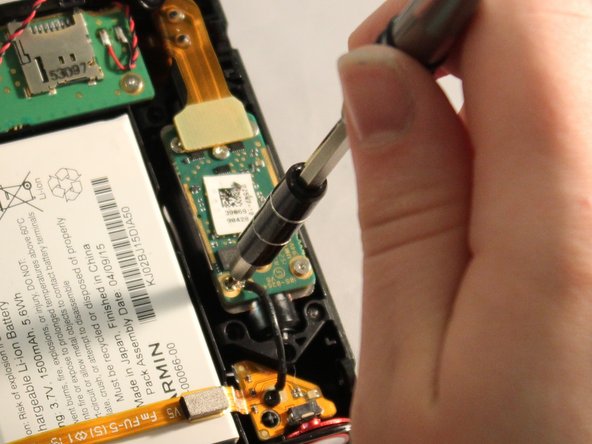
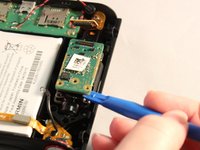
    • Disconnect orange strip from device using plastic opening tools.

  6. Garmin nuviCam LMTHD Dash Camera Replacement: step 6, image 1 of 2 Garmin nuviCam LMTHD Dash Camera Replacement: step 6, image 2 of 2
    • Unscrew six 5.74mm silver screws using the T4 screw bit.

  7. Garmin nuviCam LMTHD Dash Camera Replacement: step 7, image 1 of 3 Garmin nuviCam LMTHD Dash Camera Replacement: step 7, image 2 of 3 Garmin nuviCam LMTHD Dash Camera Replacement: step 7, image 3 of 3
    • Pop out green plate using plastic prying tool.

Conclusion

To reassemble your device, follow these instructions in reverse order.

0 Comments

Add Comment

View Statistics:

Past 24 Hours: 0

Past 7 Days: 4

Past 30 Days: 8

All Time: 414