Introduction
To replace the screen in your device you will need a T4 Torx screwdriver, a metal spudger, a plastic spudger, and a replacement screen. Be sure to have a large workspace to avoid mishandling or damaging the device components.
What you need
-
-
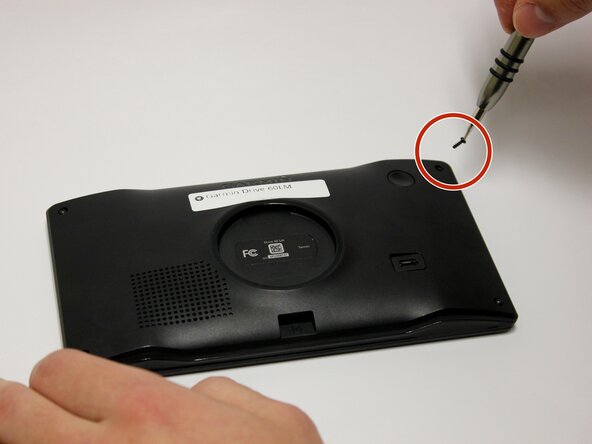
Use a T4 Torx screwdriver to remove the four 6.35mm screws that secure the rear case of the device.
 Ask FixBot
-
-
-
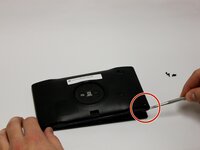
Remove the back panel using the metal spudger tool.
-
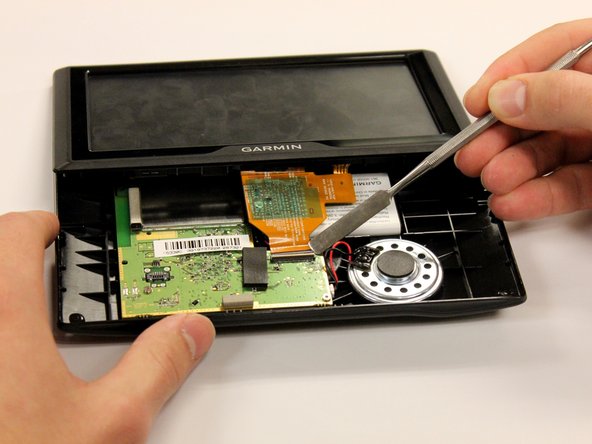
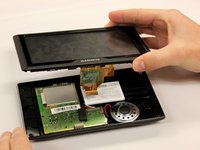
Flip the device over with the screen facing upward and open the device.
-
-
-
-
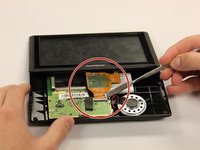
Use a plastic spudger to flip up the white clamp holding the orange ribbon in place to the motherboard.
-
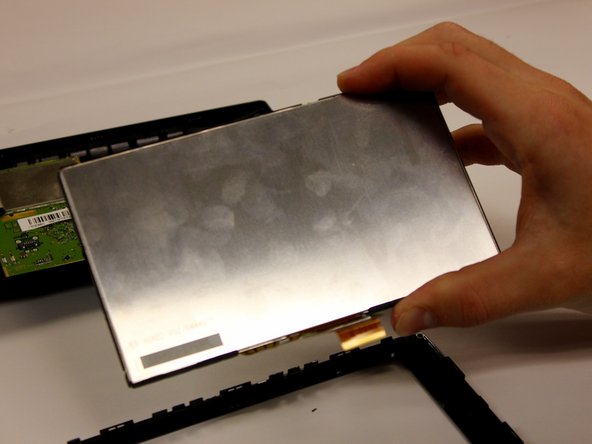
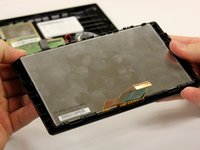
Lift the screen and orange ribbon away from the motherboard.
-


To reassemble your device, follow these instructions in reverse order.
Cancel: I did not complete this guide.
One other person completed this guide.
Team

Baylor, Team 3-3, Whitney Spring 2017 Member of Baylor, Team 3-3, Whitney Spring 2017
BU-WHITNEY-S17S3G3
4 Members
3 Guides authored