Introduction
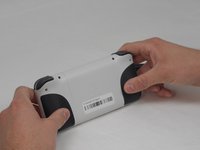
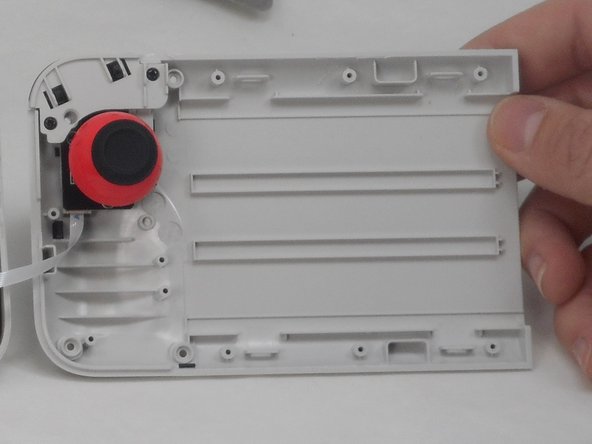
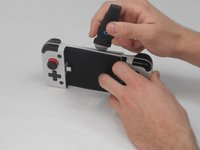
If you need to open or replace the back cover of the GameSir X2 Type-C, use this guide. This guide provides access to the left joystick and trigger assembly. This guide is a pre-requisite for most replacements inside the housing of the device.
What you need
-
-
-
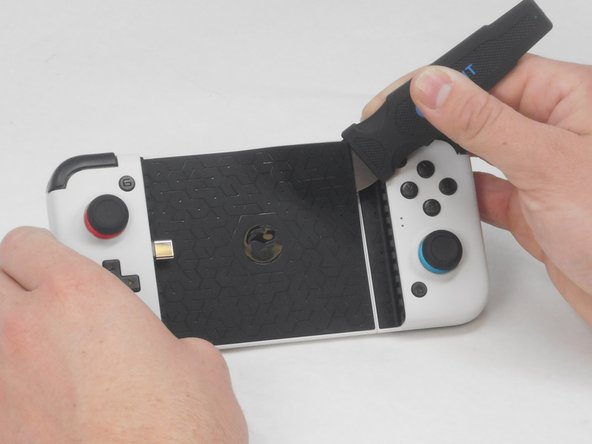
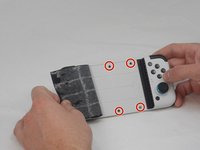
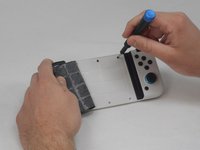
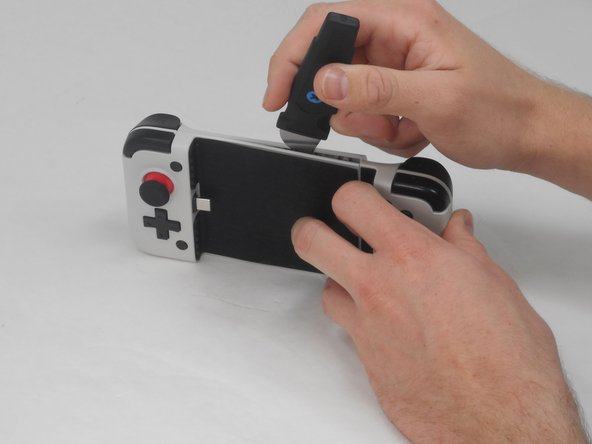
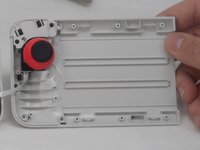
Use a straight edge to pry open the controller, following the seam on the controller.
-


To reassemble your device, follow these instructions in reverse order.
Cancel: I did not complete this guide.
2 other people completed this guide.
Team

University of Memphis, Team 1-2, Sneed Spring 2024 Member of University of Memphis, Team 1-2, Sneed Spring 2024
UM-SNEED-S24S1G2
3 Members
7 Guides authored