Free Shipping on Domestic Orders $75+

Game Boy Advance Buttons Replacement

Archived Guide
This guide is retained solely for historical purposes. Use the updated version of the guide to perform your repair.

What you need

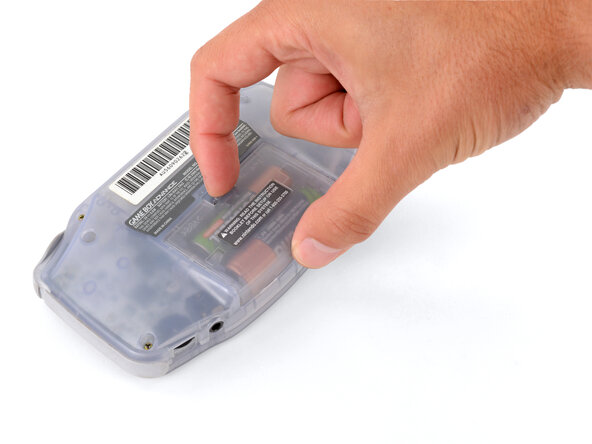
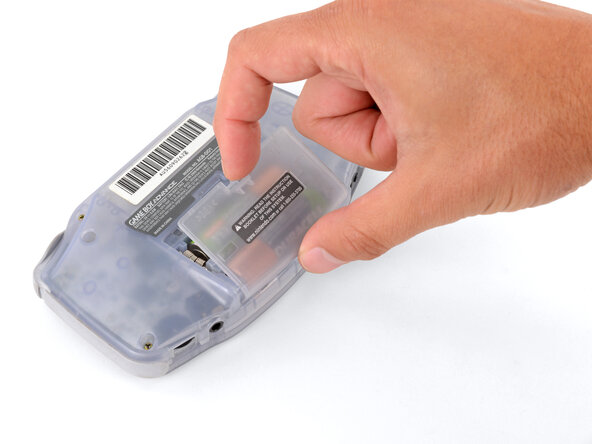
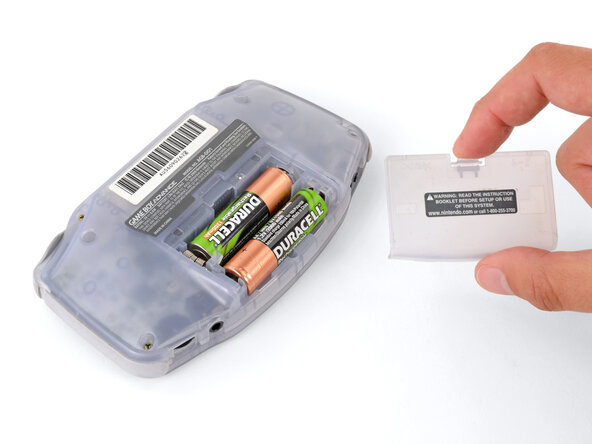
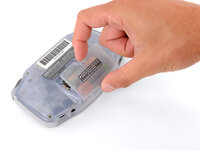
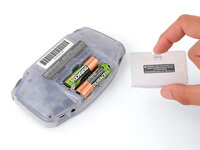
    1. Game Boy Advance Buttons Replacement, Remove the battery cover: step 1, image 1 of 3 Game Boy Advance Buttons Replacement, Remove the battery cover: step 1, image 2 of 3 Game Boy Advance Buttons Replacement, Remove the battery cover: step 1, image 3 of 3
      • Release the battery cover tab with your finger and swing the cover away from your Game Boy to remove it.

      • During reassembly, insert the tabs on the bottom edge of the cover into their cutouts and press the cover into place.

      Ask FixBot

      Add Comment

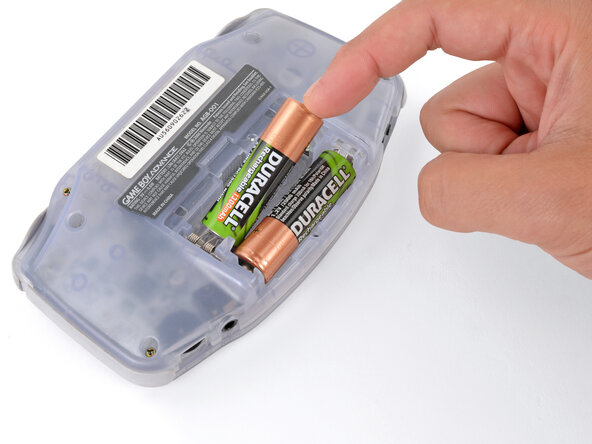
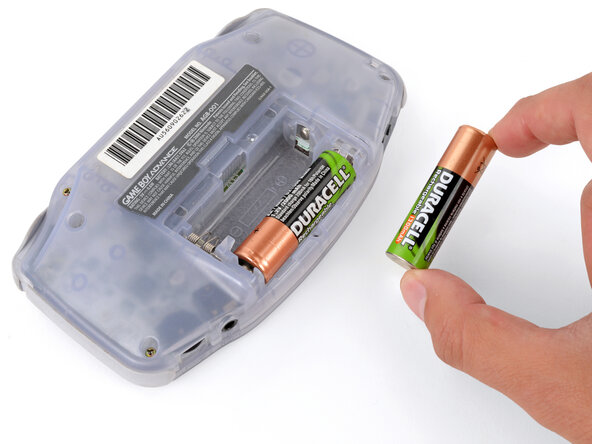
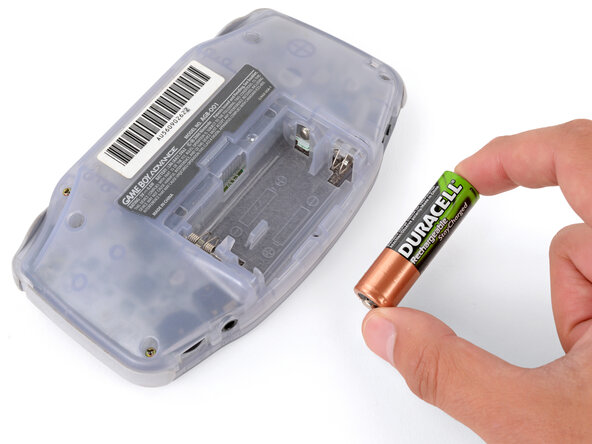
    2. Game Boy Advance Buttons Replacement, Remove the batteries: step 2, image 1 of 3 Game Boy Advance Buttons Replacement, Remove the batteries: step 2, image 2 of 3 Game Boy Advance Buttons Replacement, Remove the batteries: step 2, image 3 of 3
      • Remove the two AA batteries.

      • If the metal terminals are corroded, follow this guide to clean them.

      • When installing batteries, use the diagram in the battery well to properly orient them.

      Ask FixBot

      Add Comment

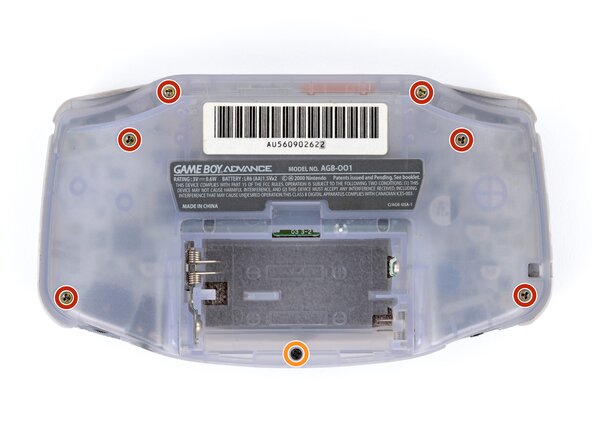
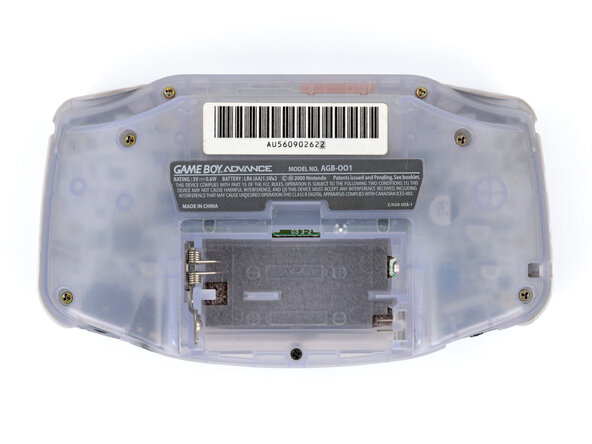
    1. Game Boy Advance Buttons Replacement, Remove the back shell screws: step 3, image 1 of 2 Game Boy Advance Buttons Replacement, Remove the back shell screws: step 3, image 2 of 2
      • Remove the seven screws securing the back shell:

      • Six 9.4 mm‑long tri‑point Y0 screws

      • One 8.5 mm‑long JIS 1 screw

      • You can try to use a non-iFixit Phillips driver in a pinch, but you risk damaging or stripping screws. Push down firmly on the driver and twist slowly.

      Ask FixBot

      Add Comment

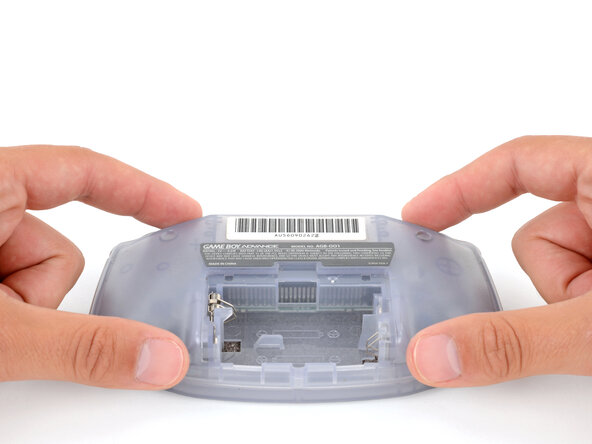
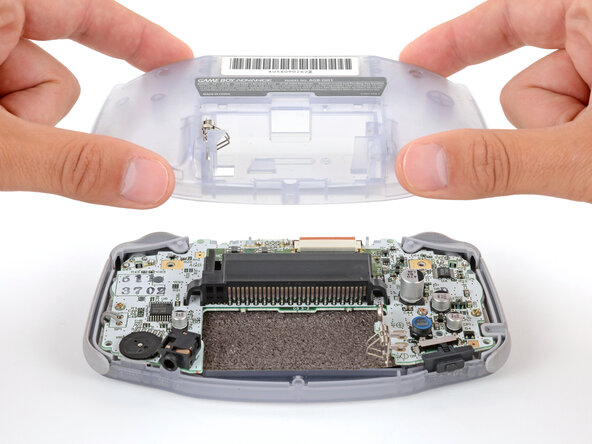
    2. Game Boy Advance Buttons Replacement, Remove the back shell: step 4, image 1 of 2 Game Boy Advance Buttons Replacement, Remove the back shell: step 4, image 2 of 2
      • Lift the back shell straight up and remove it.

      • During reassembly, squeeze the shell firmly around the edges and ensure the shoulder buttons and bumpers are properly seated with no large gaps. Gently test the buttons to make sure everything feels correct.

      Ask FixBot

      Add Comment

    1. Game Boy Advance Buttons Replacement, Remove Triggers: step 5, image 1 of 2 Game Boy Advance Buttons Replacement, Remove Triggers: step 5, image 2 of 2
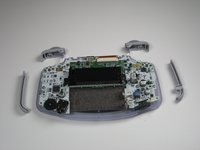
      • Remove left and right triggers by lifting and pulling them away from the system.

      • Do the same for side panels

      • For finicky or jammed triggers only! Adjust and correct triggers and reassemble. Most jammed triggers are caused by buttons misplaced or jammed in its enclosure.

      Ask FixBot

      Add Comment

    1. Game Boy Advance Buttons Replacement, Remove the On/Off Switch: step 6, image 1 of 1
      • Remove the gray On/Off Switch by pulling up and away from the unit. Replace with another switch if necessary.

      Ask FixBot

      Add Comment

    1. Game Boy Advance Buttons Replacement, Buttons and LCD Screen: step 7, image 1 of 1
      • Remove the three screws on the circuit board with a Phillips #1 screw driver.

      Ask FixBot

      Add Comment

    2. Game Boy Advance Buttons Replacement: step 8, image 1 of 2 Game Boy Advance Buttons Replacement: step 8, image 2 of 2
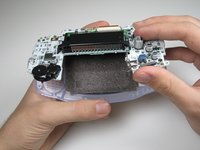
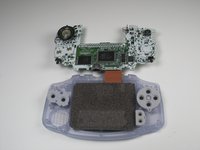
      • Pull circuit board away from the front panel by pulling up at the bottom of the circuit board, keeping the top ribbon still connected.

      • Handle with care! The ribbon connecting the circuit board to the LCD screen can easily be damaged and will require replacement if broken.

      Ask FixBot

      Add Comment

    1. Game Boy Advance Buttons Replacement, Buttons: step 9, image 1 of 3 Game Boy Advance Buttons Replacement, Buttons: step 9, image 2 of 3 Game Boy Advance Buttons Replacement, Buttons: step 9, image 3 of 3
      Tool used on this step:
      Tweezers
      $4.99
      Buy
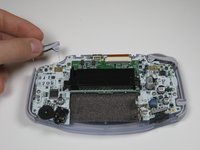
      • Remove the rubber button pads from their pockets.

      • Remove the plastic buttons and the D-pad from beneath the rubber pads with tweezers or by hand.

      Ask FixBot

      Add Comment

Finish Line

Cancel: I did not complete this guide.

Ben

Member since: 01/22/10

586 Reputation

2 Guides authored

Team

Cal Poly, Team 16-29, Maness Winter 2010 Member of Cal Poly, Team 16-29, Maness Winter 2010

CPSU-MANESS-W10S16G29

5 Members

150 Guides authored

0 Guide Comments

Add Comment

View Statistics:

Past 24 Hours: 1

Past 7 Days: 4

Past 30 Days: 9

All Time: 86