Shop the Holiday Gift Guide
Free Shipping on Domestic Orders $75+

Game Boy Advance Back Panel Replacement

Views: 137

View statistics:

Past 24 Hours:
0
Past 7 Days:
4
Past 30 Days:
11
All Time:
137
Comments: 0

No one has left comments on this guide. Will you be first?

Go to guide comments
Completed: 0

No one has marked this guide "completed." Will you be the first?

Favorites: 0

No one has favorited (and subscribed to) this guide. Will you be the first?

Time Required: 1 - 2 minutes
Difficulty: Easy
Archived Guide

This guide is retained solely for historical purposes. Use the updated version of the guide to perform your repair.

Game Boy Advance Back Panel Replacement

Introduction

Go to step 1 ↓

How to remove the back panel from a Game Boy Advance.

What you need

Tools

Video Overview

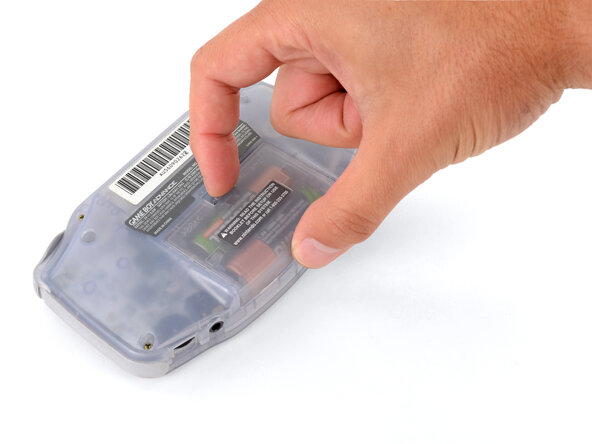
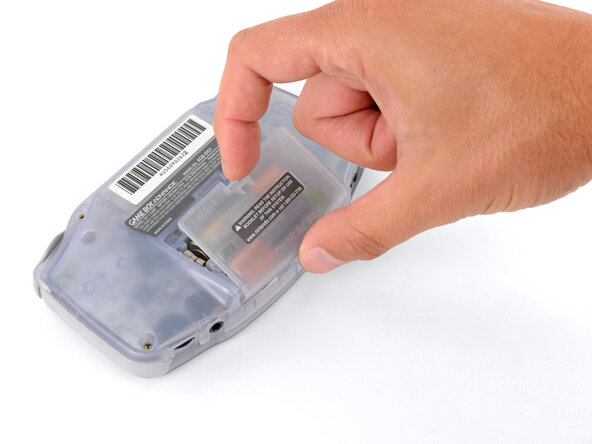
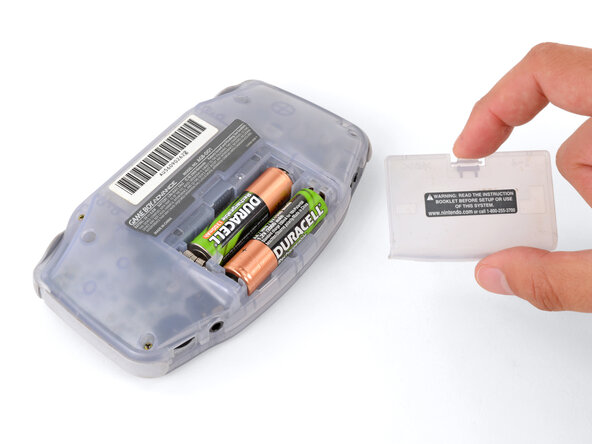
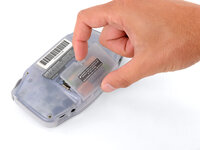
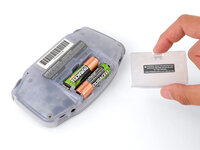
    1. Game Boy Advance Back Panel Replacement, Remove the battery cover: step 1, image 1 of 3 Game Boy Advance Back Panel Replacement, Remove the battery cover: step 1, image 2 of 3 Game Boy Advance Back Panel Replacement, Remove the battery cover: step 1, image 3 of 3
      • Release the battery cover tab with your finger and swing the cover away from your Game Boy to remove it.

      • During reassembly, insert the tabs on the bottom edge of the cover into their cutouts and press the cover into place.

      Ask FixBot

      Add Comment

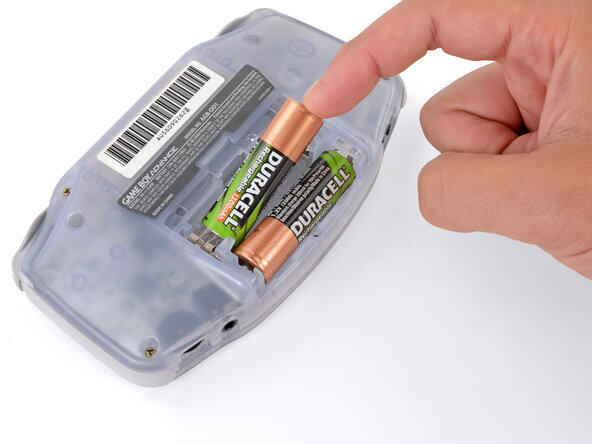
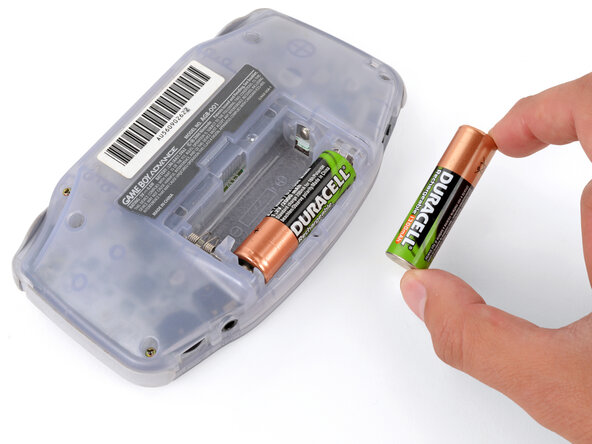
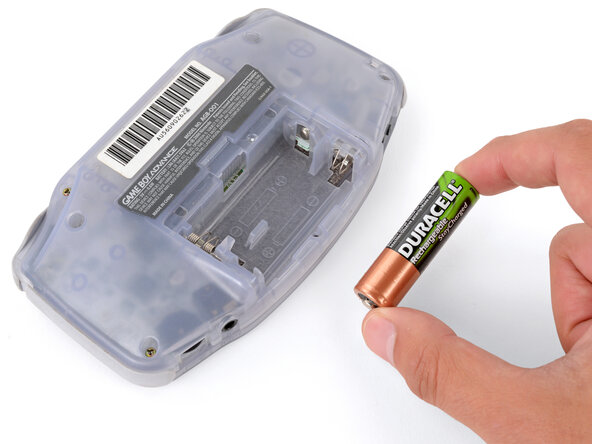
    2. Game Boy Advance Back Panel Replacement, Remove the batteries: step 2, image 1 of 3 Game Boy Advance Back Panel Replacement, Remove the batteries: step 2, image 2 of 3 Game Boy Advance Back Panel Replacement, Remove the batteries: step 2, image 3 of 3
      • Remove the two AA batteries.

      • If the metal terminals are corroded, follow this guide to clean them.

      • When installing batteries, use the diagram in the battery well to properly orient them.

      Ask FixBot

      Add Comment

    1. Game Boy Advance Back Panel Replacement, Unscrew the Back Panel: step 3, image 1 of 2 Game Boy Advance Back Panel Replacement, Unscrew the Back Panel: step 3, image 2 of 2
      • Remove the six back panel screws using a Tri-wing Screwdriver.

      • Remove bottom back panel screw with a Phillips #1 screw driver. (Image #2)

      Ask FixBot

      Add Comment

    2. Game Boy Advance Back Panel Replacement, Remove the Back Panel: step 4, image 1 of 1
      • Remove the back panel by pulling away with one hand and the front secured in the other hand.

      • Removal of the back panel may cause shoulder buttons and side panels to come loose and fall off.

      Ask FixBot

      Add Comment

Conclusion

To reassemble your device, follow these instructions in reverse order.

Cancel: I did not complete this guide.

Aldo Corona

Member since: 01/25/10

904 Reputation

6 Guides authored

Team

Cal Poly, Team 16-29, Maness Winter 2010 Member of Cal Poly, Team 16-29, Maness Winter 2010

CPSU-MANESS-W10S16G29

5 Members

144 Guides authored

0 Guide Comments

Add Comment

View Statistics:

Past 24 Hours: 0

Past 7 Days: 4

Past 30 Days: 11

All Time: 137