
Galaxy A71 FPC Repair

Last updated on Apr 4, 2025
Views: 19K
View statistics:
- Past 24 Hours:
- 12
- Past 7 Days:
- 63
- Past 30 Days:
- 308
- All Time:
- 19,421
Comments: 2
1 comment on steps, 1 guide comment.
Go to guide commentsCompleted: 17 18
17 people have marked this guide "completed." Will you be next?
18 people have marked this guide "completed." Including you — great job!
Favorites: 1 2
1 person has favorited (and subscribed to) this guide. Will you be next?
2 people have favorited (and subscribed to) this guide — including you!
Community-Contributed Guide
An awesome member of our community made this guide. It was not created by iFixit staff.
Introduction
Go to step 1 ↓If the device does not charge, the problem is with one of the following:
- Charging board
- Main flex cable
- Motherboard
In this manual, we will show you how to fix your device if the problem is with the Motherboard FPC connector.
What you need
Tools
-
iOpener Kit4.8
-
-
Spudger4.9


Video Overview
-
-
-
Initial problem: Samsung Galaxy A71 does not charge.
-
Connect the charger and press the phone as shown in the second image.
 Ask FixBot
-
-
-
Warm the device to soften the adhesive.
-
Use plastic tools and isopropyl alcohol to separate the back cover.
-
-
-
-
Remove all silver Phillips screws.
-
Remove the SIM Tray.
-
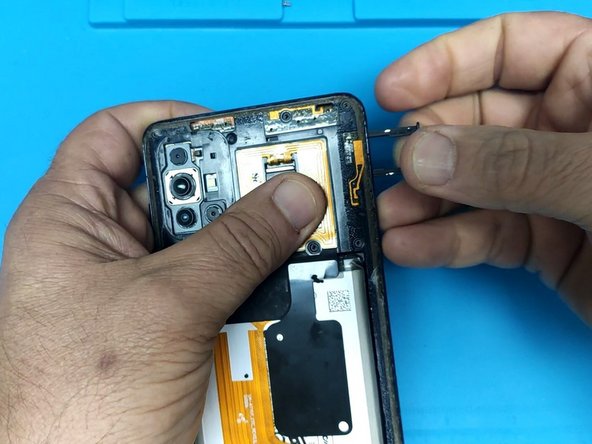
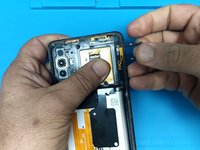
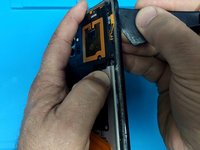
Use a suitable plastic tool (opening pick, spudger,...) to remove the middle frame.
-
-
-
Disconnect the battery.
-
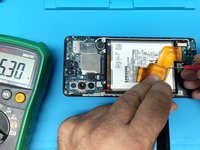
Connect the charger and measure the voltage at the two end pins. It should be ~5V.
-
If not, search for the problem at the charging board or the main flex cable.
-
-
-
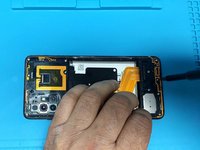
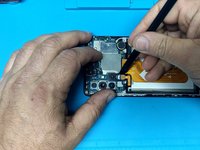
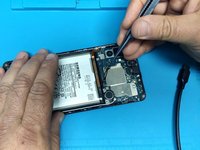
Remove the black tape stuck around the connector.
-
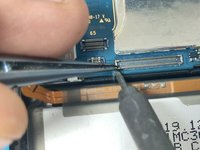
Use a soldering iron, flux and tin wire to resolder the first pin of the FPC connector.
-
-







To reassemble your device, follow these instructions in reverse order.
Cancel: I did not complete this guide.
17 other people completed this guide.

Team

1 Guide Comment
Good morning. My A71 screen is blinking on and off black screen. What can I do to fix it? Also when I'm attempting to type in any chat I have to press down really hard to get the letters on the screen? As my phone heats up it goes black,if I'm in a room that has AC units it remains on for a longer period of time.
