Introduction
This is a guide on how to replace a non-functioning, or barely functioning, keyboard switch on the GMMK pro.
Key switches are used to detect user input on their keyboard - a worn or faulty switch may have issues registering clicks. By repairing or replacing a worn switch, the user is able to avoid purchasing a new keyboard, and increase the lifespan of their current equipment.
This is a non-expensive, simple fix that anyone is encouraged to try.
What you need
-
-
-
Set aside your keyboard and tools on a clean, uncluttered workspace.
 Ask FixBot
-
-
-
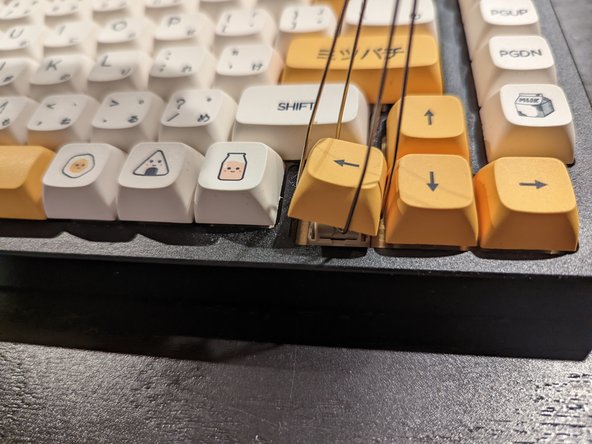
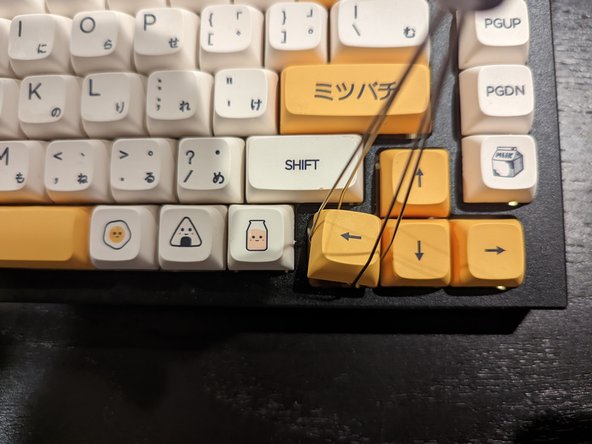
With the keycap removal tool, grab the keycap by placing the tool's arms underneath two opposing corners, and lift.
-
-
-
-
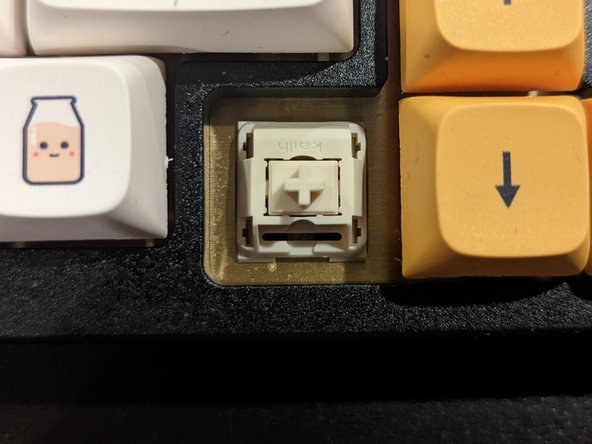
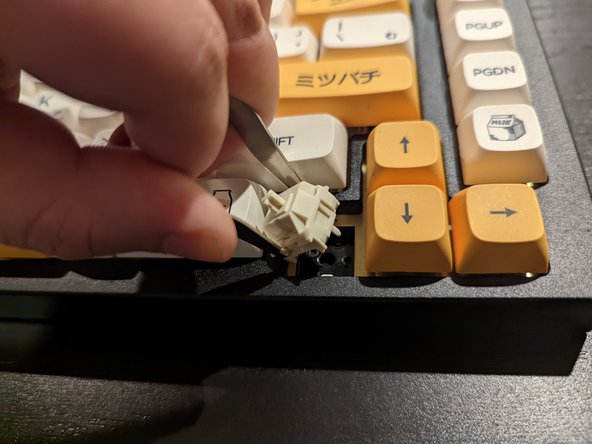
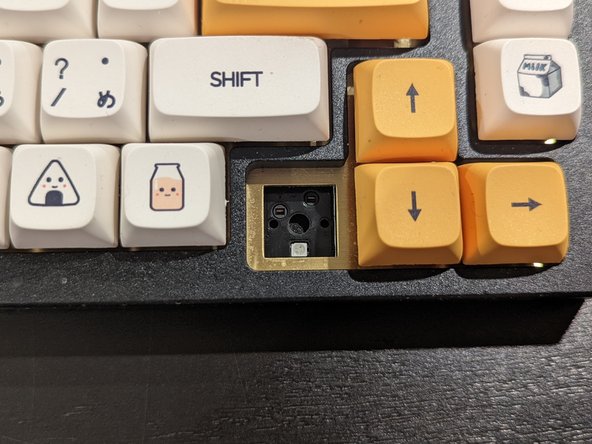
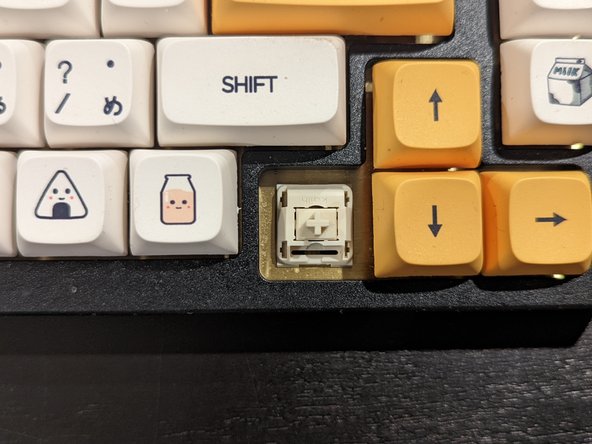
The exposed switch has two grooves - a notch on the top, and a notch on the bottom.
-
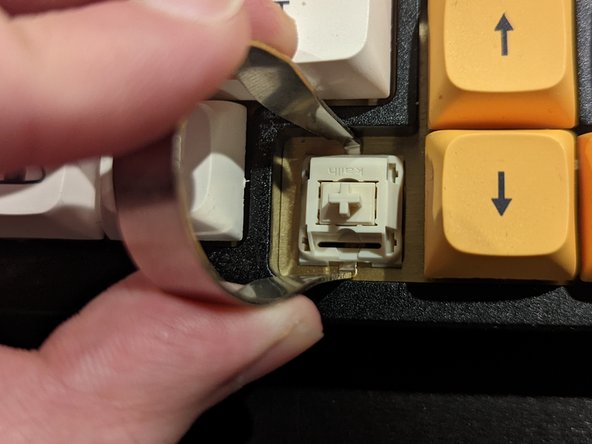
Using the switch removal tool, slide it onto the switch until it lines up with the notches on the top and bottom, and then pull.
-
-
-
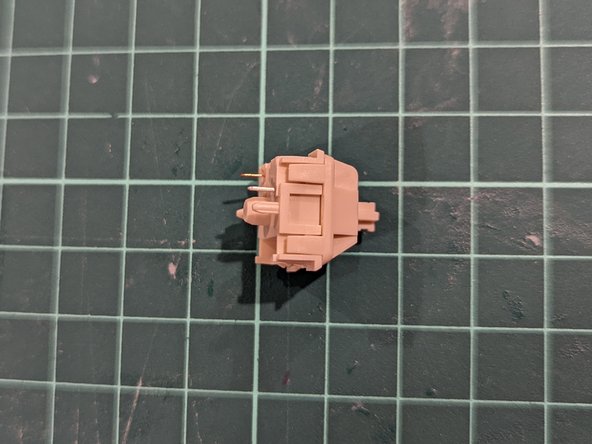
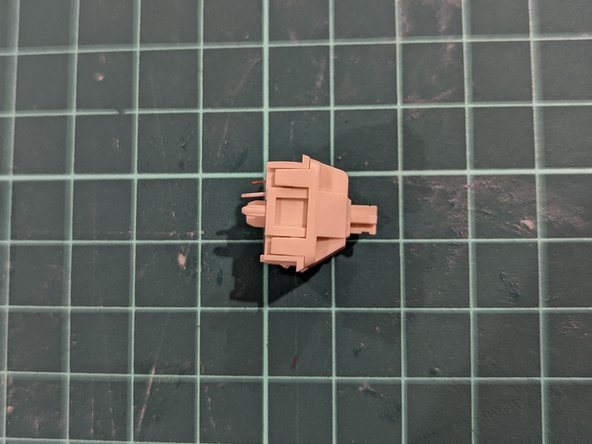
Set aside the removed switch on a clean surface for access to the pins.
-
Bend the pins at a 15° angle downwards.
-
-
-
After bending the pins, place the switch back into the empty slot.
-
Press firmly until you hear a solid click.
-
-
-
After the switch has been inserted, it is time to place the keycap back on.
-
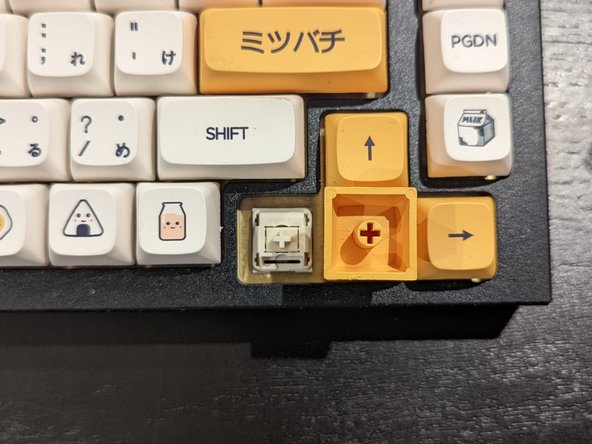
Line up the plus symbol shown on both the switch and the keycap.
-
Press down firmly until the keycap is back in place.
-
-









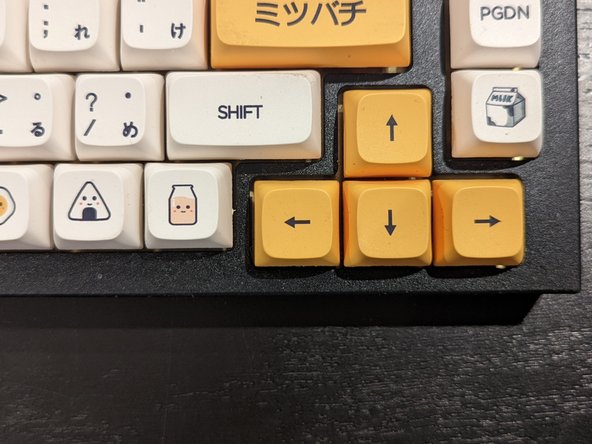


This can be easily repeated to help check and replace an entire keyboard’s switches

Team

York University, Team 2-17, O'Regan Winter 2022 Member of York University, Team 2-17, O'Regan Winter 2022
YORK-O'REGAN-W22S2G17
1 Member
12 Guides authored
