
FujiFilm FinePix XP50 LCD Screen Replacement

Catherine Daniel and
Last updated on Nov 23, 2016
Views: 1.7K
View statistics:
- Past 24 Hours:
- 7
- Past 7 Days:
- 23
- Past 30 Days:
- 92
- All Time:
- 1,740
Comments: 0
No one has left comments on this guide. Will you be first?
Go to guide commentsCompleted: 0 1
No one has marked this guide "completed." Will you be the first?
1 person has marked this guide "completed." It's you — great job!
Favorites: 0 1
No one has favorited (and subscribed to) this guide. Will you be the first?
1 person has favorited (and subscribed to) this guide — and that's you!
Action Shots
Be an action hero! This guide needs images that better demonstrate how to perform specific actions.
Introduction
Go to step 1 ↓Although a non-functioning screen would be hard to manage with this device, replacing the LCD screen is relatively easy.
What you need
Tools
-
Spudger4.9
-


-
-
-
Using 1.5mm Hex Screwdriver, remove two 3.0 mm hex screws on the front of the camera.
-
Using Phillips #00 screwdriver, remove two 3.0 mm screws on the bottom of the front face.
 Ask FixBot
-
-
-
Using Phillips #00 screwdriver, remove 3.0 mm screws on the bottom of the camera closer to the back.
-
Using Phillips #00 screwdriver remove two 3.0 mm screws on the back of the camera. This will remove the eyelet for the camera strap and the rear cover.
-
-
-
Using 1.5mm Hex screwdriver, remove 3.0 mm hex screw on top edge of silver panel.
-
Using Phillips #00 screwdriver, remove 3.0 mm screw on bottom edge.
-
Once both screws are removed the silver side casing will slide off.
-
-
-
-
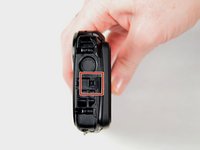
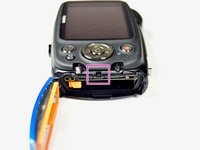
Unlatch the four clasps located on each side of the camera by hand.
-
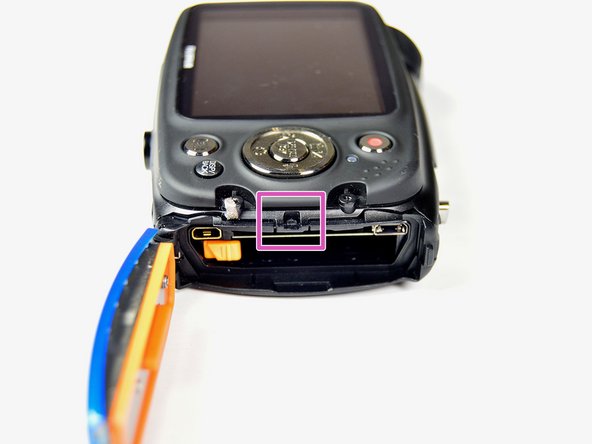
The fourth clasp is concealed by the battery door. To reach the clasp see Fujifilm FinePix XP50 Battery Replacement for instructions.
-
-
-
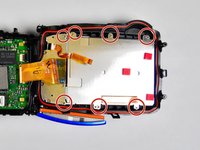
Using Phillips #00 screwdriver, remove seven 3.0 mm screws.
-
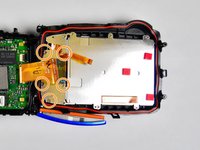
Remove the remaining five 3.0 mm screws which hold the rear case and the control panel together.
-
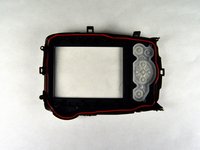
The rear panel is now free from the camera.
-
-
-
-
-
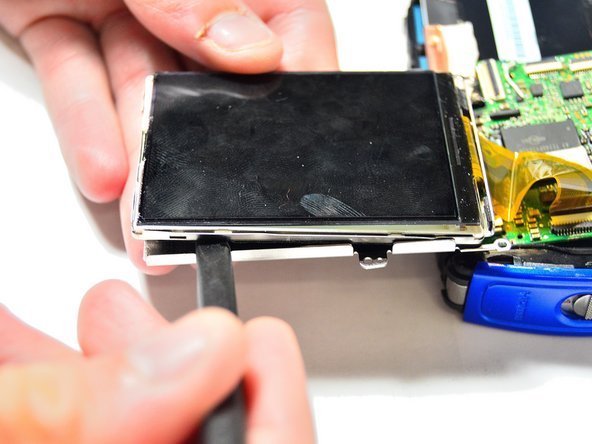
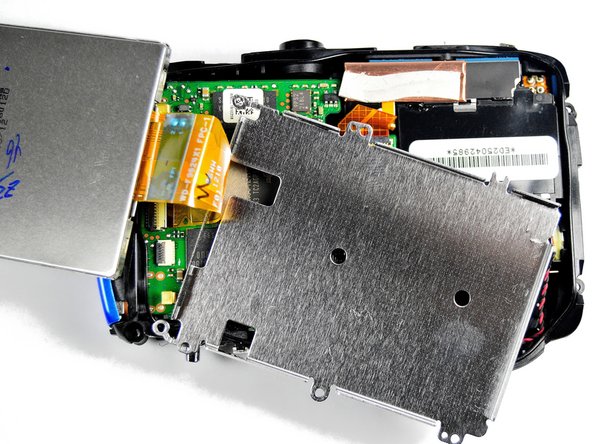
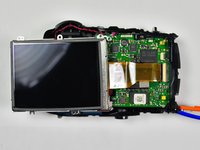
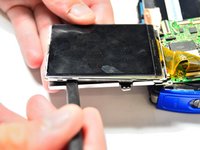
Take the spudger and wedge it in between the screen and the frame.
-
Slowly make your way around the screen with the spudger just enough to separate the screen from the frame.
-
-
-
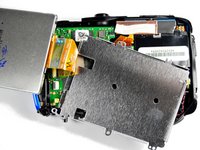
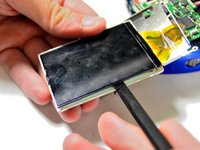
Take the spudger again and wedge it in the thinner frame to pry the LCD screen from the frame.
-
Make your way around with the spudger just enough to separate the screen and frame once again.
-
-
-
Take the spudger and wedge it very carefully between the LCD screen and the very thin and fragile frame.
-
-



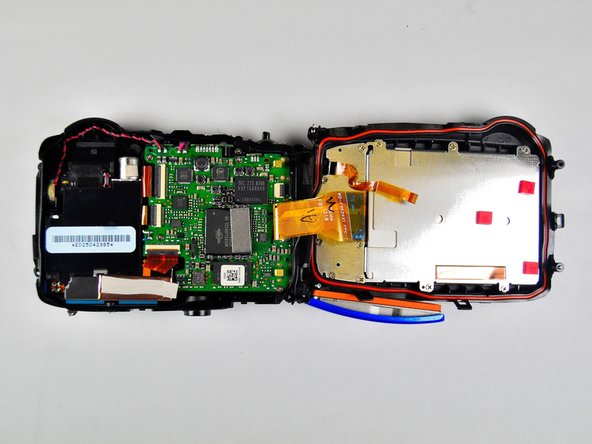




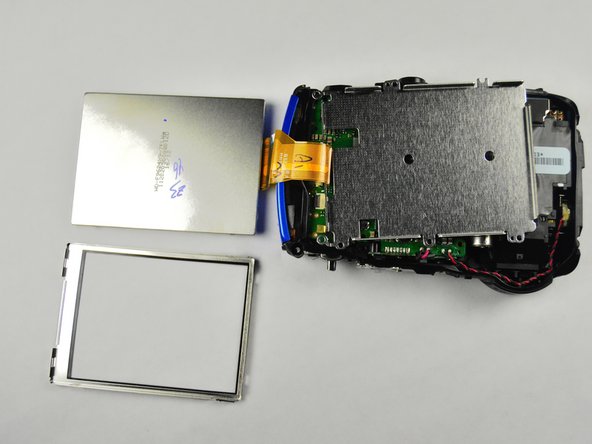
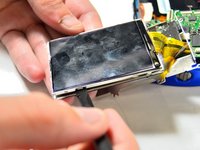

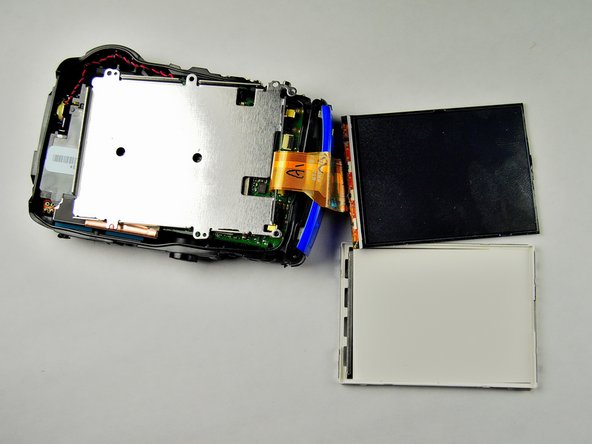
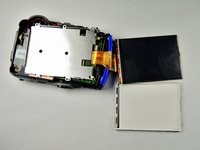

To reassemble your device, follow these instructions in reverse order.

Team

Baylor, Team 2-4, Grigsby Spring 2015 Member of Baylor, Team 2-4, Grigsby Spring 2015
BU-GRIGSBY-S15S2G4
4 Members
48 Guides authored
