Introduction
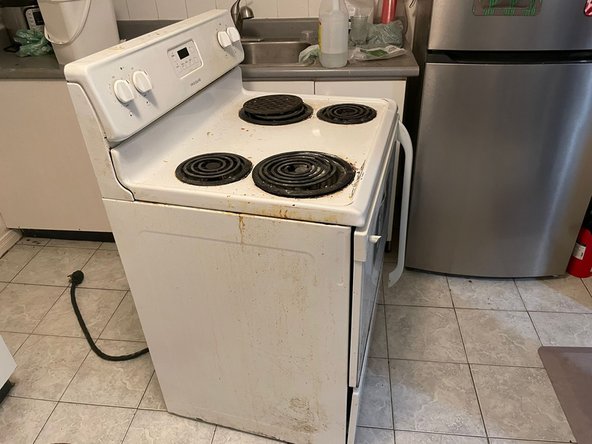
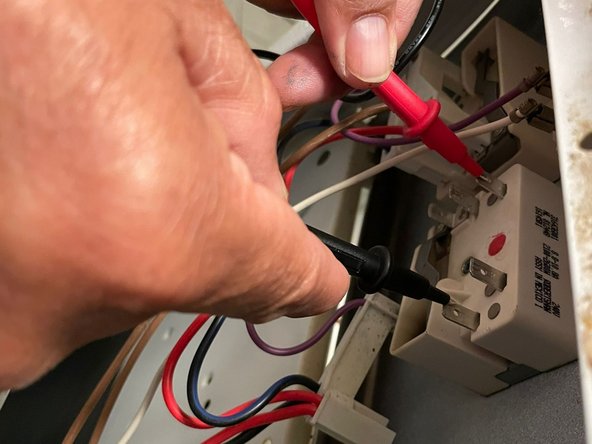
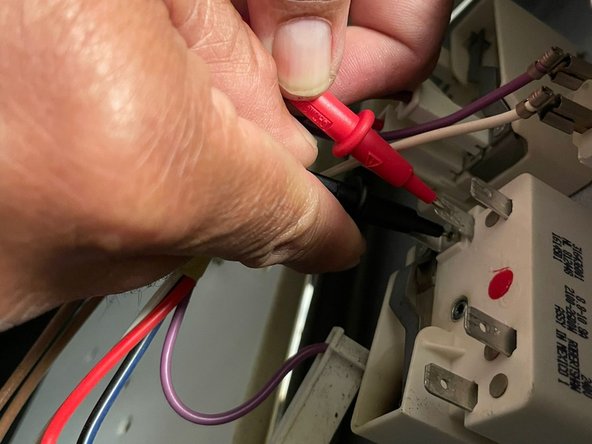
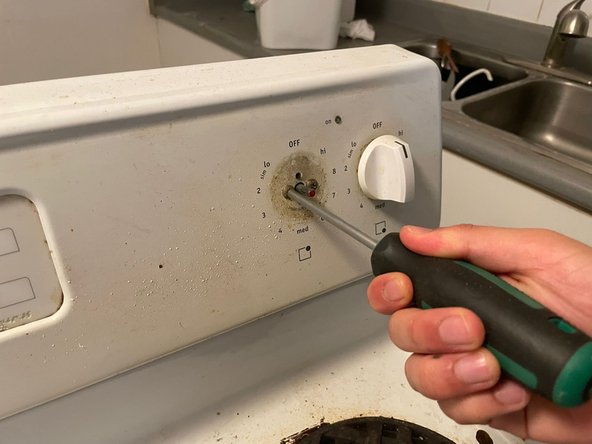
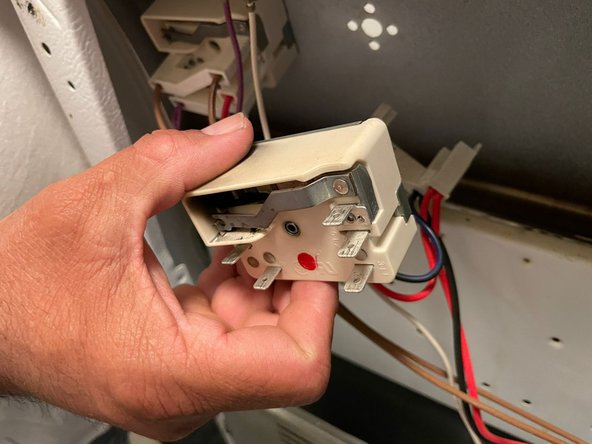
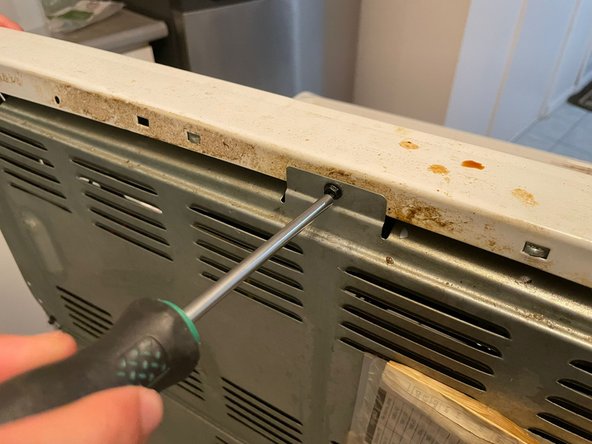
This is the Frigidaire Electric Stove CFEF3012PWC. When the burner is broken, the heat switch may be at fault. After checking the control switch and terminals, the heat switch is usually not considered.
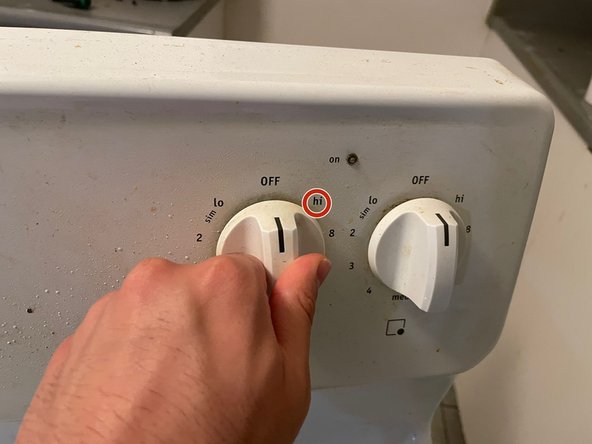
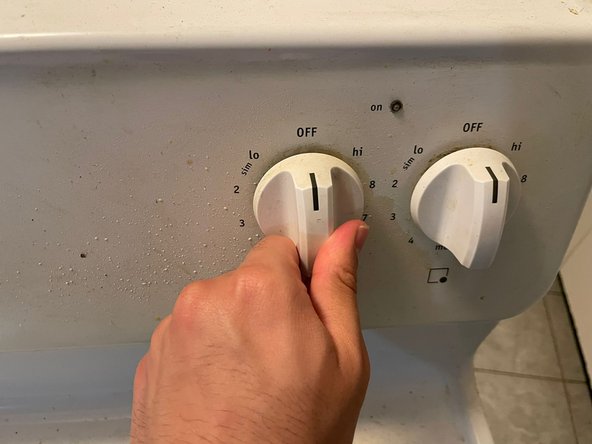
Be sure to be aware that everything should be turned off in the stove, to avoid any kinds of problems. Be sure to keep the manual with you while doing this to see what parts of the stove you need to look at.
What you need


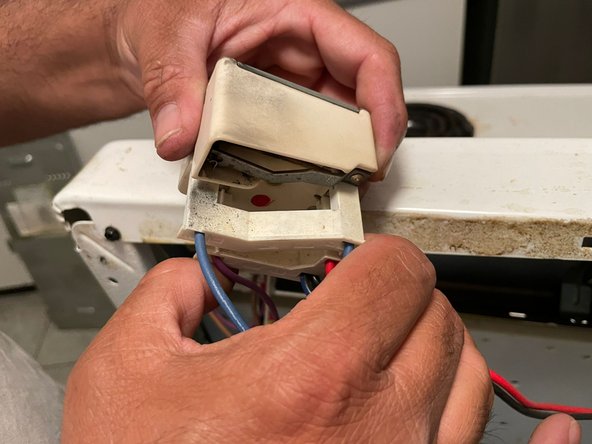

To reassemble your device, follow these instructions in reverse order.
To reassemble your device, follow these instructions in reverse order.

Team

York University, Team 2-22, O'Regan Fall 2023 Member of York University, Team 2-22, O'Regan Fall 2023
YORK-O'REGAN-F23S2G22
1 Member
1 Guide authored