Free Shipping on Domestic Orders $75+

Framework Laptop 16 Graphics Module Installation

Prerequisite Only
This is a prerequisite-only guide! This guide is part of another procedure and isn’t meant to be used alone.

What you need

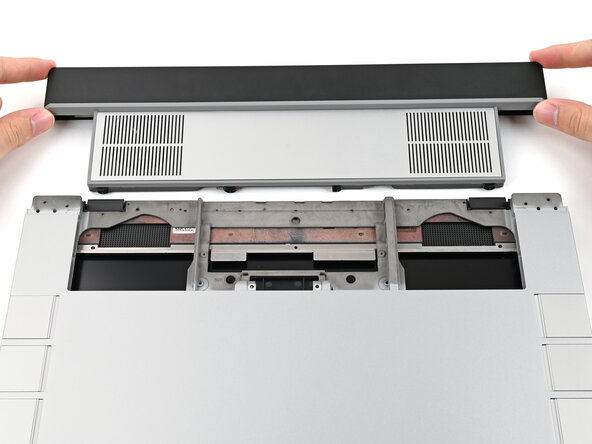
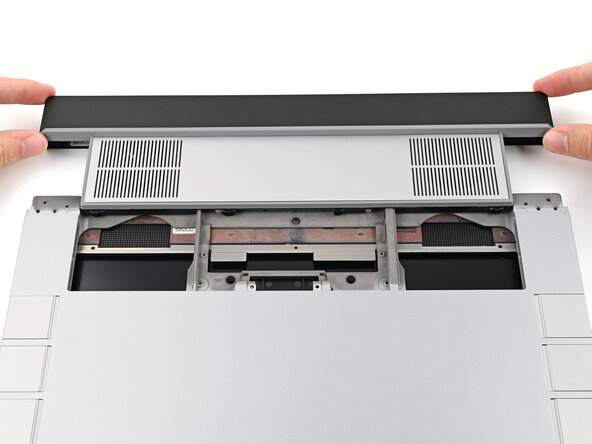
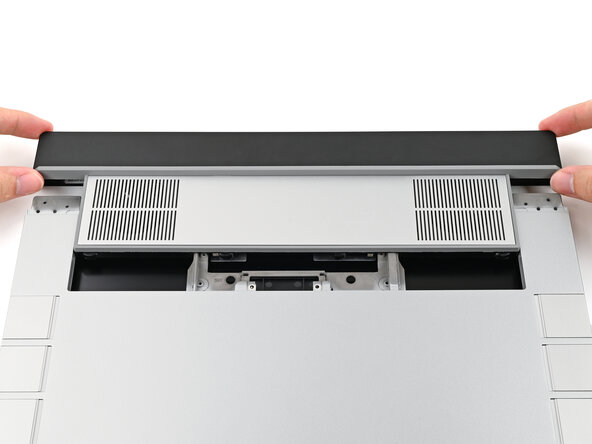
    1. Framework Laptop 16 Graphics Module Installation, Insert the Graphics Module: step 1, image 1 of 2 Framework Laptop 16 Graphics Module Installation, Insert the Graphics Module: step 1, image 2 of 2
      Ask FixBot

      Add Comment

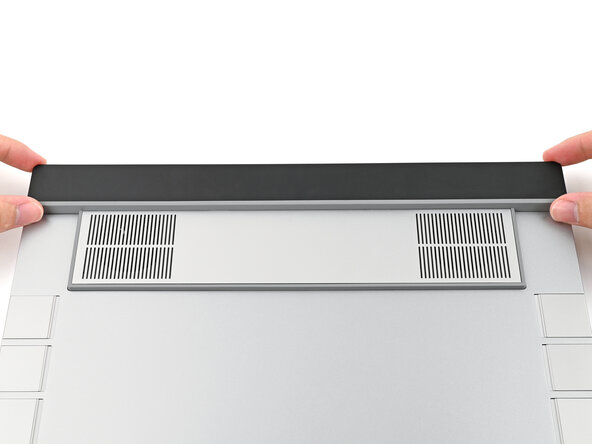
    2. Framework Laptop 16 Graphics Module Installation: step 2, image 1 of 2 Framework Laptop 16 Graphics Module Installation: step 2, image 2 of 2
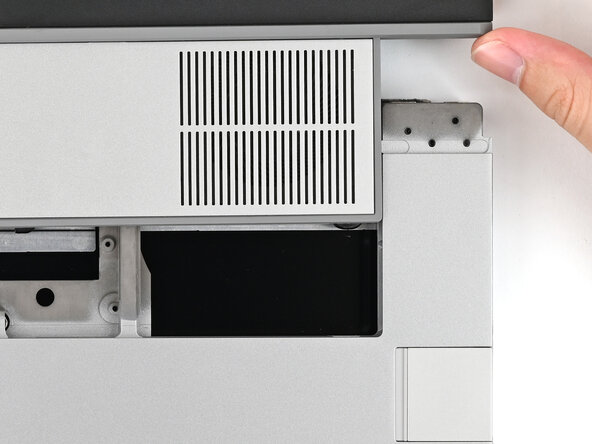
      • When installing the module, keep it level to the laptop so it doesn't buckle on the rails.

      • There should be no gaps between the laptop and the module when it's installed correctly.

      Ask FixBot

      Add Comment

    3. Framework Laptop 16 Graphics Module Installation: step 3, image 1 of 3 Framework Laptop 16 Graphics Module Installation: step 3, image 2 of 3 Framework Laptop 16 Graphics Module Installation: step 3, image 3 of 3
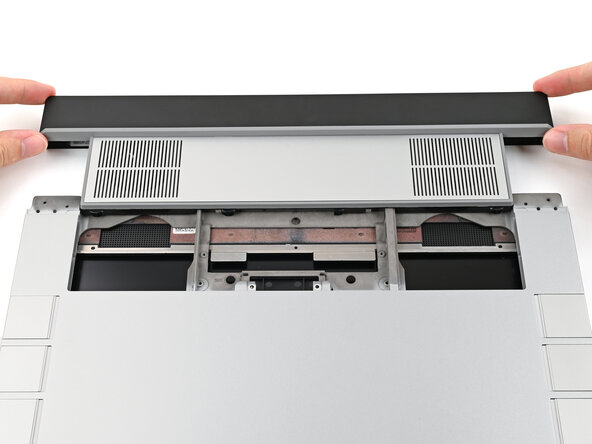
      • While keeping the module level with the laptop, slide it into its slot.

      • The module should slide in easily. If you feel any resistance, pull the module out and realign it.

      • You should hear an audible "click" when the module's clips snap into place.

      Ask FixBot

      Add Comment

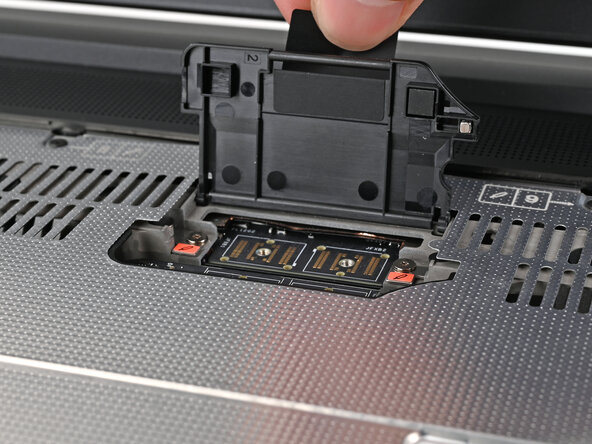
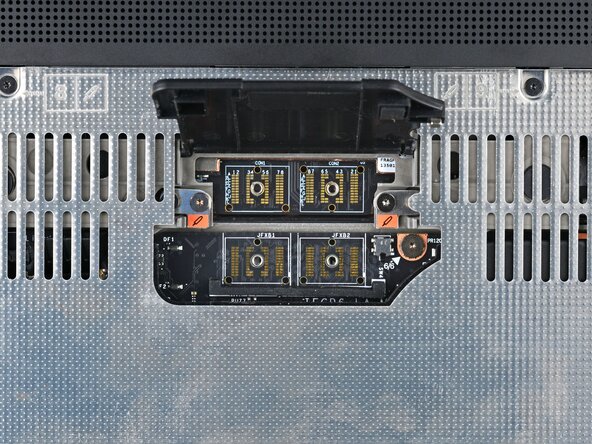
    4. Framework Laptop 16 Graphics Module Installation, Lift the interposer door: step 4, image 1 of 2 Framework Laptop 16 Graphics Module Installation, Lift the interposer door: step 4, image 2 of 2
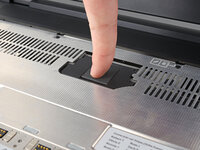
      • Flip over the laptop and open it.

      • Lift the interposer door by its black pull tab and let it rest upright.

      Ask FixBot

      Add Comment

    5. Framework Laptop 16 Graphics Module Installation, Tighten the Graphics Module screws: step 5, image 1 of 2 Framework Laptop 16 Graphics Module Installation, Tighten the Graphics Module screws: step 5, image 2 of 2
      • Use your Framework Screwdriver to tighten the two captive T5 Torx screws securing the Graphics Module.

      Ask FixBot

      Add Comment

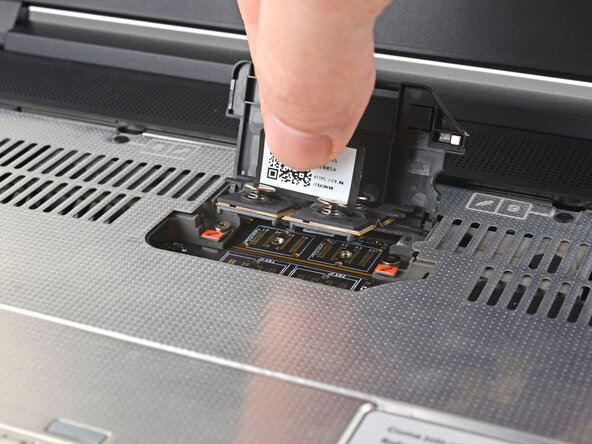
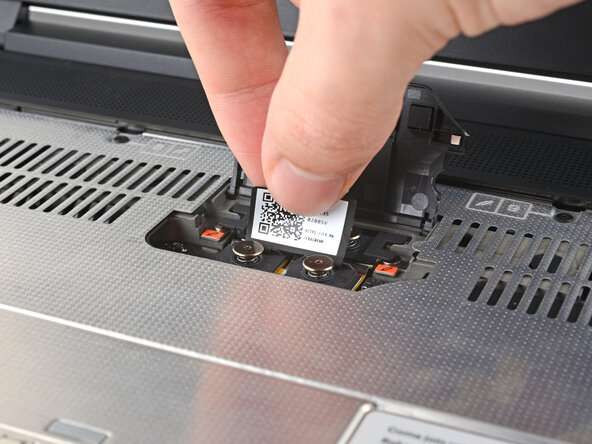
    6. Framework Laptop 16 Graphics Module Installation, Place the interposer: step 6, image 1 of 2 Framework Laptop 16 Graphics Module Installation, Place the interposer: step 6, image 2 of 2
      • Place the interposer over its spot between the Mainboard and the Graphics Module.

      Ask FixBot

      Add Comment

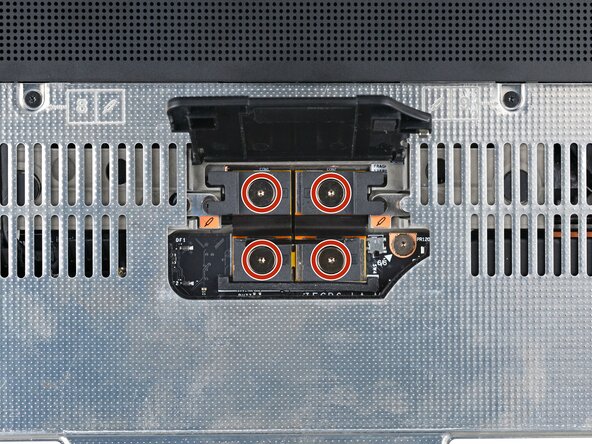
    7. Framework Laptop 16 Graphics Module Installation, Tighten the interposer screws: step 7, image 1 of 2 Framework Laptop 16 Graphics Module Installation, Tighten the interposer screws: step 7, image 2 of 2
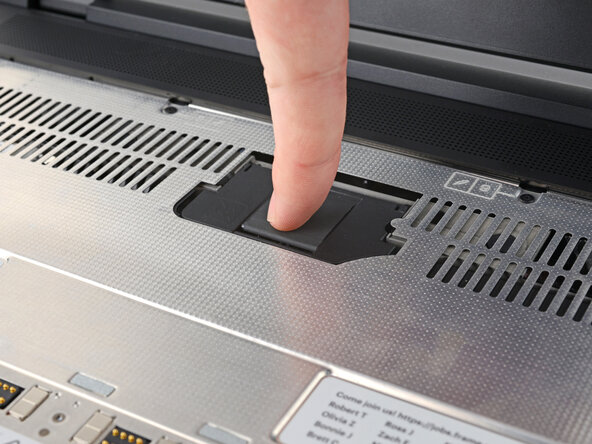
      • Use your Framework Screwdriver to tighten the four captive T5 Torx screws securing the interposer.

      • Close the interposer door.

      Ask FixBot

      Add Comment

Conclusion

To reassemble your device, follow these instructions in reverse order.

Repair didn’t go as planned? Try some basic troubleshooting, or ask our Answers Community for help.

Cancel: I did not complete this guide.

Alex Diaz-Kokaisl

Member since: 01/16/22

249,976 Reputation

1,203 Guides authored

0 Guide Comments

Add Comment

View Statistics:

Past 24 Hours: 0

Past 7 Days: 2

Past 30 Days: 17

All Time: 80