
Free Shipping on Domestic Orders $75+

Framework Laptop 16 Bezel Replacement

What you need

  1. Framework Laptop 16 Bezel Replacement, Create a gap: step 1, image 1 of 3 Framework Laptop 16 Bezel Replacement, Create a gap: step 1, image 2 of 3 Framework Laptop 16 Bezel Replacement, Create a gap: step 1, image 3 of 3
    • The bezel is secured with magnets.

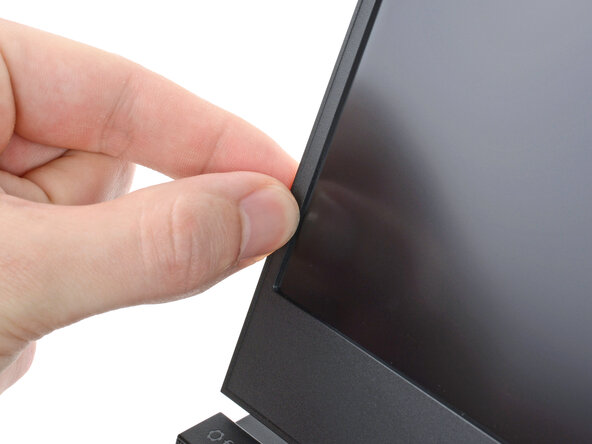
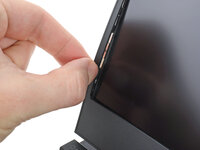
    • Slide your fingernail under the inside edge of either bottom corner of the bezel.

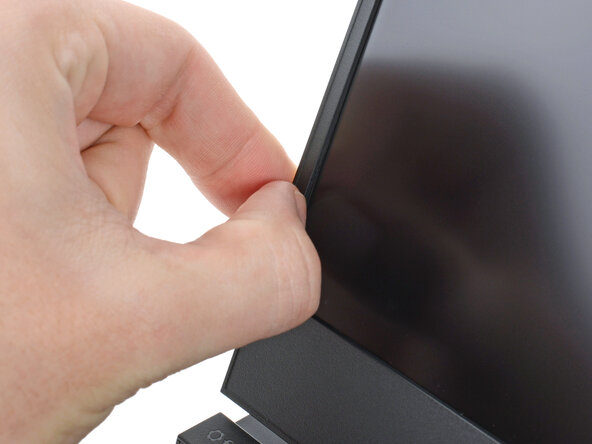
    • Pull the bezel away from the screen to release the first few magnets.

  2. Framework Laptop 16 Bezel Replacement, Remove the bezel: step 2, image 1 of 3 Framework Laptop 16 Bezel Replacement, Remove the bezel: step 2, image 2 of 3 Framework Laptop 16 Bezel Replacement, Remove the bezel: step 2, image 3 of 3
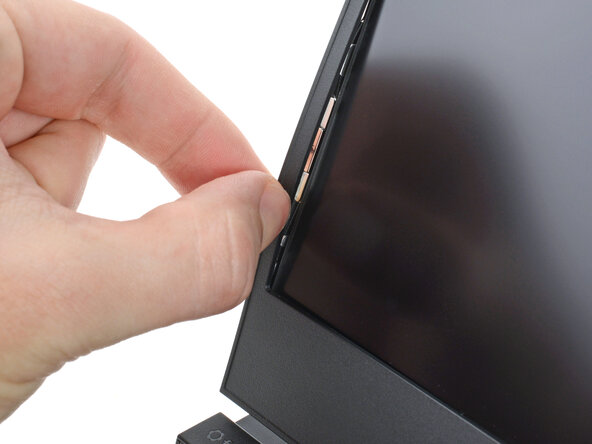
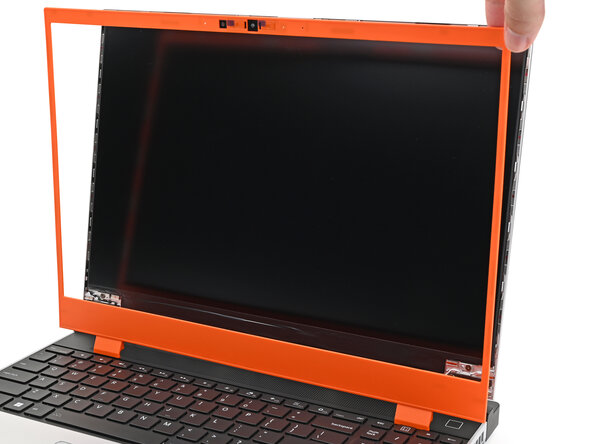
    • Lift the bezel around the perimeter of the screen until all of its magnets are released.
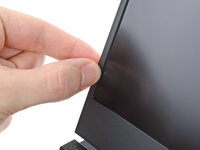
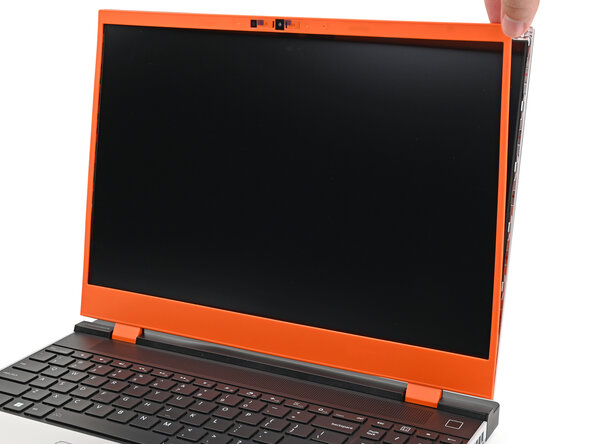
    • Remove the bezel.

  3. Framework Laptop 16 Bezel Replacement, Install the bezel: step 3, image 1 of 3 Framework Laptop 16 Bezel Replacement, Install the bezel: step 3, image 2 of 3 Framework Laptop 16 Bezel Replacement, Install the bezel: step 3, image 3 of 3
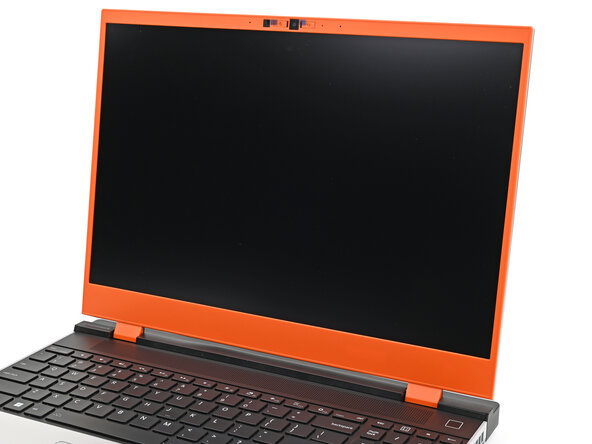
    • Align the bezel over the perimeter of the display and let the magnets pull the bezel into place.

    • The bezel should "snap" into place. If it doesn't, realign it and make sure it sits flush with the display.

  4. Framework Laptop 16 Bezel Replacement, Remove the plastic liners: step 4, image 1 of 2 Framework Laptop 16 Bezel Replacement, Remove the plastic liners: step 4, image 2 of 2
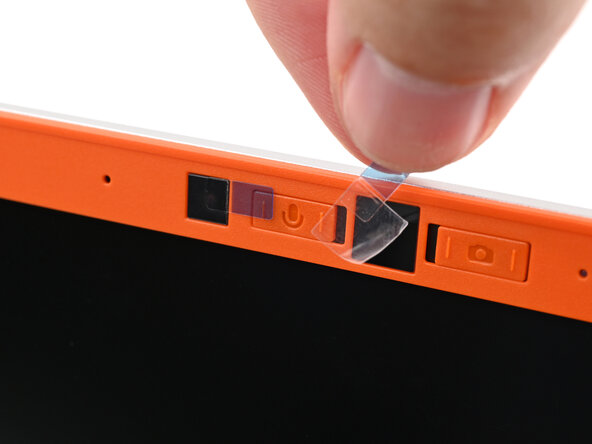
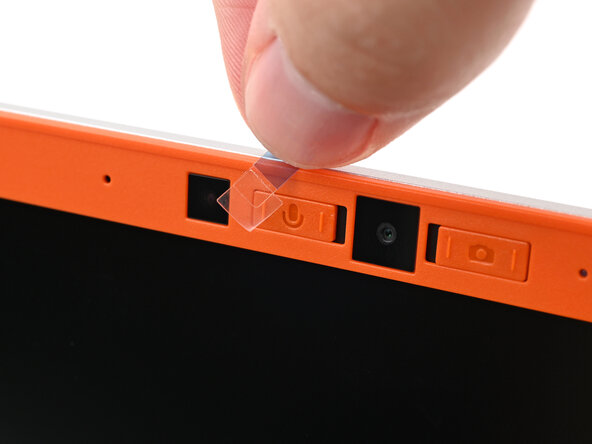
    • If there are any plastic liners covering the webcam and microphone, remove them.

Conclusion

If you need help, contact Framework support.

Alex Diaz-Kokaisl

Member since: 01/16/22

235,032 Reputation

1,142 Guides authored

0 Guide Comments

Add Comment

View Statistics:

Past 24 Hours: 1

Past 7 Days: 7

Past 30 Days: 23

All Time: 69