Free Shipping on Domestic Orders $75+

Framework Desktop Mainboard Removal (Case)

Prerequisite Only
This is a prerequisite-only guide! This guide is part of another procedure and isn’t meant to be used alone.
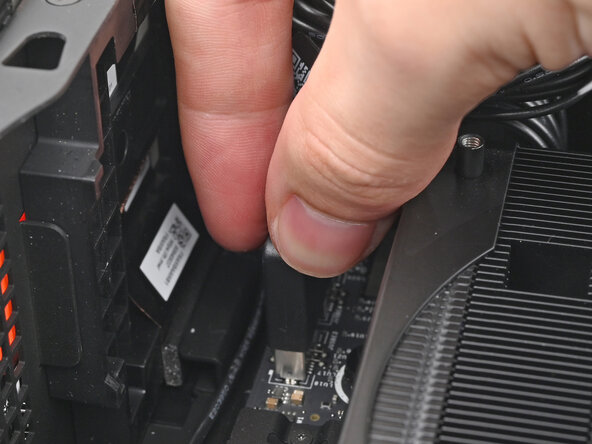
    1. Framework Desktop Mainboard Removal (Case), Disconnect the top Expansion Card cable: step 1, image 1 of 2 Framework Desktop Mainboard Removal (Case), Disconnect the top Expansion Card cable: step 1, image 2 of 2
      • Pull the top Expansion Card connector straight out of its socket in the Mainboard to disconnect it.

      Ask FixBot

      Add Comment

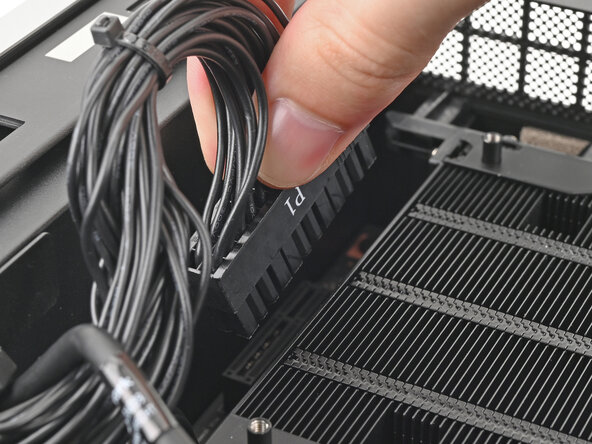
    2. Framework Desktop Mainboard Removal (Case), Disconnect the main power cable: step 2, image 1 of 2 Framework Desktop Mainboard Removal (Case), Disconnect the main power cable: step 2, image 2 of 2
      • While squeezing the clip on the main power cable, pull it straight up and out of its socket to disconnect it.

      Ask FixBot

      Add Comment

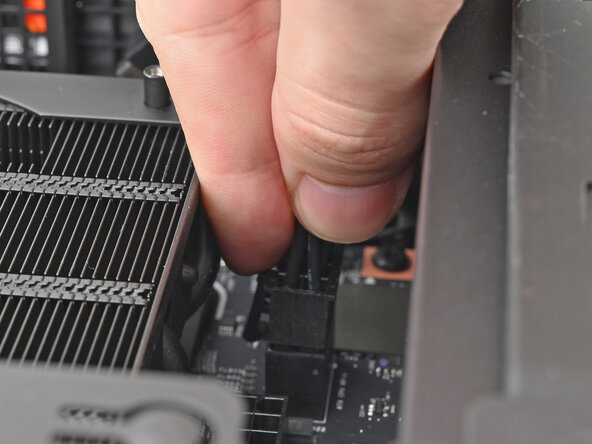
    3. Framework Desktop Mainboard Removal (Case), Disconnect the CPU power cable: step 3, image 1 of 2 Framework Desktop Mainboard Removal (Case), Disconnect the CPU power cable: step 3, image 2 of 2
      • While squeezing the clip on the CPU power cable, pull it straight up and out of its socket to disconnect it.

      Ask FixBot

      Add Comment

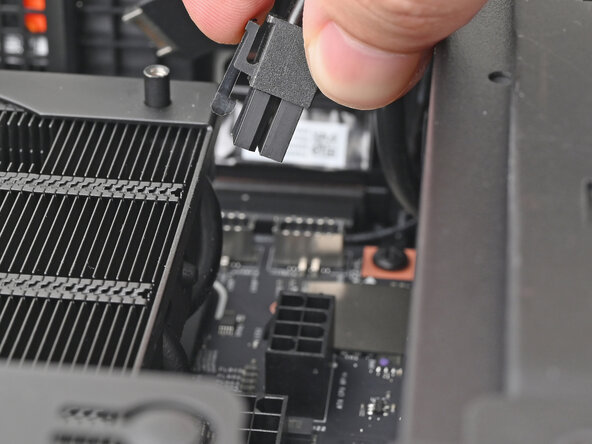
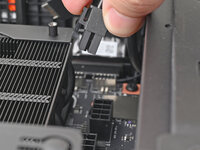
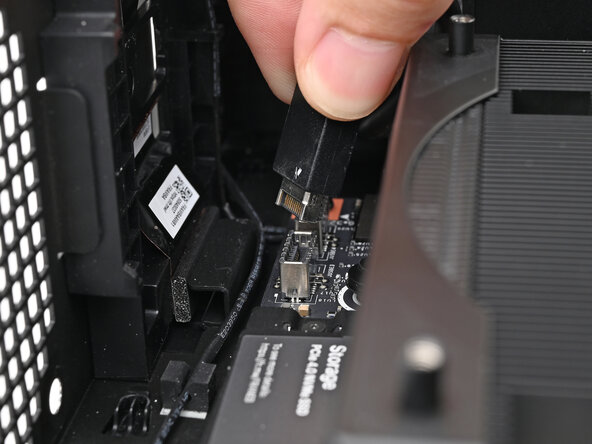
    4. Framework Desktop Mainboard Removal (Case), Disconnect the bottom Expansion Card cable: step 4, image 1 of 2 Framework Desktop Mainboard Removal (Case), Disconnect the bottom Expansion Card cable: step 4, image 2 of 2
      • Pull the bottom Expansion Card connector straight out of its socket in the Mainboard to disconnect it.

      Ask FixBot

      Add Comment

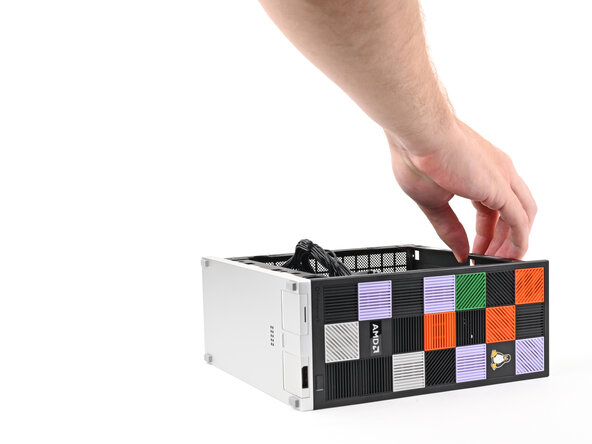
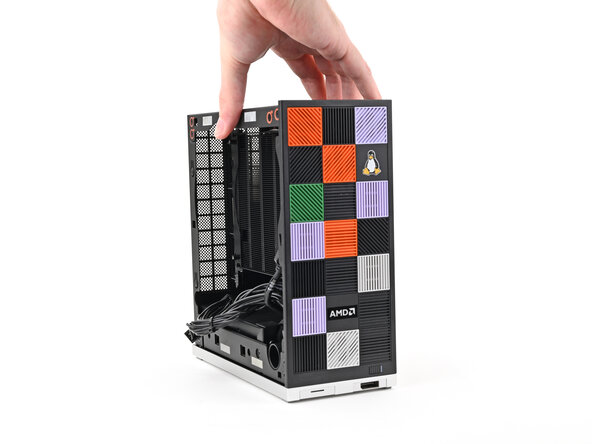
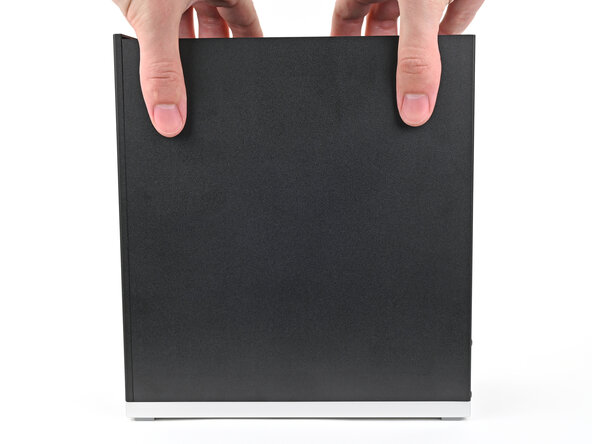
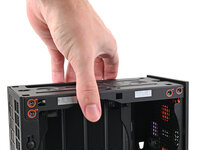
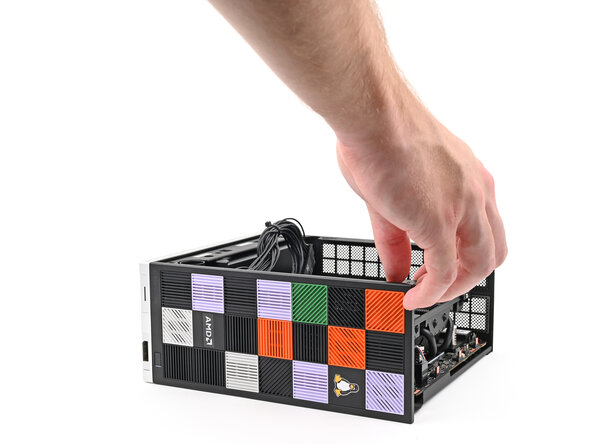
    5. Framework Desktop Mainboard Removal (Case), Reposition the Desktop: step 5, image 1 of 2 Framework Desktop Mainboard Removal (Case), Reposition the Desktop: step 5, image 2 of 2
      • Lift the Desktop so it stands upright on your work surface.

      Ask FixBot

      Add Comment

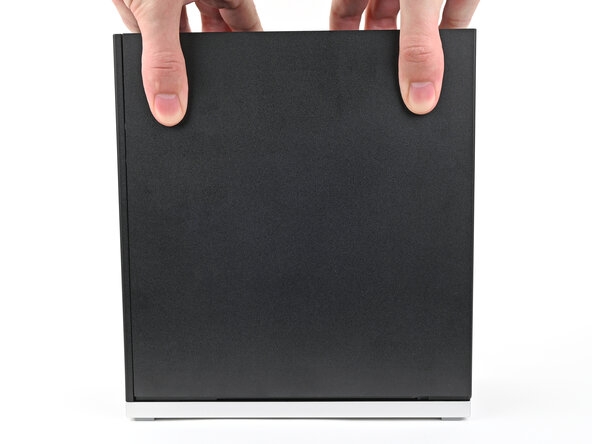
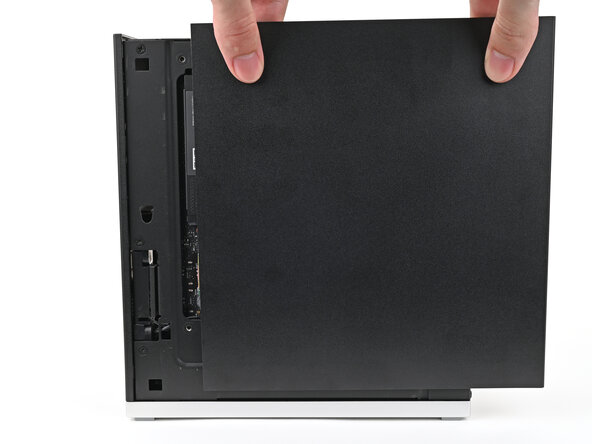
    6. Framework Desktop Mainboard Removal (Case), Remove the Right Panel: step 6, image 1 of 3 Framework Desktop Mainboard Removal (Case), Remove the Right Panel: step 6, image 2 of 3 Framework Desktop Mainboard Removal (Case), Remove the Right Panel: step 6, image 3 of 3
      • Use your fingers to grip the top of the Right Panel and slide it upward to release its clips.

      • Remove the Right Panel.

      Ask FixBot

      Add Comment

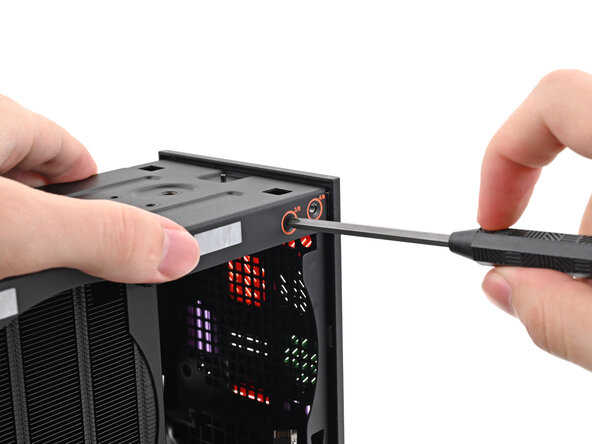
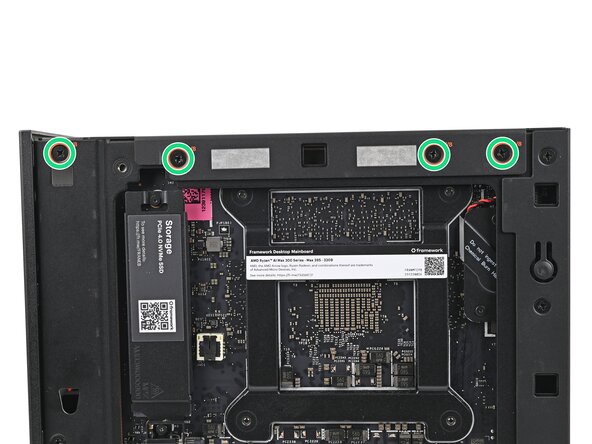
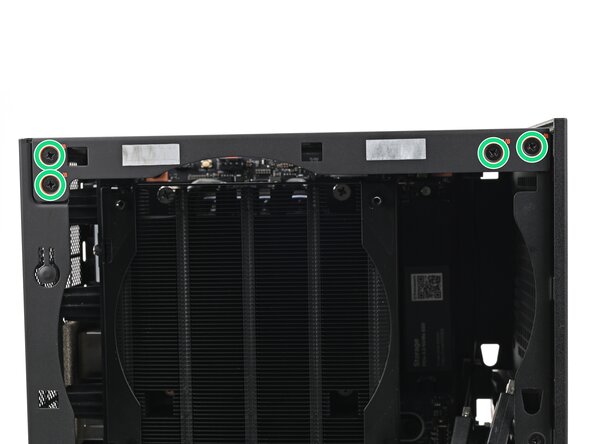
    7. Framework Desktop Mainboard Removal (Case), Remove the top plate screws: step 7, image 1 of 3 Framework Desktop Mainboard Removal (Case), Remove the top plate screws: step 7, image 2 of 3 Framework Desktop Mainboard Removal (Case), Remove the top plate screws: step 7, image 3 of 3
      • While holding the Desktop steady, use your Framework Desktop Screwdriver to remove the eight 4.0 mm‑long Phillips screws securing the top plate.

      Ask FixBot

      Add Comment

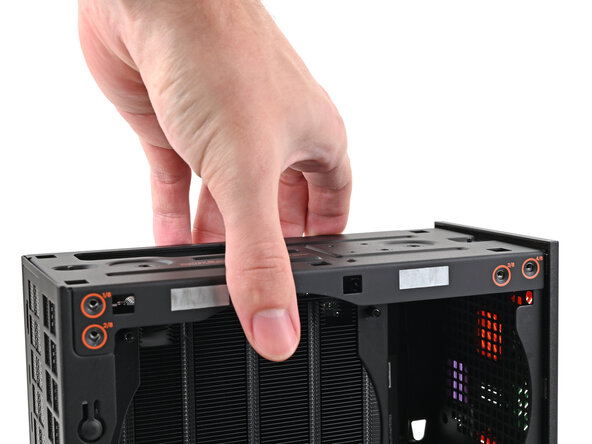
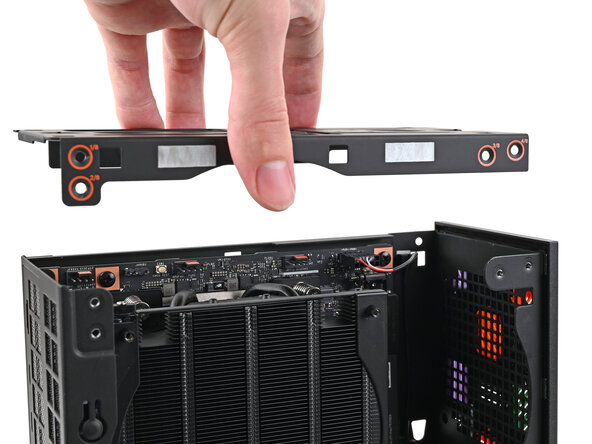
    8. Framework Desktop Mainboard Removal (Case), Remove the top plate: step 8, image 1 of 2 Framework Desktop Mainboard Removal (Case), Remove the top plate: step 8, image 2 of 2
      • Lift the top plate off the Desktop and remove it.

      Ask FixBot

      Add Comment

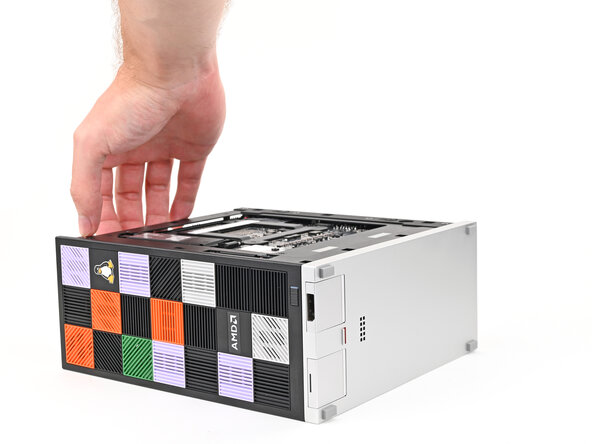
    9. Framework Desktop Mainboard Removal (Case), Reposition the Desktop: step 9, image 1 of 2 Framework Desktop Mainboard Removal (Case), Reposition the Desktop: step 9, image 2 of 2
      • Lay the left side of the Desktop on your work surface so the underside of the Mainboard is facing upward.

      Ask FixBot

      Add Comment

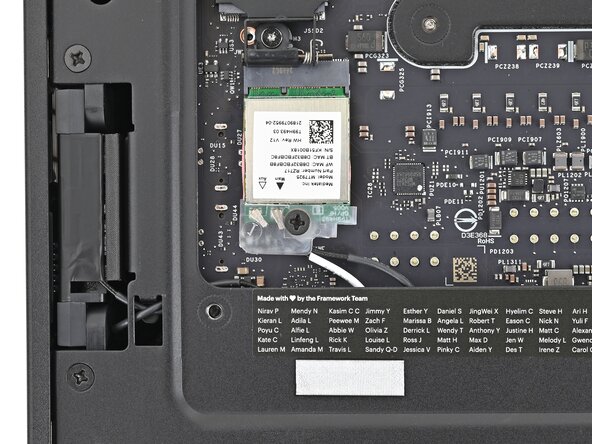
    10. Framework Desktop Mainboard Removal (Case), Remove the Wi-Fi Module screw: step 10, image 1 of 2 Framework Desktop Mainboard Removal (Case), Remove the Wi-Fi Module screw: step 10, image 2 of 2
      • Use your Framework Desktop Screwdriver to remove the 7.0 mm‑long Phillips screw securing the Wi-Fi module.

      Ask FixBot

      Add Comment

    11. Framework Desktop Mainboard Removal (Case), Remove the Wi-Fi module cover: step 11, image 1 of 2 Framework Desktop Mainboard Removal (Case), Remove the Wi-Fi module cover: step 11, image 2 of 2
      • Use your fingers to slide the Wi-Fi module cover straight off the bottom of the module.

      • Remove the cover.

      Ask FixBot

      Add Comment

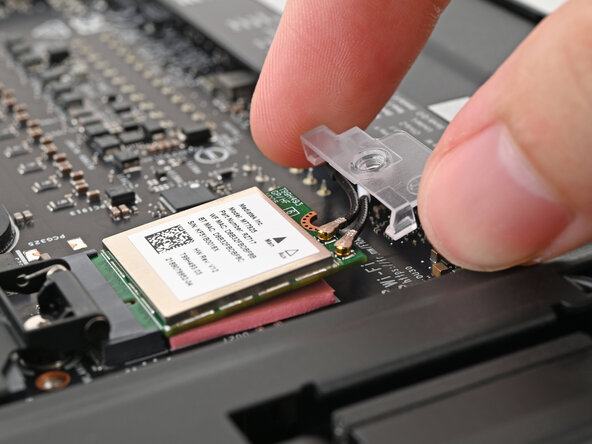
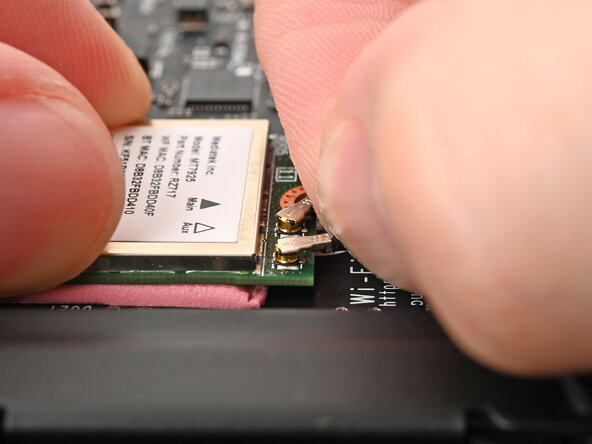
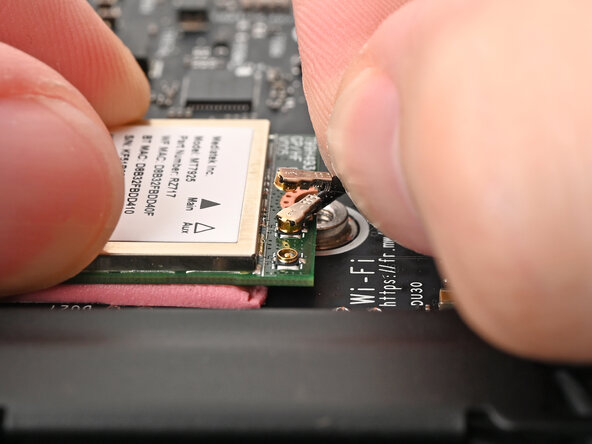
    12. Framework Desktop Mainboard Removal (Case), Disconnect the Wi-Fi module: step 12, image 1 of 3 Framework Desktop Mainboard Removal (Case), Disconnect the Wi-Fi module: step 12, image 2 of 3 Framework Desktop Mainboard Removal (Case), Disconnect the Wi-Fi module: step 12, image 3 of 3
      • The Wi-Fi module has two delicate coaxial cable connectors. Follow this step carefully to avoid damaging them.

      • Press and hold the Wi-Fi module down with your fingers.

      • Use your fingers to grip the white antenna cable, as close to the metal head as possible.

      • If you have angled tweezers, slide one arm of a pair of tweezers under the antenna connector, as close to the metal head as possible.

      • Gently lift the connector straight up to disconnect the white antenna cable.

      • Repeat the procedure with the black antenna cable.

      Ask FixBot

      Add Comment

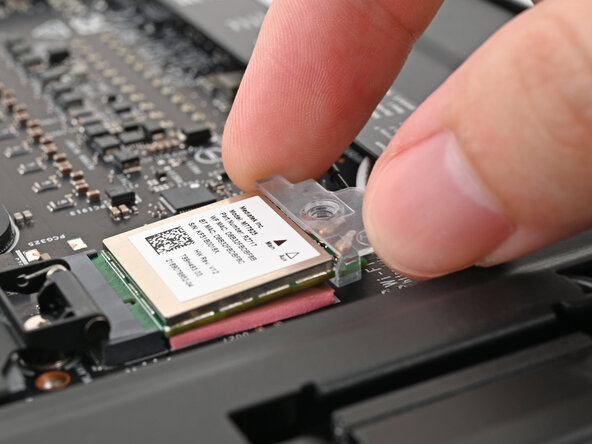
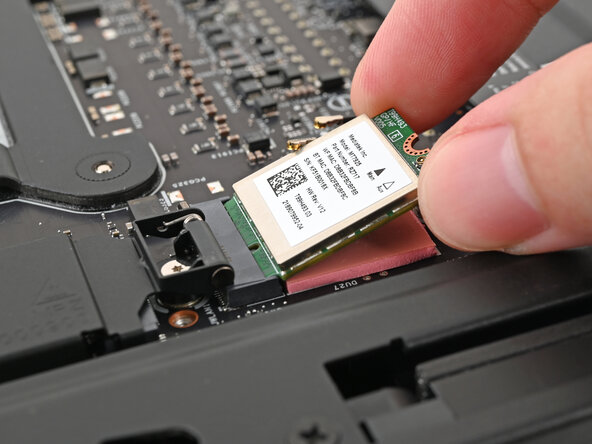
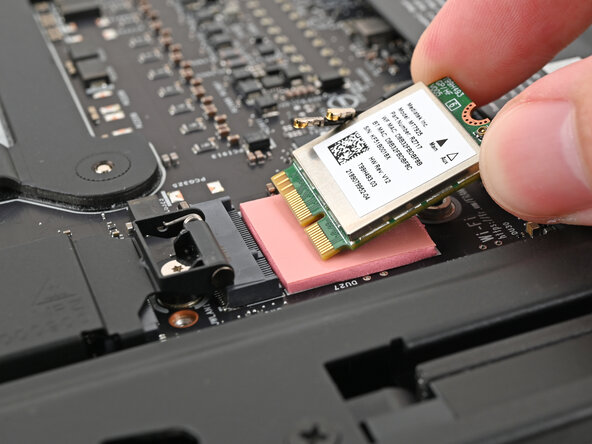
    13. Framework Desktop Mainboard Removal (Case), Remove the Wi-Fi module: step 13, image 1 of 2 Framework Desktop Mainboard Removal (Case), Remove the Wi-Fi module: step 13, image 2 of 2
      • Grip the Wi-Fi module by its edges and pull it straight out of its socket.

      • Remove the Wi-Fi module.

      Ask FixBot

      Add Comment

    14. Framework Desktop Mainboard Removal (Case), Reposition the Desktop: step 14, image 1 of 2 Framework Desktop Mainboard Removal (Case), Reposition the Desktop: step 14, image 2 of 2
      • Rotate the Desktop onto its right side so the Mainboard is facing upward.

      Ask FixBot

      Add Comment

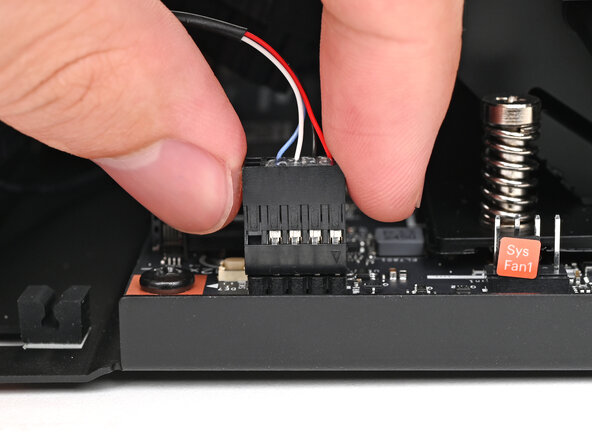
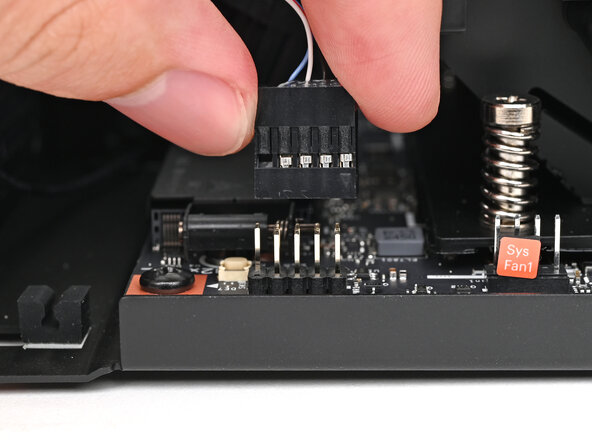
    15. Framework Desktop Mainboard Removal (Case), Disconnect the power button: step 15, image 1 of 2 Framework Desktop Mainboard Removal (Case), Disconnect the power button: step 15, image 2 of 2
      • Use your fingers to lift the power button cable connector off its nine‑pronged socket on the Mainboard.

      Ask FixBot

      Add Comment

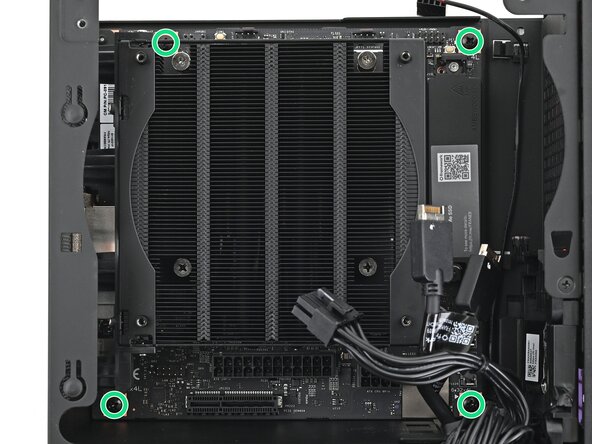
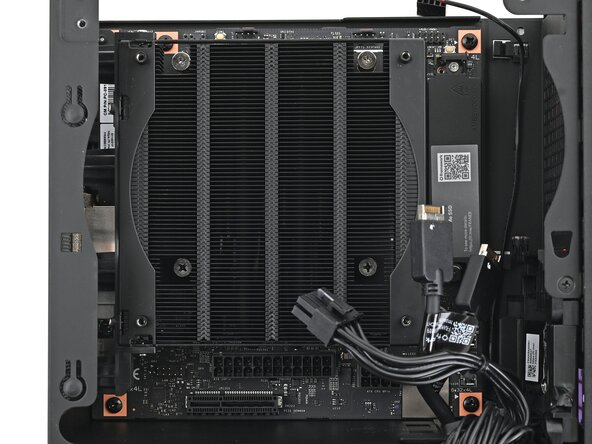
    16. Framework Desktop Mainboard Removal (Case), Remove the Mainboard screws: step 16, image 1 of 2 Framework Desktop Mainboard Removal (Case), Remove the Mainboard screws: step 16, image 2 of 2
      • Use your Framework Desktop Screwdriver to remove the four 8.2 mm‑long Phillips screws securing the Mainboard.

      Ask FixBot

      Add Comment

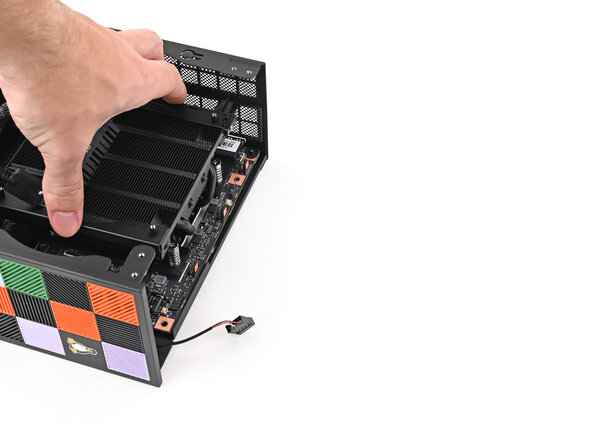
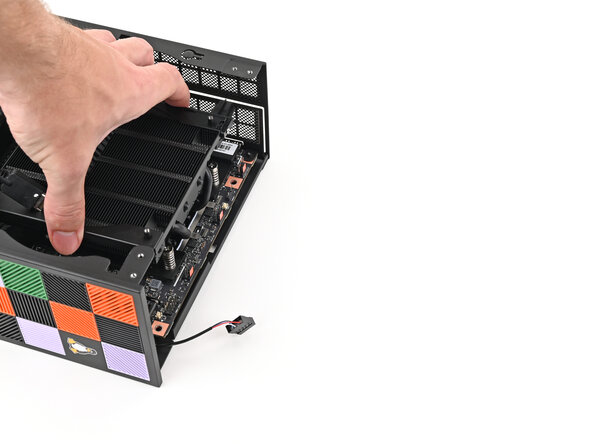
    17. Framework Desktop Mainboard Removal (Case), Remove the Mainboard: step 17, image 1 of 3 Framework Desktop Mainboard Removal (Case), Remove the Mainboard: step 17, image 2 of 3 Framework Desktop Mainboard Removal (Case), Remove the Mainboard: step 17, image 3 of 3
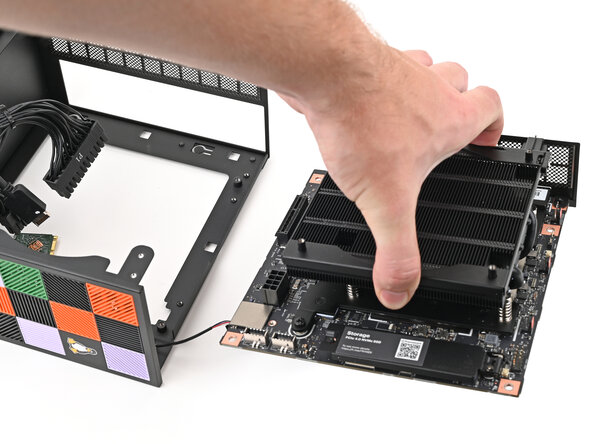
      • Grab the Mainboard by its heatsink and pull it towards the front of the Desktop to slide it out of the rear port cutout.

      • Only grab the heatsink by its left and right edges (the edges facing the back I/O ports and the Primary SSD). If you grab the other edges, you risk bending the heatsink fins.

      • Slide the Mainboard towards the top of the Desktop to remove it from the chassis.

      Ask FixBot

      Add Comment

Conclusion

To reassemble your device, follow these instructions in reverse order.

Cancel: I did not complete this guide.

Alex Diaz-Kokaisl

Member since: 01/16/22

249,976 Reputation

1,203 Guides authored

0 Guide Comments

Add Comment

View Statistics:

Past 24 Hours: 0

Past 7 Days: 5

Past 30 Days: 15

All Time: 61