Free Shipping on Domestic Orders $75+

Framework Desktop Mainboard Installation

Prerequisite Only
This is a prerequisite-only guide! This guide is part of another procedure and isn’t meant to be used alone.
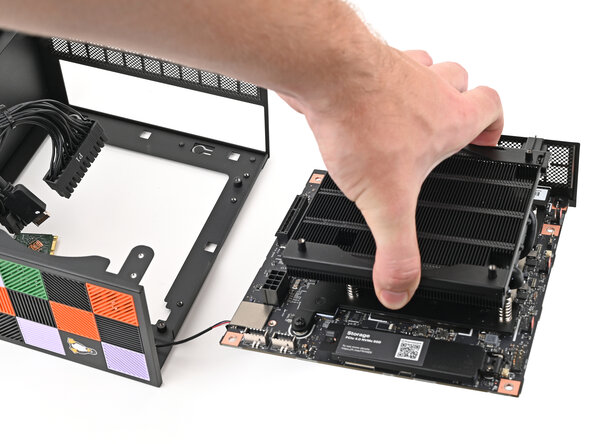
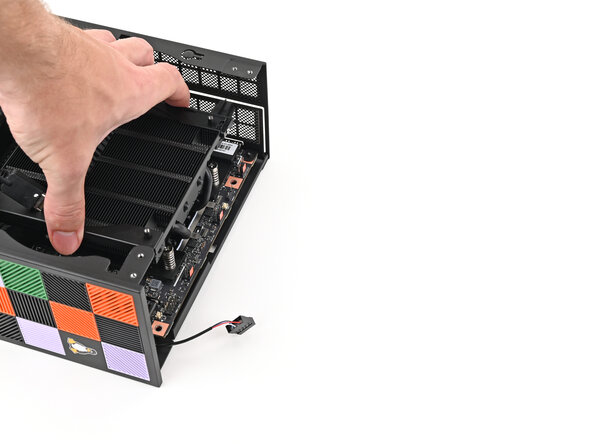
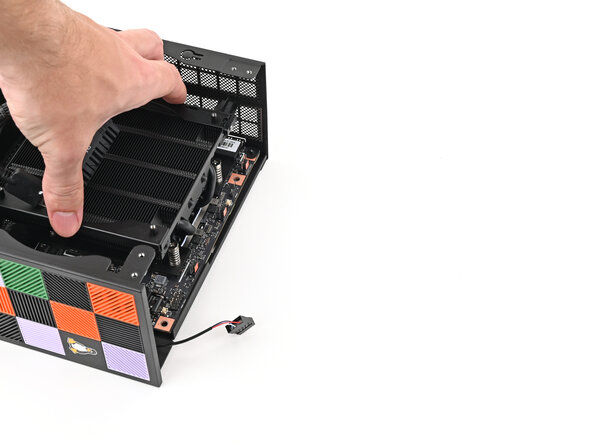
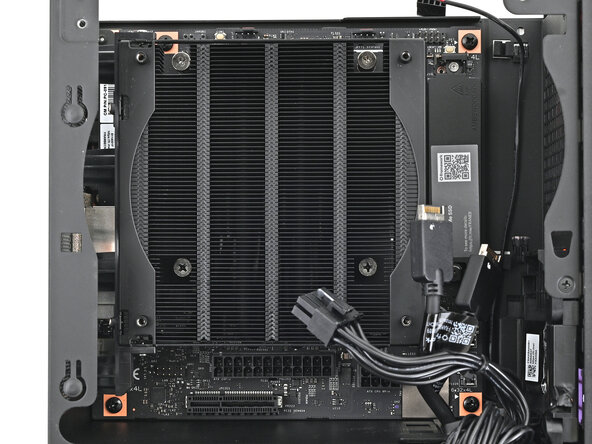
    1. Framework Desktop Mainboard Installation, Place the Mainboard: step 1, image 1 of 3 Framework Desktop Mainboard Installation, Place the Mainboard: step 1, image 2 of 3 Framework Desktop Mainboard Installation, Place the Mainboard: step 1, image 3 of 3
      • Grab the Mainboard by its heatsink and slide it into the chassis.

      • Align the rear ports with its cutout and the screw posts with the screw holes on the Mainboard.

      • You'll feel the Mainboard rest onto the screw posts when it's aligned properly.

      • Make sure no cables are trapped underneath the Mainboard before continuing.

      Ask FixBot

      Add Comment

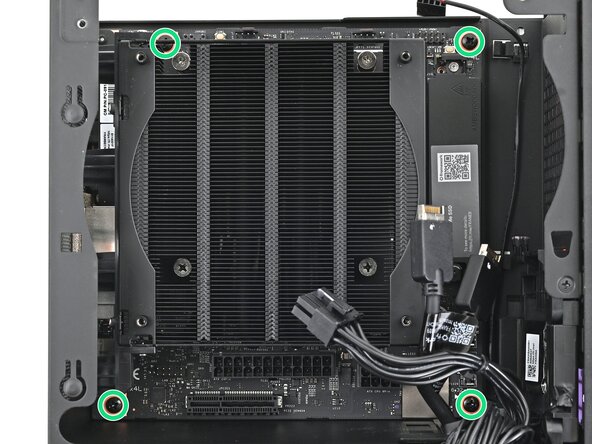
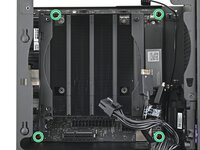
    2. Framework Desktop Mainboard Installation, Install the Mainboard screws: step 2, image 1 of 2 Framework Desktop Mainboard Installation, Install the Mainboard screws: step 2, image 2 of 2
      • Use your Framework Desktop Screwdriver to install the four 8.2 mm‑long Phillips screws securing the Mainboard.

      Ask FixBot

      Add Comment

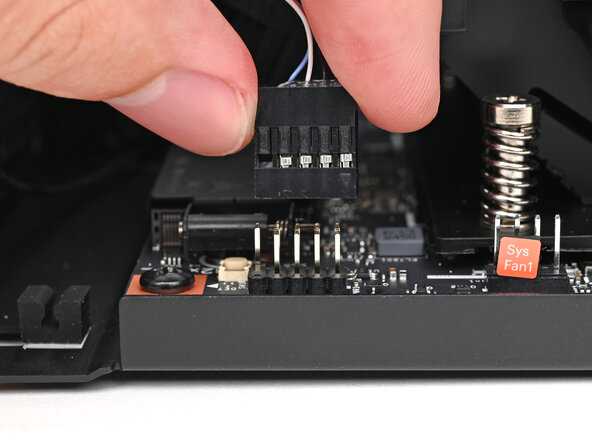
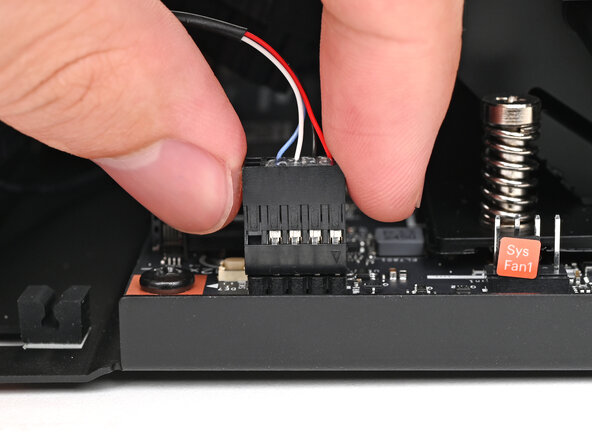
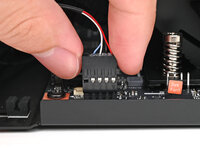
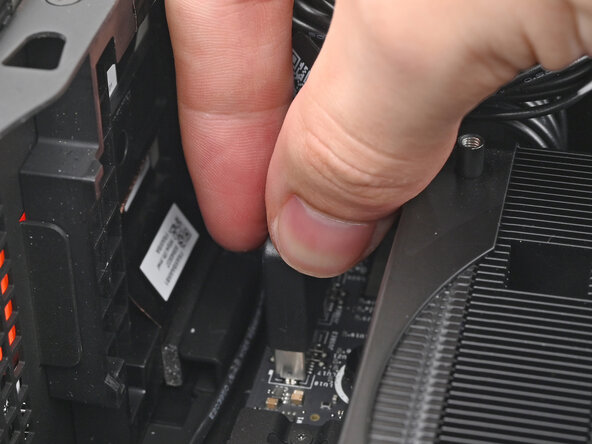
    3. Framework Desktop Mainboard Installation, Connect the power button: step 3, image 1 of 2 Framework Desktop Mainboard Installation, Connect the power button: step 3, image 2 of 2
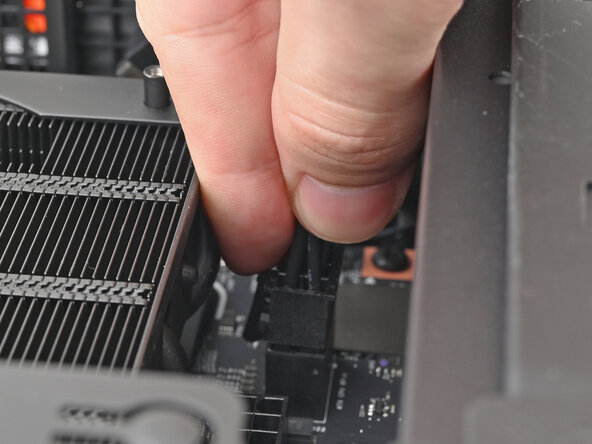
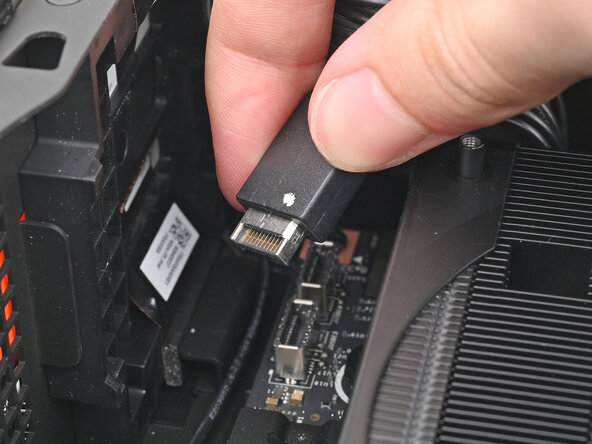
      • Slide the power button cable over the nine-pronged connector on the Mainboard.

      Ask FixBot

      Add Comment

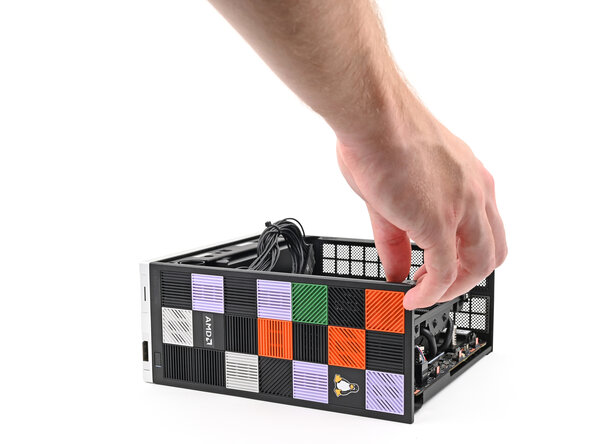
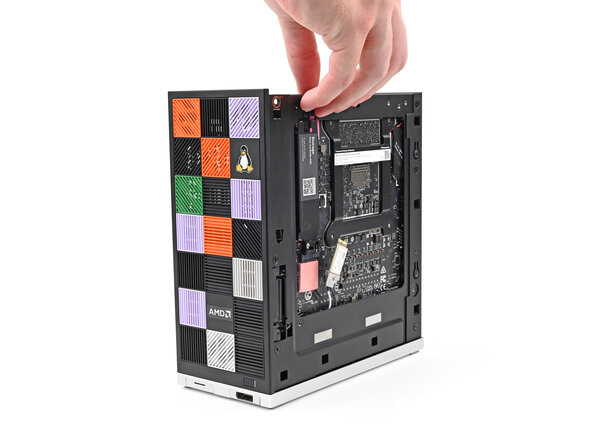
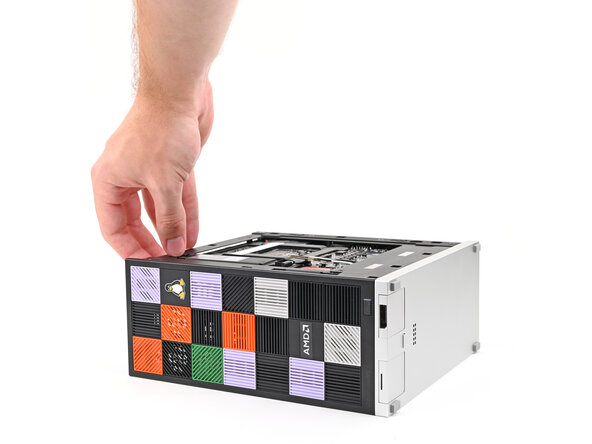
    4. Framework Desktop Mainboard Installation, Reposition the Desktop: step 4, image 1 of 3 Framework Desktop Mainboard Installation, Reposition the Desktop: step 4, image 2 of 3 Framework Desktop Mainboard Installation, Reposition the Desktop: step 4, image 3 of 3
      • Rotate the Desktop onto its left side so the underside of the Mainboard is facing upward.

      Ask FixBot

      Add Comment

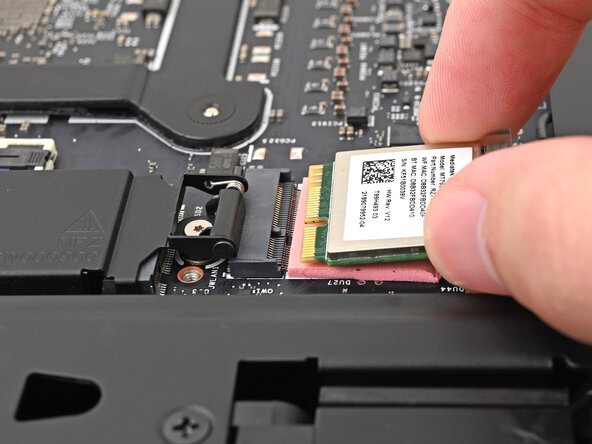
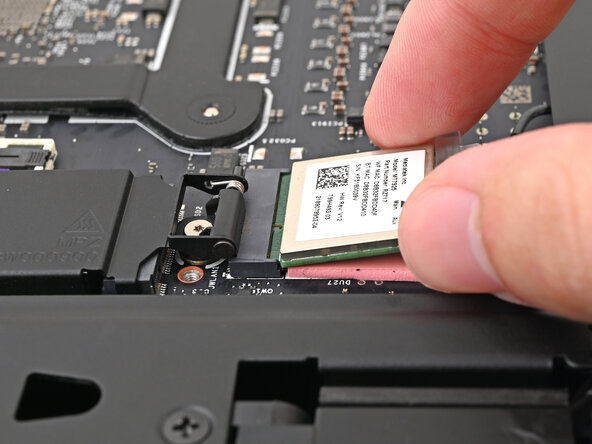
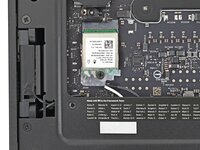
    5. Framework Desktop Mainboard Installation, Install the Wi-Fi module: step 5, image 1 of 2 Framework Desktop Mainboard Installation, Install the Wi-Fi module: step 5, image 2 of 2
      • Hold the Wi-Fi module by its edges. Don't touch the gold contacts with your fingers. If you do, wipe the contacts with a clean, lint-free cloth to remove any finger oils.

      • Align the Wi-Fi module's gold contacts and notch with the socket on the Mainboard.

      • Insert the Wi-Fi module into the socket at a shallow angle. The gold contacts should mostly be covered by the socket.

      • The Wi-Fi module fits into the socket in one orientation. If it doesn't fit, try flipping the module.

      Ask FixBot

      Add Comment

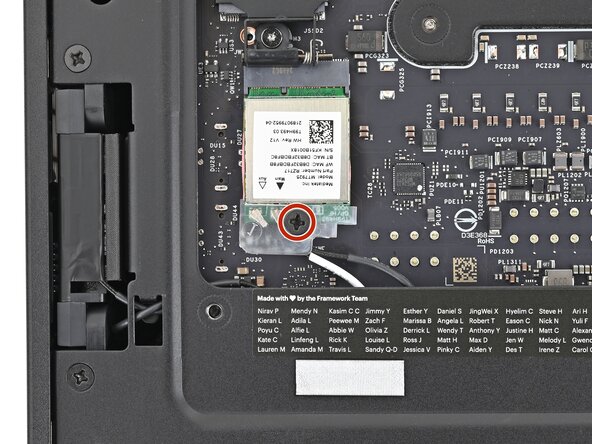
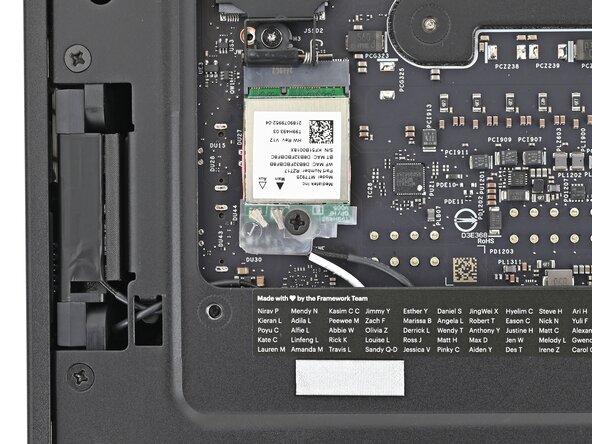
    6. Framework Desktop Mainboard Installation, Install the Wi-Fi module screw: step 6, image 1 of 2 Framework Desktop Mainboard Installation, Install the Wi-Fi module screw: step 6, image 2 of 2
      • Use your Framework Desktop Screwdriver to install the 7.0 mm‑long Phillips screw securing the Wi-Fi module.

      Ask FixBot

      Add Comment

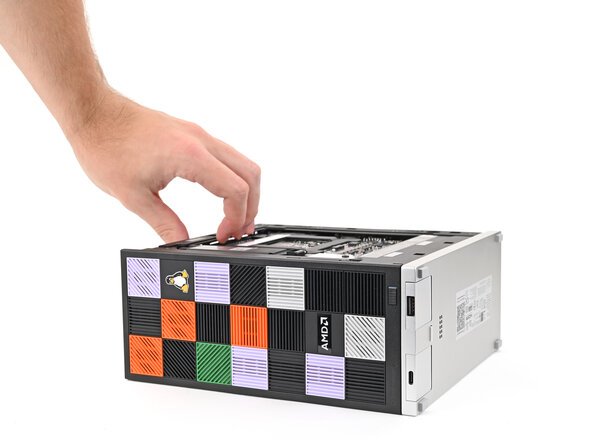
    7. Framework Desktop Mainboard Installation, Reposition the Desktop: step 7, image 1 of 2 Framework Desktop Mainboard Installation, Reposition the Desktop: step 7, image 2 of 2
      • Rotate the Desktop so it sits upright on your work surface.

      Ask FixBot

      Add Comment

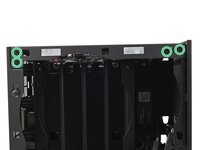
    8. Framework Desktop Mainboard Installation, Place the top plate: step 8, image 1 of 2 Framework Desktop Mainboard Installation, Place the top plate: step 8, image 2 of 2
      • Place the top plate on top of the Desktop, making sure it slots into the chassis so the orange circles are visible.

      Ask FixBot

      Add Comment

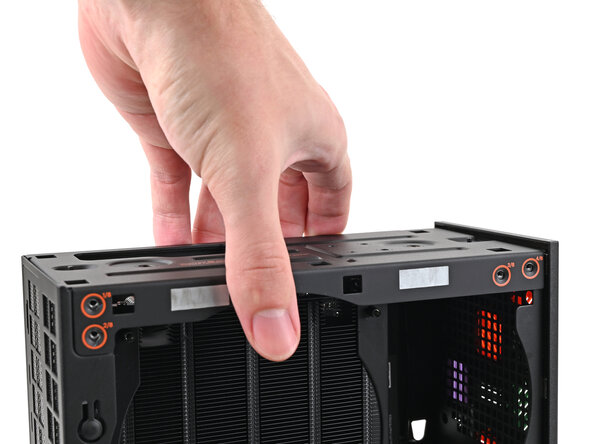
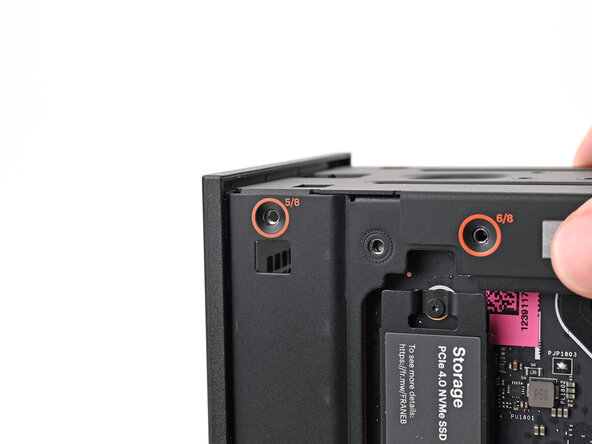
    9. Framework Desktop Mainboard Installation: step 9, image 1 of 2 Framework Desktop Mainboard Installation: step 9, image 2 of 2
      • Make sure the matching screw hole on the top plate labeled "5/8" is slotted on the inside of the Chassis so that the orange circle is visible.

      Ask FixBot

      Add Comment

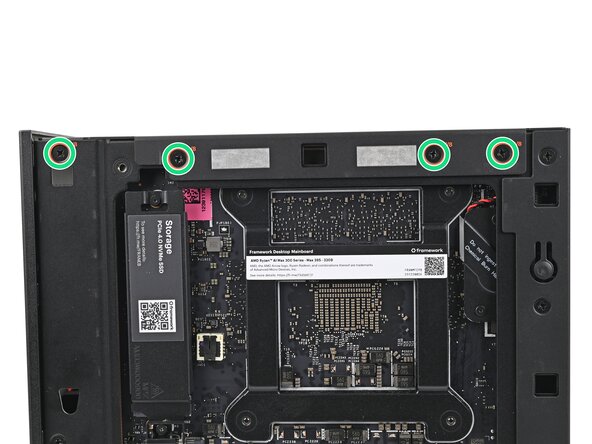
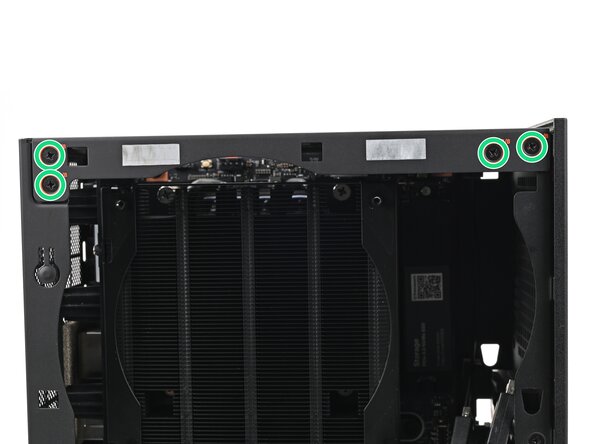
    10. Framework Desktop Mainboard Installation, Install the top plate screws: step 10, image 1 of 3 Framework Desktop Mainboard Installation, Install the top plate screws: step 10, image 2 of 3 Framework Desktop Mainboard Installation, Install the top plate screws: step 10, image 3 of 3
      • While holding the Desktop steady, use your Framework Desktop Screwdriver to install the eight 4.0 mm‑long Phillips screws securing the top plate.

      Ask FixBot

      Add Comment

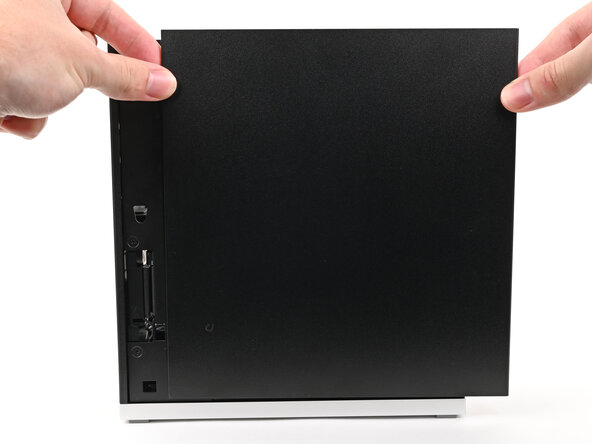
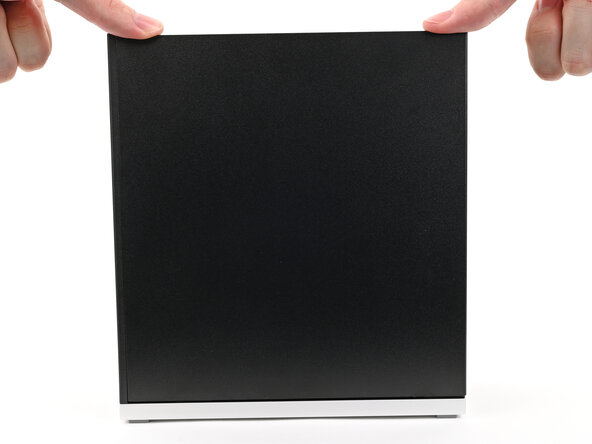
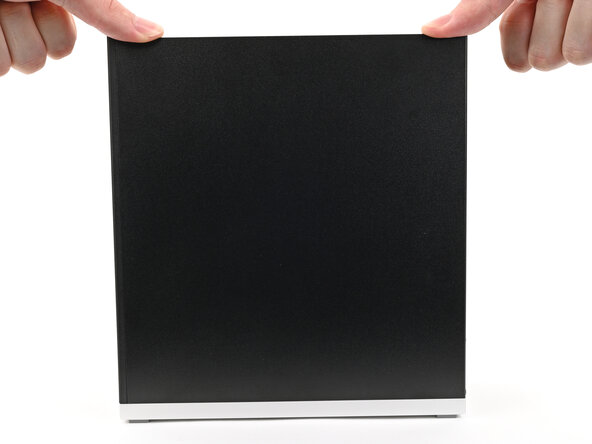
    11. Framework Desktop Mainboard Installation, Install the Right Panel: step 11, image 1 of 3 Framework Desktop Mainboard Installation, Install the Right Panel: step 11, image 2 of 3 Framework Desktop Mainboard Installation, Install the Right Panel: step 11, image 3 of 3
      • Slide the Right Panel onto the right edge of the chassis, from top to bottom, and press it flat to ensure its clips are slotted into place.

      • There should be a small gap between the bottom of the Right Panel and the silver base.

      • Push the Right Panel towards the base of the computer to engage the clips.

      Ask FixBot

      Add Comment

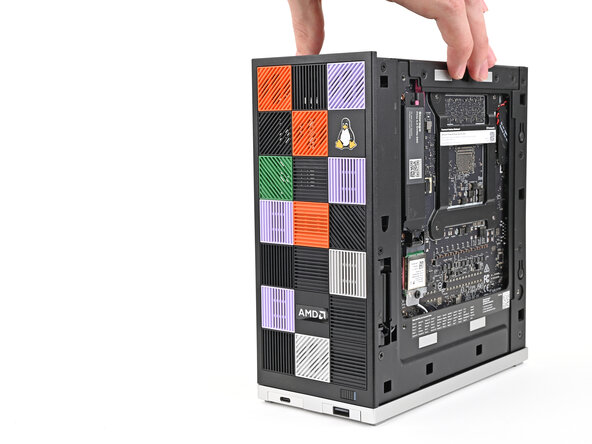
    12. Framework Desktop Mainboard Installation, Reposition the Mainboard: step 12, image 1 of 2 Framework Desktop Mainboard Installation, Reposition the Mainboard: step 12, image 2 of 2
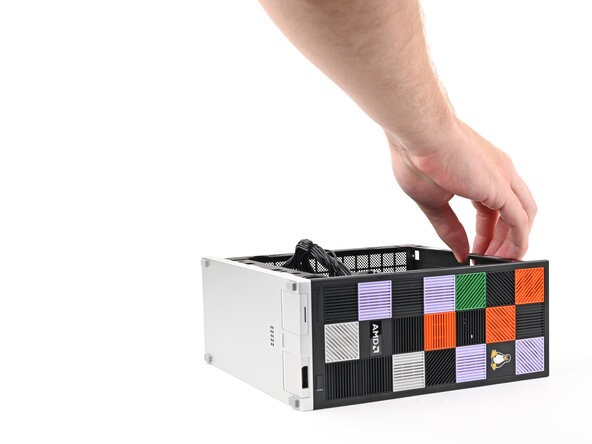
      • Lay the right side of the Desktop on your work surface so the Mainboard is facing upward.

      Ask FixBot

      Add Comment

    13. Framework Desktop Mainboard Installation, Connect the bottom Expansion Card cable: step 13, image 1 of 2 Framework Desktop Mainboard Installation, Connect the bottom Expansion Card cable: step 13, image 2 of 2
      • Slide the bottom Expansion Card cable into its socket on the Mainboard.

      Ask FixBot

      Add Comment

    14. Framework Desktop Mainboard Installation, Connect the CPU power cable: step 14, image 1 of 2 Framework Desktop Mainboard Installation, Connect the CPU power cable: step 14, image 2 of 2
      • Orient the CPU power supply cable so its clip is facing the heatsink.

      • Slide the cable into its socket on the Mainboard until you feel it click into place.

      Ask FixBot

      Add Comment

    15. Framework Desktop Mainboard Installation, Connect the main power cable: step 15, image 1 of 2 Framework Desktop Mainboard Installation, Connect the main power cable: step 15, image 2 of 2
      • Orient the main power supply cable so its clip is facing away from the heatsink.

      • Slide the cable into its socket on the Mainboard until you feel it click into place.

      Ask FixBot

      Add Comment

    16. Framework Desktop Mainboard Installation, Connect the top Expansion Card cable: step 16, image 1 of 2 Framework Desktop Mainboard Installation, Connect the top Expansion Card cable: step 16, image 2 of 2
      • Slide the top Expansion Card cable into its socket on the Mainboard.

      Ask FixBot

      Add Comment

Conclusion

To reassemble your device, follow these instructions in reverse order.

Cancel: I did not complete this guide.

Alex Diaz-Kokaisl

Member since: 01/16/22

249,970 Reputation

1,203 Guides authored

0 Guide Comments

Add Comment

View Statistics:

Past 24 Hours: 0

Past 7 Days: 2

Past 30 Days: 7

All Time: 150