
Framework Desktop Heatsink Installation

Prerequisite Only
This is a prerequisite-only guide! This guide is part of another procedure and isn’t meant to be used alone.
  1. Framework Desktop Heatsink Installation, Place the heatsink: step 1, image 1 of 2 Framework Desktop Heatsink Installation, Place the heatsink: step 1, image 2 of 2
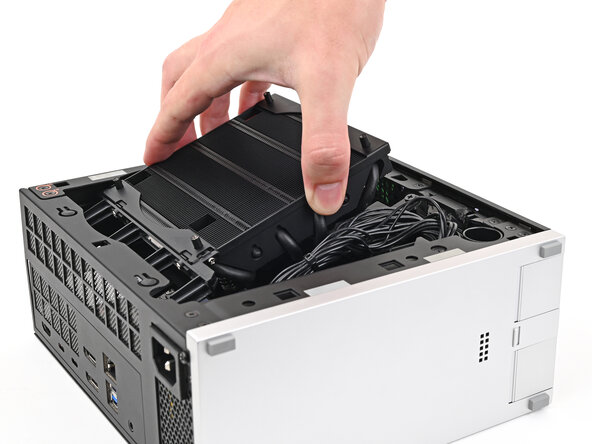
    • Tilt the heatsink down towards the rear of the Desktop and place it into its slot on the Mainboard.

  2. Framework Desktop Heatsink Installation, Tighten the heatsink screws: step 2, image 1 of 2 Framework Desktop Heatsink Installation, Tighten the heatsink screws: step 2, image 2 of 2
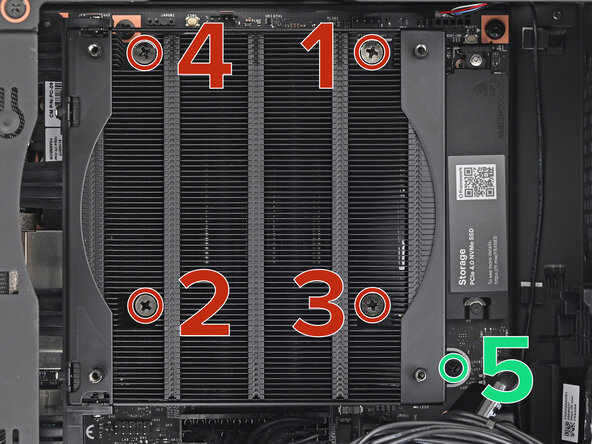
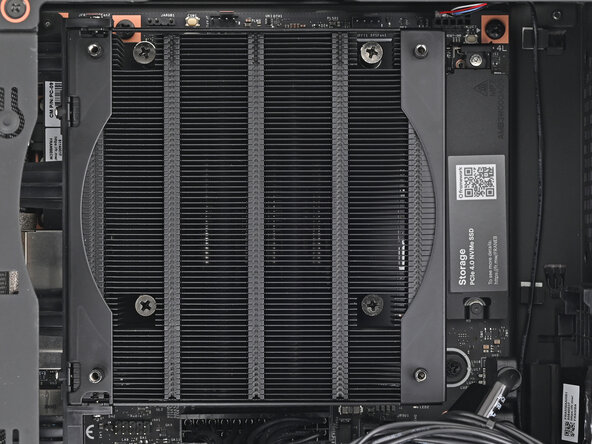
    • Use your Framework Desktop Screwdriver to tighten the four captive Phillips screws securing the heatsink in an "X" pattern starting with the top right screw.

    • Only tighten the screws a few turns at a time to evenly compress the APU and thermal pads.

    • In order: top right → bottom left → bottom right → top left

    • Use your Framework Desktop Screwdriver to tighten the captive Phillips screw jutting out under the Primary Storage.

Conclusion

To reassemble your device, follow these instructions in reverse order.

Alex Diaz-Kokaisl

Member since: 01/16/22

213,736 Reputation

1,041 Guides authored

0 Guide Comments

Add Comment

View Statistics:

Past 24 Hours: 0

Past 7 Days: 3

Past 30 Days: 3

All Time: 18