Free Shipping on Domestic Orders $75+

Framework Desktop Fan Installation

Prerequisite Only
This is a prerequisite-only guide! This guide is part of another procedure and isn’t meant to be used alone.
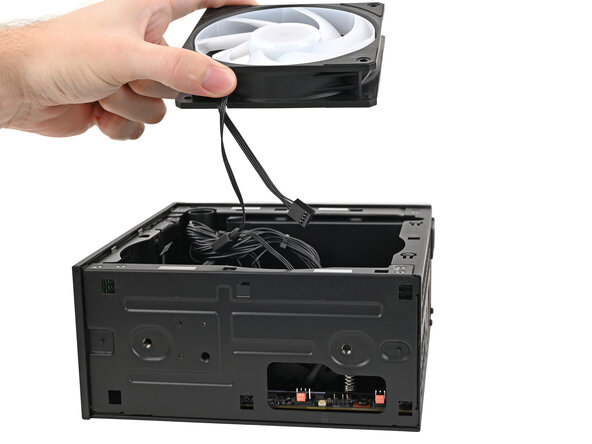
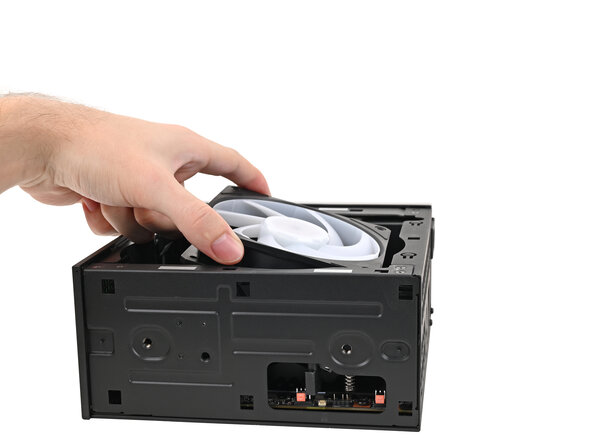
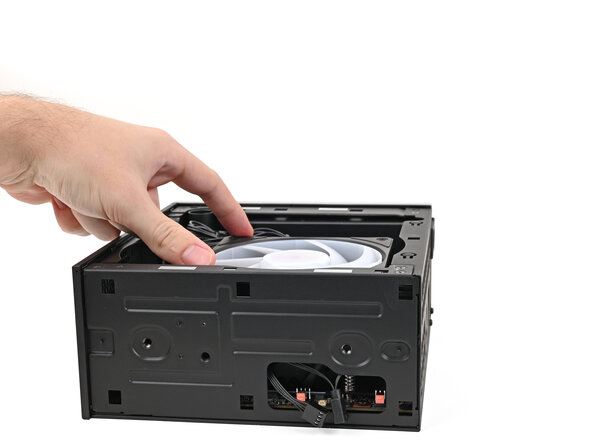
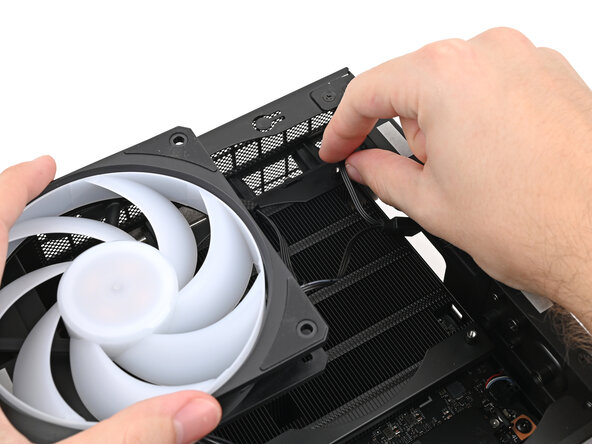
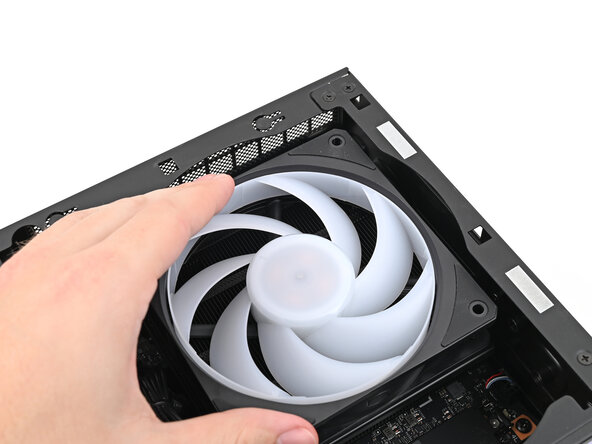
    1. Framework Desktop Fan Installation, Insert the fan: step 1, image 1 of 3 Framework Desktop Fan Installation, Insert the fan: step 1, image 2 of 3 Framework Desktop Fan Installation, Insert the fan: step 1, image 3 of 3
      • Orient the fan so its label is facing downward and the cable(s) is pointing towards the top of the computer.

      • If your fan has an arrow indicating airflow direction, make sure it's pointed towards the heatsink.

      • If you're using a different fan, orient it such that the fan is blowing towards the heatsink, not away.

      • Lay the fan on top of the heatsink, making sure the cables are routed so they poke out of the hole on the top of the computer.

      Ask FixBot

      Add Comment

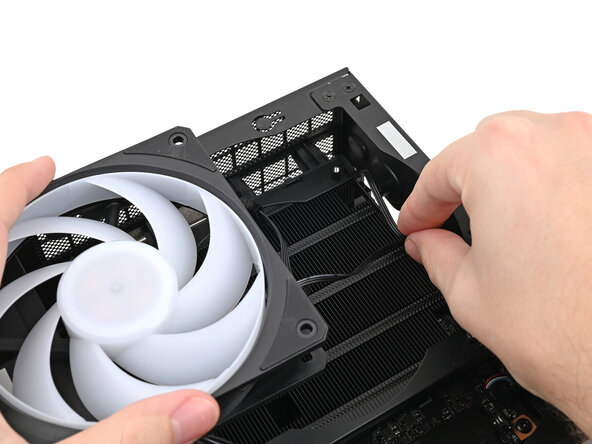
    2. Framework Desktop Fan Installation: step 2, image 1 of 3 Framework Desktop Fan Installation: step 2, image 2 of 3 Framework Desktop Fan Installation: step 2, image 3 of 3
      • If the cables aren't routed properly, lift the fan up slightly and use your fingers to reposition the cables over the side of the heatsink.

      • If you're installing an RGB fan, make sure the "male" end of the RGB cable is covered and set aside in the corner of the chassis.

      Ask FixBot

      Add Comment

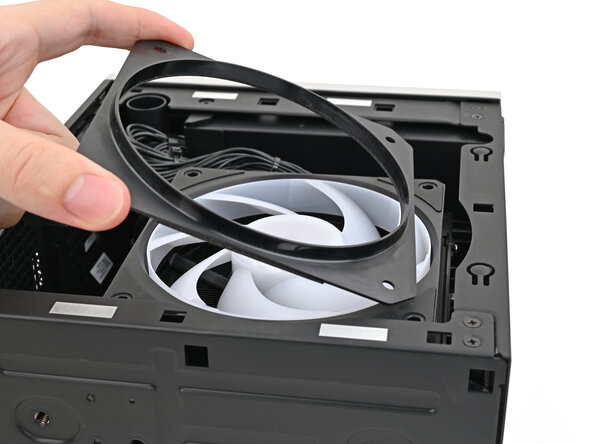
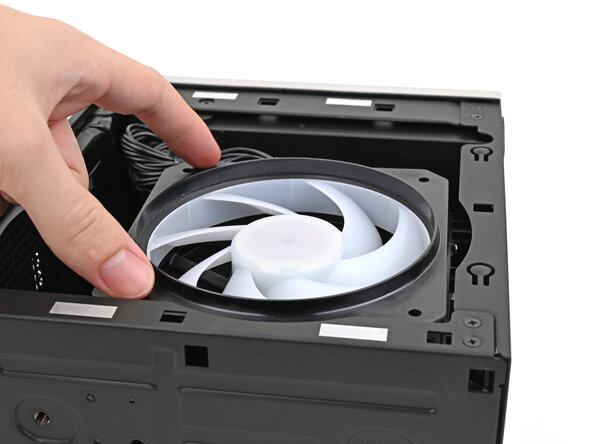
    3. Framework Desktop Fan Installation, Insert the fan duct: step 3, image 1 of 2 Framework Desktop Fan Installation, Insert the fan duct: step 3, image 2 of 2
      • Lay the fan duct on top of the fan with the lip facing upward.

      • Align the screw holes on the fan duct with the ones on the fan.

      Ask FixBot

      Add Comment

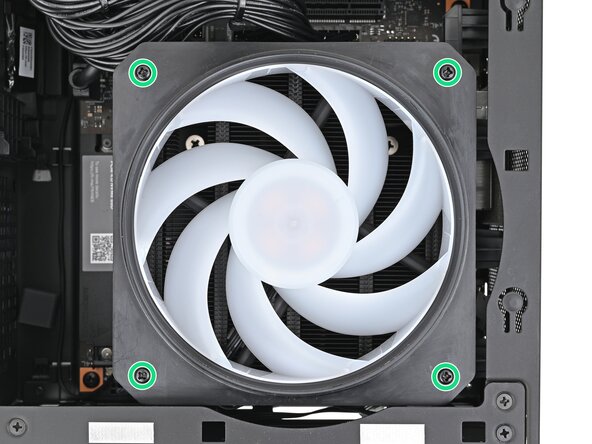
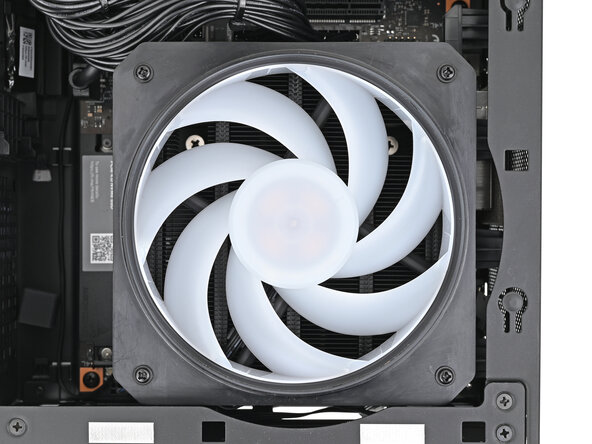
    4. Framework Desktop Fan Installation, Install the fan screws: step 4, image 1 of 2 Framework Desktop Fan Installation, Install the fan screws: step 4, image 2 of 2
      • Use your Framework Desktop Screwdriver to install the four 27.3 mm‑long screws securing the fan and fan duct.

      Ask FixBot

      Add Comment

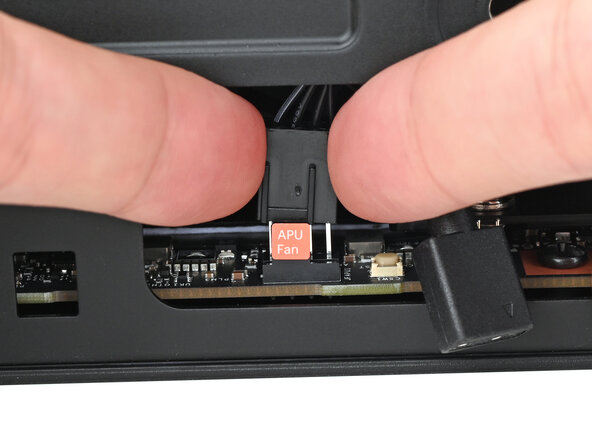
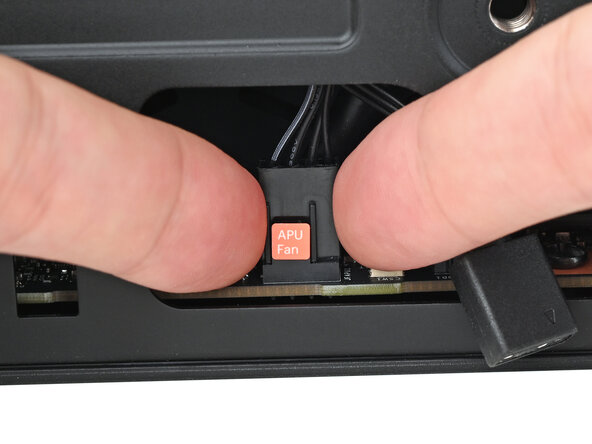
    5. Framework Desktop Fan Installation, Connect the fan: step 5, image 1 of 2 Framework Desktop Fan Installation, Connect the fan: step 5, image 2 of 2
      • Orient the main fan cable so its two vertical lines are facing you.

      • Slide the main fan cable over the four-pronged connector labeled "APU Fan," making sure the orange label slots between the vertical lines.

      Ask FixBot

      Add Comment

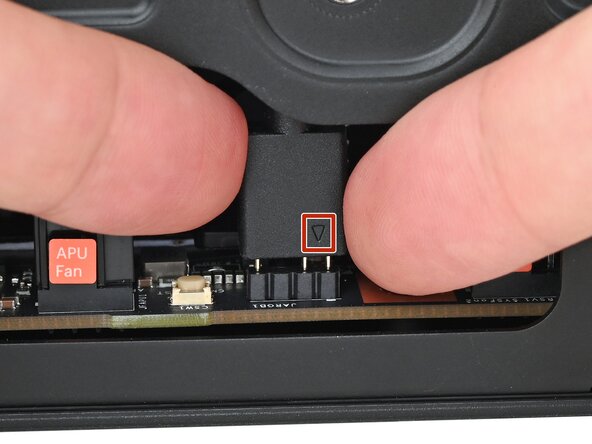
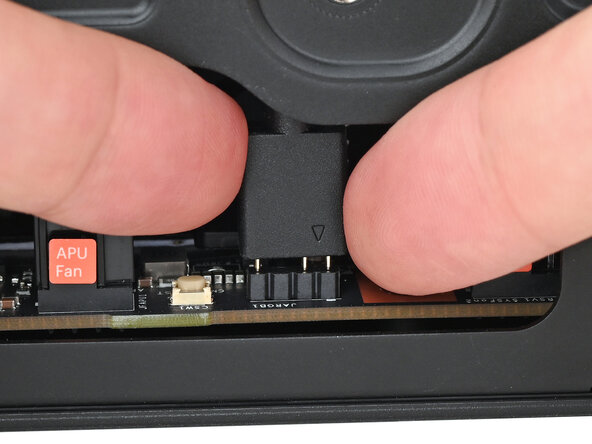
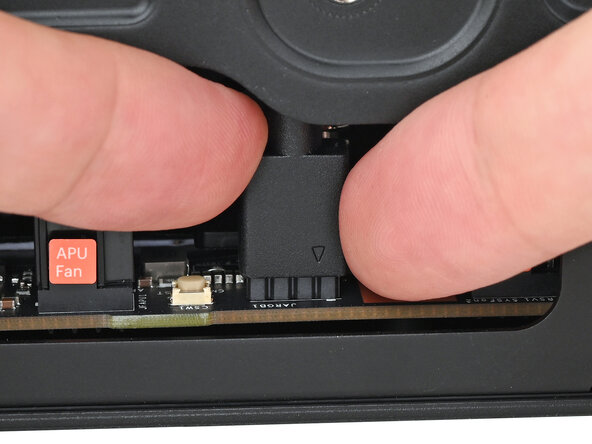
    6. Framework Desktop Fan Installation, Connect the RGB cable: step 6, image 1 of 3 Framework Desktop Fan Installation, Connect the RGB cable: step 6, image 2 of 3 Framework Desktop Fan Installation, Connect the RGB cable: step 6, image 3 of 3
      • If you aren't using an RGB fan, then skip this step.

      • Orient the RGB cable so the arrow is on the right side of the connector.

      • Use your fingers to slide the RGB cable over the three pronged connector located to the right of the "APU Fan" connector.

      Ask FixBot

      Add Comment

Conclusion

To reassemble your device, follow these instructions in reverse order.

Cancel: I did not complete this guide.

Alex Diaz-Kokaisl

Member since: 01/16/22

249,976 Reputation

1,203 Guides authored

0 Guide Comments

Add Comment

View Statistics:

Past 24 Hours: 1

Past 7 Days: 5

Past 30 Days: 20

All Time: 107