This translation was generated by a machine and has not been reviewed by a person yet. Speak this language? Review it.
-
-
-
Fixing method: Adhesive
-
Tear apart the adhesive section by hand
-
-
-
Fastening method: Adhesive
-
Remove it by hand
-
-
-
Fixing method: Adhesive
-
Disassemble it by hand
-
If it is hard to take it off, you can use a knife cutting into the parting line to help
-
-
-
Fixing Method: Adhesive
-
Disassemble it by hand
-
-
-
Fixing method: Screw-fixed
-
After the last step, the screws appear
-
5 screws in total
-
2 kinds of screws
-
Rotate the screwdriver counterclockwise
-
-
-
-
Use a knife or a flathead screwdriver to cut into the parting line.
-
The casing is held together by snaps, so it may require some force to disassemble.
-
-
-
This also uses a snap-fit design. It requires more force to disassemble by hand.
-
-
-
Fixing method: Screw-fixed
-
4 screws in total
-
Rotate the screwdriver counterclockwise
-
-
-
It is an inclined plane, so just pull it slightly to take it off
-
-
-
Fix method: Snap structure
-
Peel it off by hand
-
This is the last disassembly step of the left earpiece. Most of the steps for the right earpiece are the same.
-
-
-
Fixing method: Adhesive
-
Peel it off slightly by hand
-
-
-
Fixing method: Adhesive
-
Peel off the rubber part
-
The screws and the sponge then appear
-
-
-
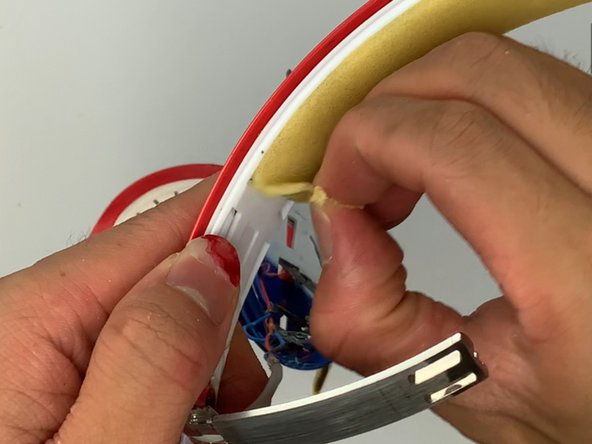
Fixing method: Adhesive
-
Peel it off slightly
-
-
-
Fixing method: Screw-fixed
-
2 on each side
-
4 in total
-
Rotate the screwdriver counterclockwise
-
-
-
Fixing method: Snap structure
-
Disassemble it by hand
-
-
-
Bend it and then push it out by hand
-
-
-
After the last step, turn it over and the metal piece will drop out
-
-
-
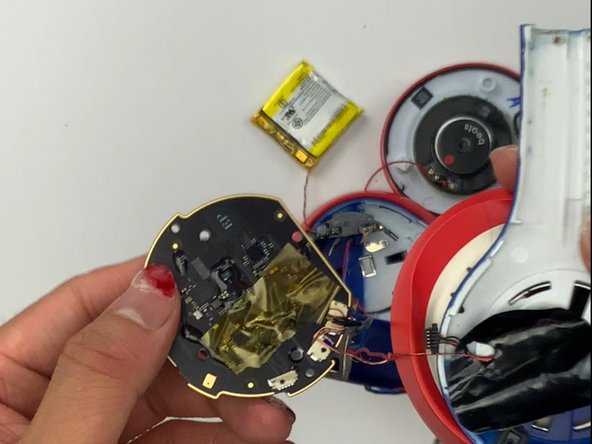
8 categories are included
-
Sponge, Leather, Rubber, Screws, Metal, Plastic, adhesive components, electronic components
-

 Ask FixBot






Follow the instructions in reverse order for reassembly.
Cancel: I did not complete this guide.
One other person completed this guide.

