Video Overview
-
-
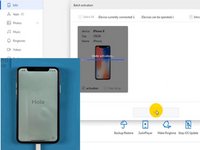
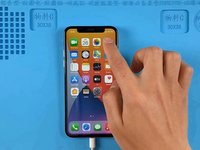
The iPhone X has been dropped and can’t work normally. After restoring, the phone can’t be activated. Next, we try to activate the phone with 3uTools.
-
Connect the phone to the computer and open 3uTools. Click Activate Now and Start.
-
The activation normally takes several minutes. After about 20 minutes, the phone is stuck in the activation interface. The phone is still unable to be activated.
-
-
-
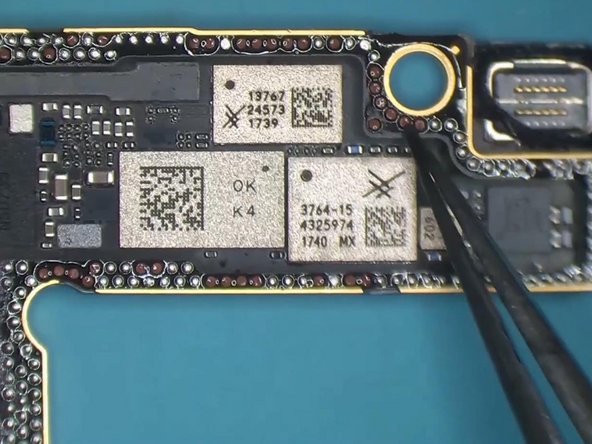
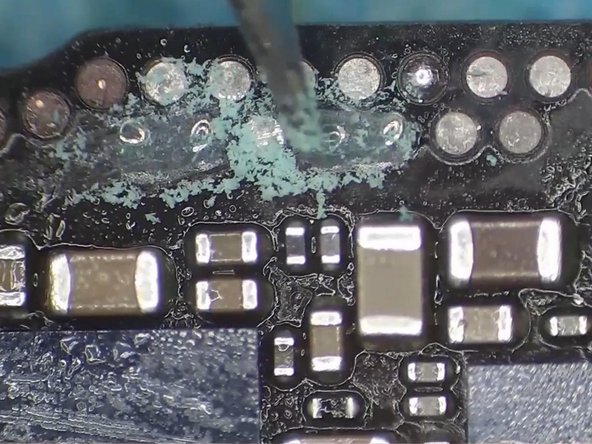
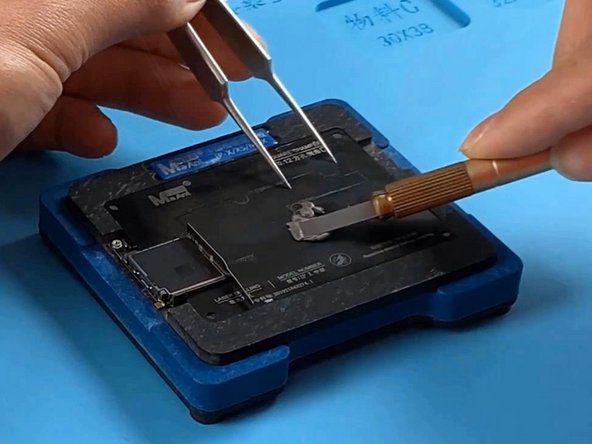
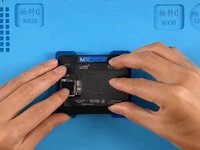
Clear thermal grease with a Sculpture Knife.
-
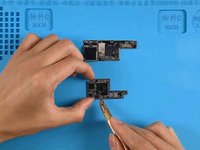
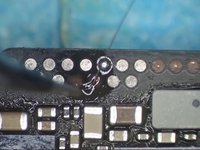
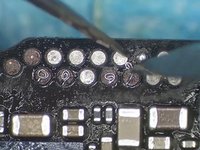
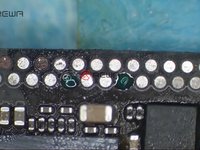
After separation, it is found that there are many missing pads. Then we restore useful pads from missing pads with jumper wires.
-
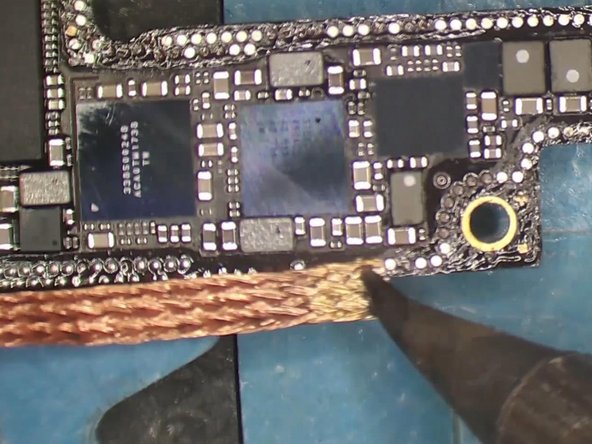
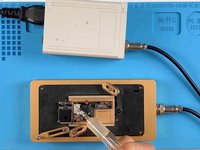
Attach the logic board to the holder and remove tin on the bonding pad with Soldering Iron at 365 °C and Solder Wick.
-
-
-
-
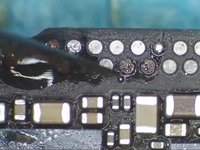
Apply some Solder Paste to the missing pads and apply tin with Hot Air Gun at 340 °C. Clean the bonding pad with PCB Cleaner and apply some Paste Flux.
-
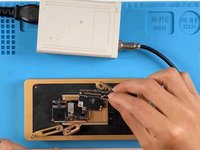
Solder 0.02 mm copper wires to the bonding pad with Soldering Iron. Please be noted that copper wires must be soldered firmly.
-
Clean with PCB Cleaner again and curl the copper wires to make pads with Tweezers and Sculpture Knife.
-
-
-
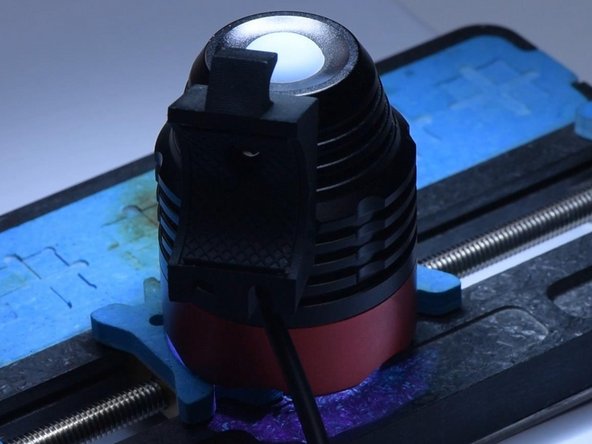
Apply Solder Mask to the bonding pad to fix the copper wires and solidify the solder mask with UV Lamp for 5 minutes.
-
Scrape away excess solder mask with Sculpture Knife to show the copper wires.
-
Next, remove tin on the bonding pad with Soldering Iron at 365 °C and Solder Wick. Clean the bonding pad with PCB Cleaner.
-
-
-
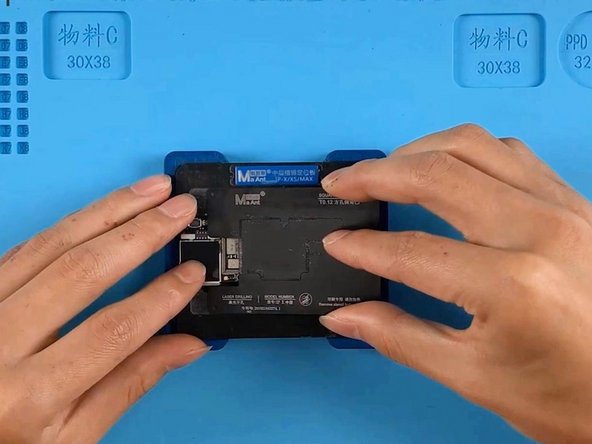
Put the motherboard on the 165 °C Heating Platform to heat.
-
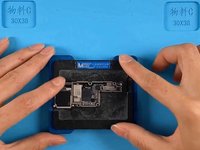
After the solder balls are formed, turn the power off and cool the signal board. Apply some Paste Flux and align the logic board with the signal board.
-
Keep heating for 1 minute when the temperature reaches 165 °C. Turn the power off and cool the motherboard.
-


To reassemble your device, follow these instructions in reverse order.
Cancel: I did not complete this guide.
2 other people completed this guide.
