Introduction
If the amplifier is not turning on when you press the power switch, you may want to replace the batteries. Each 9-volt battery provides power to the amplifier. It is crucial to have good batteries to enhance functionality of your amplifier.
What you need
-
-
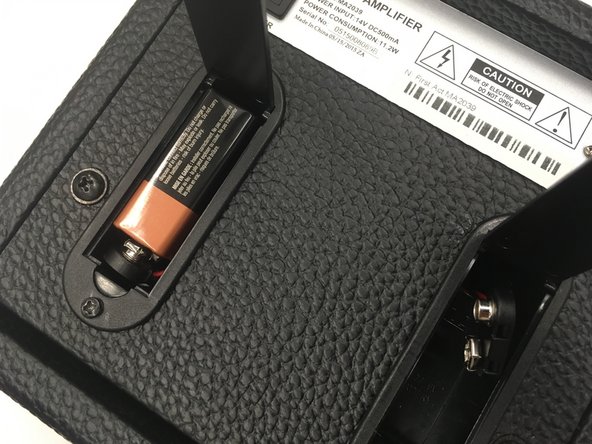
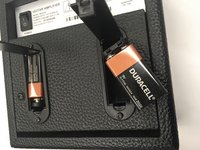
Press the bottom tab and lift the lid that is marked "9V Battery"
-
Open the lids of both battery cartridges, use a Spudger to lift the 9-volt battery out.
-
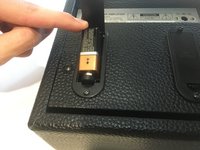
Disconnect the attached 9-volt battery from the positive and negative terminal connections to prepare for replacement.
 Ask FixBot
-
-
-
Insert a new, fully-charged 9-volt battery to the terminal connections.
-
Link the positive terminal (+) of the 9-volt battery to the positive connection.
-
Link the negative terminal (-) of the 9-volt battery to the negative connection.
-
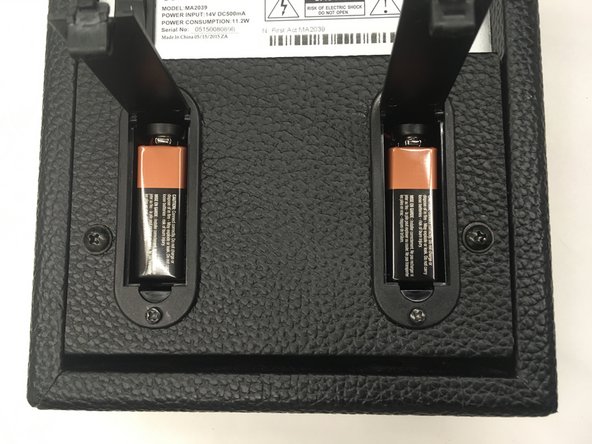
Repeat the process for the 2nd 9-volt battery in the neighboring cartridge.
-
-
-
-
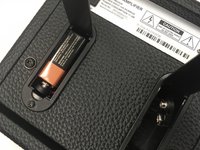
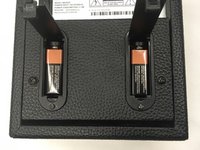
Insert the 9-volt battery into the cartridge.
-
Press firmly to slide the battery into the cartridge, and close the tab to ensure the battery is secured.
-
Close the tab after the battery is secured, until the tab "clicks" into place.
-
-
-
Make sure connections are secure and insert 9-volt batteries into the battery cartridges.
-
Close the tabs until you hear a click.
-
Now, try turning on the power switch. Get ready to rock & roll!
-


To reassemble your device, follow these instructions in reverse order.
Team

Linn Benton Community College, Team S1-G5, Johnson Spring 2018 Member of Linn Benton Community College, Team S1-G5, Johnson Spring 2018
LBCC-JOHNSON-S18S1G5
3 Members
6 Guides authored