Introduction
This FastFix is provided so that you may be able to replace a broken FirsTime Wall Clock due to a faulty movement mechanism. This is helpful so you won’t have to spend money on replacing this item. It is a short and easy fix!
What you need
-
-
Using a Phillips #1 screwdriver, remove all four screws on the back of the clock.
 Ask FixBot
-
-
-
Once screws are removed, simply remove the glass lens covering the display of the clock by lifting it with your hands.
-
-
-
Turn the display face up.
-
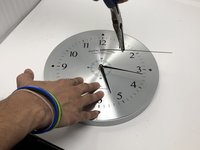
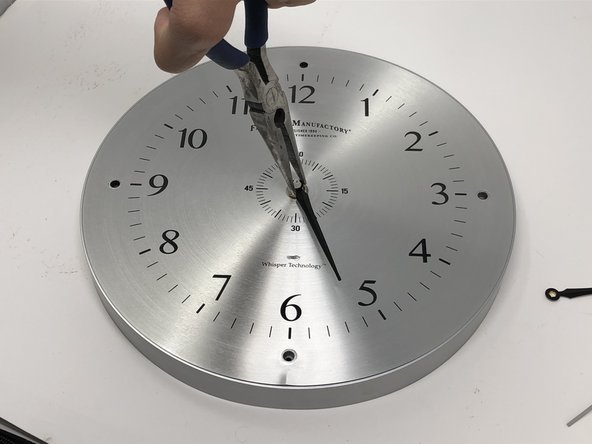
Use needle nose pliers to pull off the 'second' hand.
-
-
-
-
Use needle nose pliers to remove the 'minute' hand.
-
Then use needle nose pliers to remove the 'hour' hand.
-
-
-
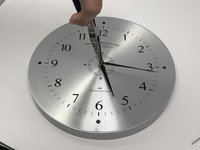
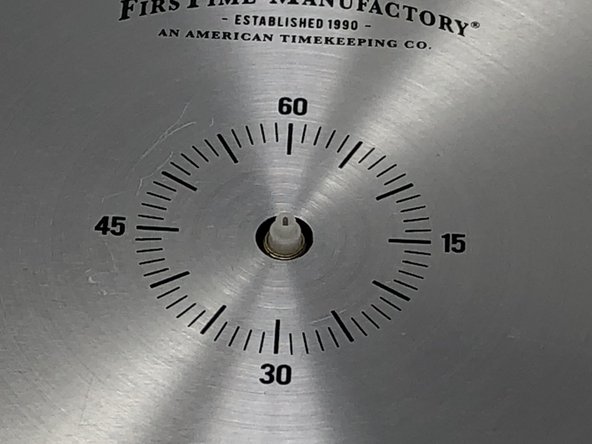
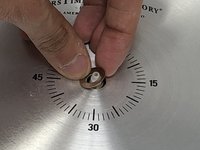
Once all hands are removed, use a 7/16-inch wrench to unscrew, in counter clockwise direction, the threaded nut in the center of the clock.
-
Removing the threaded nut is what allows the movement mechanism to be removed from the clock.
-
-
-
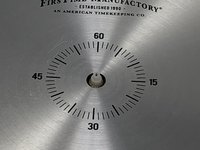
Now you may remove the display of the clock from your malfunctioning movement mechanism.
-


To reassemble your device, follow these instructions in reverse order.
Cancel: I did not complete this guide.
26 other people completed this guide.

Team

University of Memphis, Team S2-G2, Baddour Spring 2019 Member of University of Memphis, Team S2-G2, Baddour Spring 2019
UM-BADDOUR-S19S2G2
2 Members
4 Guides authored
7 Guide Comments
Is there a you tube showing these steps?
Thank you! there was one tricky thing—the parts I got in the order did not match what I took off, so I had to reconfigure it a bit per new instructions that came with the parts. But I figured it out! Thank you for this instruction.
Excellent illustrations!!!
there seem to be 2 projections keeping the back & glass together.
I don't want to break them.