Introduction
In this guide, I'll walk you through replacing a leaking faucet stem for a Delta water faucet. Don't worry, it's easier than it sounds! We'll cover it in about 10-11 simple steps, using only three common household tools and a brand new faucet stem. Let's get started!
What you need
-
-
Unscrew the knob with either a Phillips or a flathead screwdriver, depending on your faucet.
-
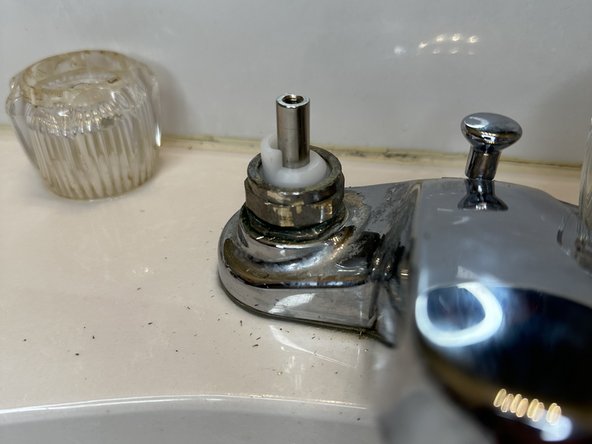
Remove the knob from the faucet.
-
-
-
-
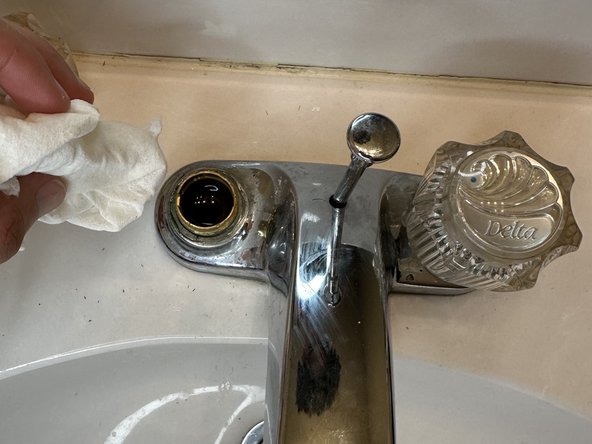
Use a paper towel to soak up any excess water in the area where the stem was located.
-


I hope this guide was simple and easy to follow. If you have any questions, feel free to leave a comment below, and I'll get back to you as soon as possible.
Cancel: I did not complete this guide.
4 other people completed this guide.

Team

University of North Texas, Team 1-16, Kilpatrick Summer 2024 Member of University of North Texas, Team 1-16, Kilpatrick Summer 2024
UNT-KILPATRICK-SU24S1G16
1 Member
12 Guides authored