
Farberware FSTO100 Indicator Light Replacement

Tony Wang and 5 other contributors
Last updated on Jun 11, 2024
Views: 1.4K
View statistics:
- Past 24 Hours:
- 1
- Past 7 Days:
- 16
- Past 30 Days:
- 80
- All Time:
- 1,399
Comments: 0
No one has left comments on this guide. Will you be first?
Go to guide commentsCompleted: 1 2
1 person has marked this guide "completed." Will you be next?
2 people have marked this guide "completed." Including you — great job!
Favorites: 1 2
1 person has favorited (and subscribed to) this guide. Will you be next?
2 people have favorited (and subscribed to) this guide — including you!
Action Shots
Be an action hero! This guide needs images that better demonstrate how to perform specific actions.
Step Trimmer
This guide has unnecessary steps. Trim them to be more concise!
Introduction
Go to step 1 ↓Use this guide to repair the clear indicator light. This guide will help you through replacing the light bulb.
What you need


-
-
-
Turn toaster upside down so screws on bottom side are facing toward the ceiling and the door is facing towards you.
 Ask FixBot
-
-
-
Remove the panel on the left hand side. The indicator light is located in the red tube that has wires covered by black tubing coming out.
-
-
-
-
Turn toaster upside down so screws on bottom side are facing toward the ceiling and the door is facing towards you.
-
-


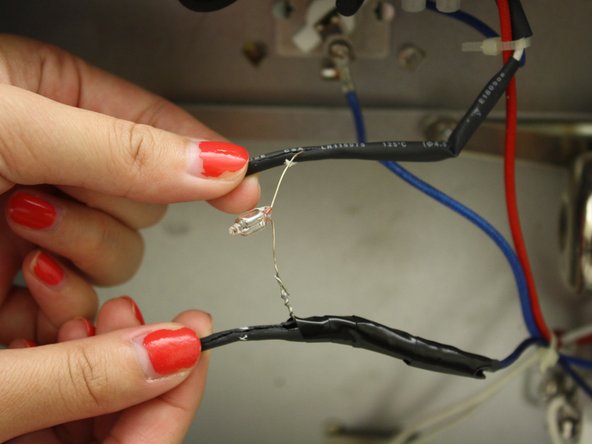
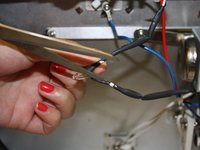
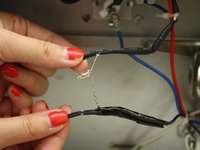


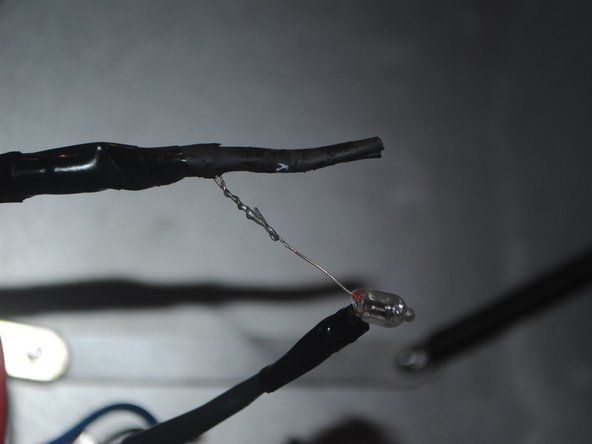
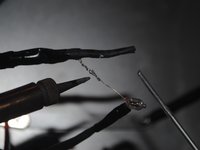
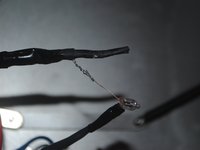


To reassemble your device, follow these instructions in reverse order.
Cancel: I did not complete this guide.
One other person completed this guide.

Team

Cal Poly, Team 6-35, Regan Fall 2012 Member of Cal Poly, Team 6-35, Regan Fall 2012
CPSU-REGAN-F12S6G35
4 Members
72 Guides authored
