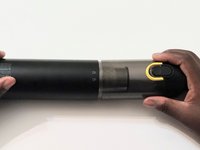
Introduction
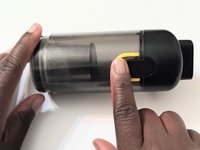
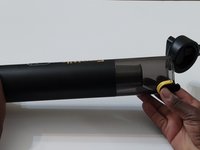
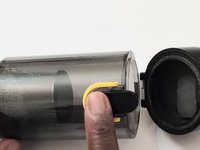
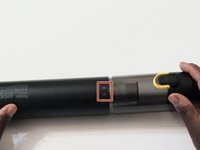
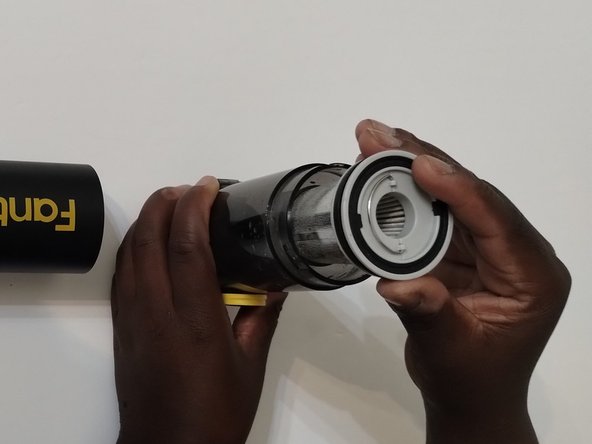
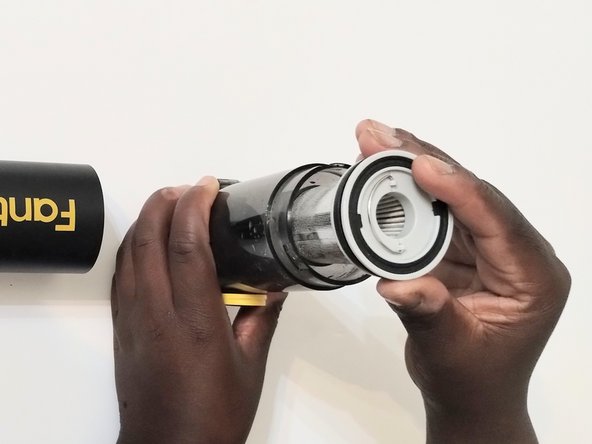
Is your Fanttik V8 Mate handheld vacuum not removing dust and debris from your car effectively? It may be time to change the filter. Vacuum filters should be changed every three to six months to preserve the efficiency of the device.
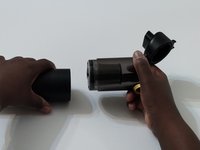
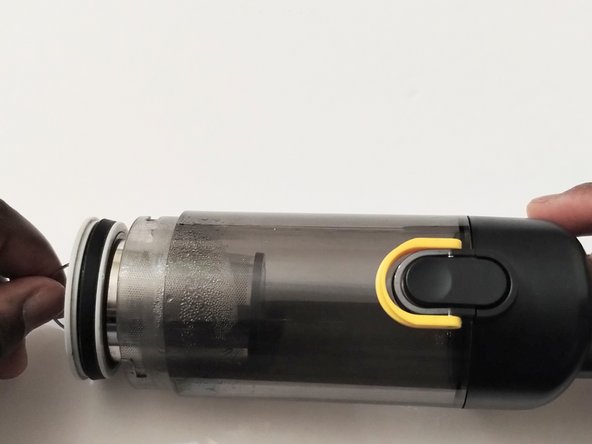
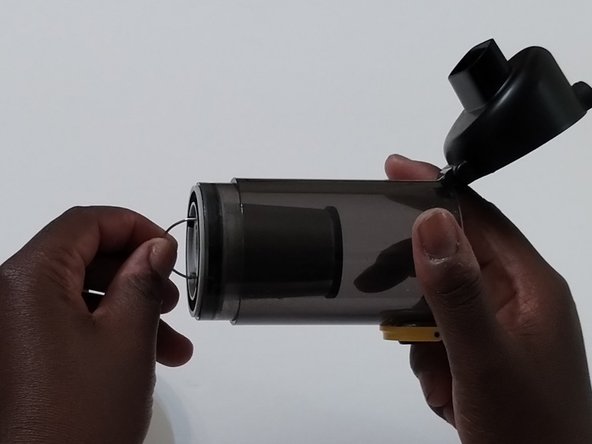
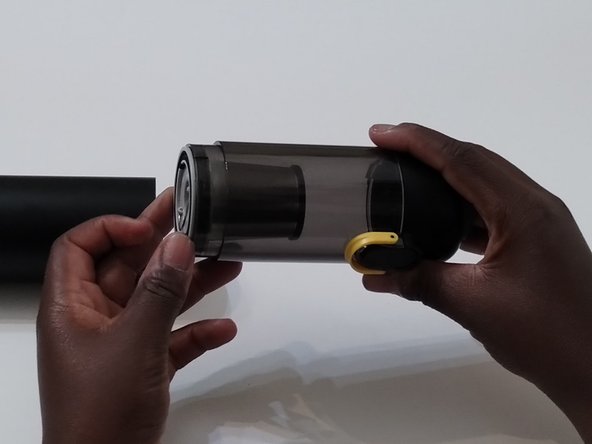
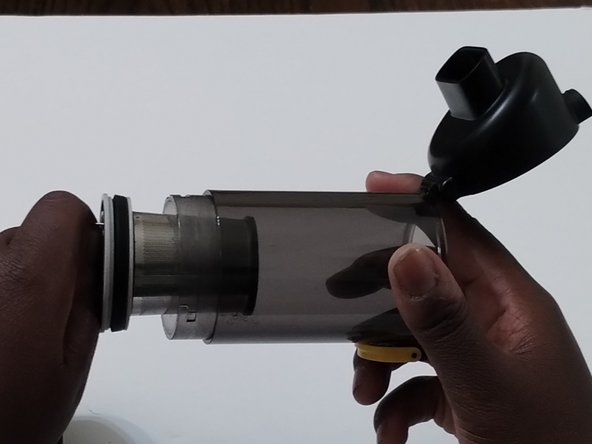
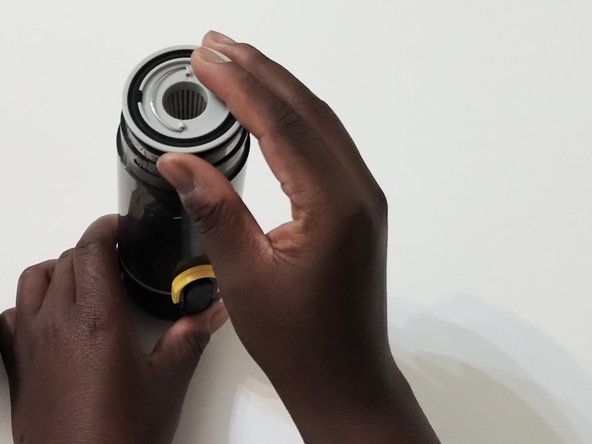
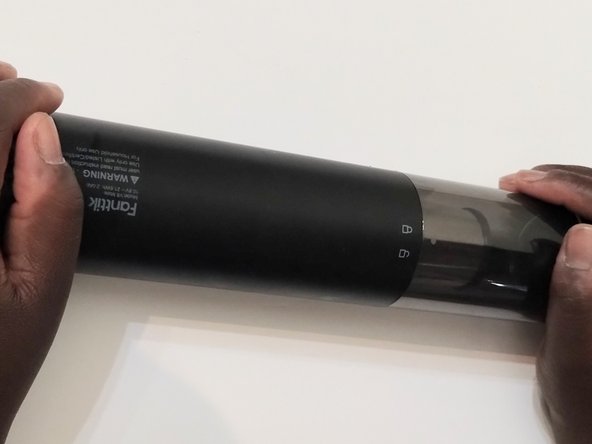
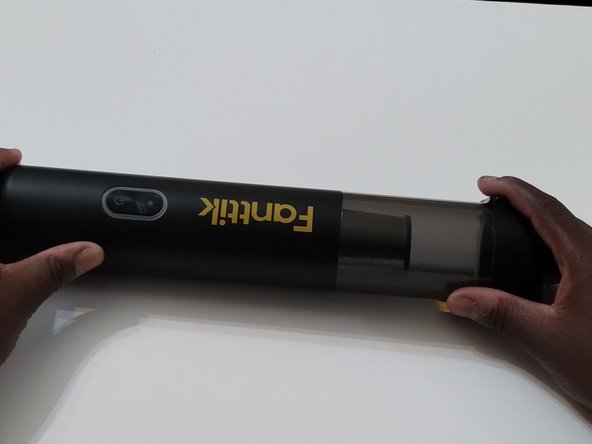
The Fanttik V8 vacuum filter can be replaced in about five minutes. This guide will help you accomplish that. Ensure that you open the vacuum over a trash can or garbage bag as dirt and debris can get everywhere.


Finish Line
Cancel: I did not complete this guide.
One other person completed this guide.
