Free Shipping on Domestic Orders $75+

Fan Replacement

What you need

    1. Fan Replacement, Battery: step 1, image 1 of 3 Fan Replacement, Battery: step 1, image 2 of 3 Fan Replacement, Battery: step 1, image 3 of 3
      • Unlock the battery latch on the right.

      • Unlock the battery lock on the left.

      • Remove the battery pack from its slot.

      Ask FixBot

      Add Comment

    1. Fan Replacement, Access to Components 2: step 2, image 1 of 3 Fan Replacement, Access to Components 2: step 2, image 2 of 3 Fan Replacement, Access to Components 2: step 2, image 3 of 3
      • Using the Philips # 0 screwdriver, unscrew the 2 screws of the top cover

      • Check the marks indicating the direction in which the cover must be removed.

      • Remove the bottom cover by removing it in the direction of the markers.

      Ask FixBot

      Add Comment

    2. Fan Replacement: step 3, image 1 of 1
      • Then appear the other components of the Laptop.

      Ask FixBot

      Add Comment

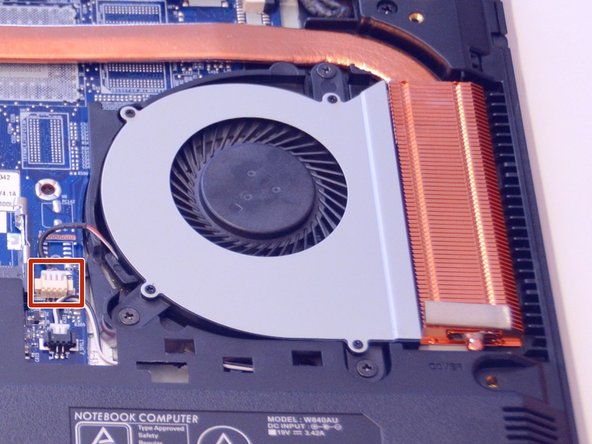
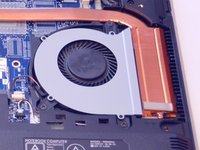
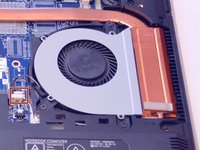
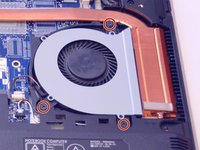
    1. Fan Replacement, Fan: step 4, image 1 of 3 Fan Replacement, Fan: step 4, image 2 of 3 Fan Replacement, Fan: step 4, image 3 of 3
      • Here is the fan.

      • Disconnect the power cable from this one.

      • Unscrew the screws that hold it in place.

      Ask FixBot

      Add Comment

    2. Fan Replacement: step 5, image 1 of 1
      • Gently lift the fan out of its slot.

      Ask FixBot

      Add Comment

Conclusion

To reassemble your device follow the following instructions in reverse order

Cancel: I did not complete this guide.

Special thanks to these translators:

fr en

100%

irlanda is helping us fix the world! Want to contribute?
Start translating ›

Felice Suglia

Member since: 06/15/13

33,600 Reputation

283 Guides authored

0 Guide Comments

Add Comment

View Statistics:

Past 24 Hours: 2

Past 7 Days: 9

Past 30 Days: 43

All Time: 1,638