Shop the Holiday Gift Guide
Free Shipping on Domestic Orders $75+

Fairphone SIM Card Replacement

Views: 14K

View statistics:

Past 24 Hours:
4
Past 7 Days:
50
Past 30 Days:
248
All Time:
13,795
Comments: 0

No one has left comments on this guide. Will you be first?

Go to guide comments
Completed: 1

1 person has marked this guide "completed." Will you be next?

Favorites: 2

2 people have favorited (and subscribed to) this guide. Will you be next?

Time Required: No estimate
Difficulty: Moderate
Fairphone SIM Card Replacement

Introduction

Go to step 1 ↓

Use this guide to replace either, or both, of the two SIM cards, and the microSD card.

    1. Fairphone SIM Card Replacement, Back Cover: step 1, image 1 of 3 Fairphone SIM Card Replacement, Back Cover: step 1, image 2 of 3 Fairphone SIM Card Replacement, Back Cover: step 1, image 3 of 3
      • There is a small indentation in the side of the phone near the bottom of the back cover.

      • With the indentation as leverage, use your fingernail to pry the bottom portion of the back cover from the phone.

      Ask FixBot

      Add Comment

    2. Fairphone SIM Card Replacement: step 2, image 1 of 3 Fairphone SIM Card Replacement: step 2, image 2 of 3 Fairphone SIM Card Replacement: step 2, image 3 of 3
      • Slide the back cover down and remove it from the phone.

      Ask FixBot

      Add Comment

    1. Fairphone SIM Card Replacement, Battery: step 3, image 1 of 3 Fairphone SIM Card Replacement, Battery: step 3, image 2 of 3 Fairphone SIM Card Replacement, Battery: step 3, image 3 of 3
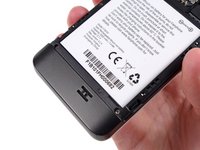
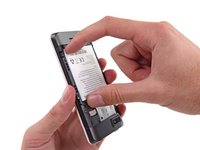
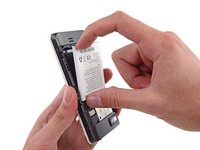
      • There is a small indentation in the back of the phone just below the battery.

      • Use a fingernail in this indentation to push the battery toward the top of the phone

      • Pull the battery out away from the phone.

      Ask FixBot

      Add Comment

    2. Fairphone SIM Card Replacement: step 4, image 1 of 1
      • Remove the battery from your Fairphone.

      Ask FixBot

      Add Comment

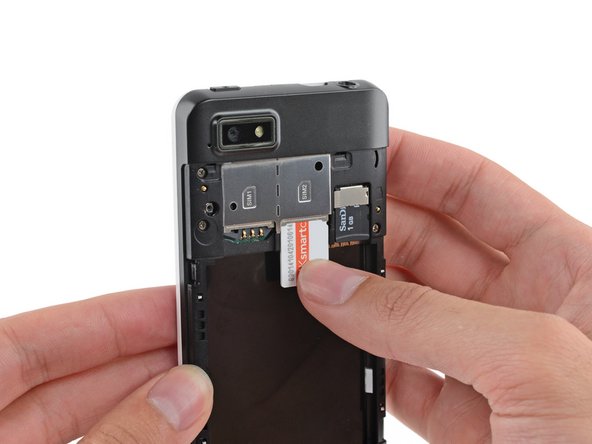
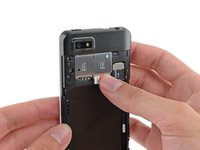
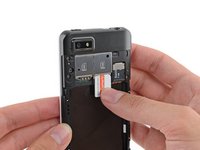
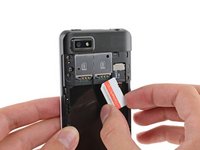
    1. Fairphone SIM Card Replacement, SIM and MicroSD Card: step 5, image 1 of 3 Fairphone SIM Card Replacement, SIM and MicroSD Card: step 5, image 2 of 3 Fairphone SIM Card Replacement, SIM and MicroSD Card: step 5, image 3 of 3
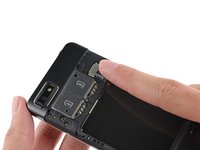
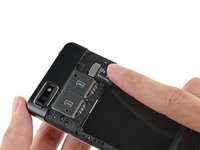
      • Use your finger to slide the SIM card straight down out of its tray.

      • Remove the SIM card from your Fairphone.

      • Repeat this procedure if you have a second SIM card.

      • Be sure to remove all SIM cards before servicing your phone.

      Ask FixBot

      Add Comment

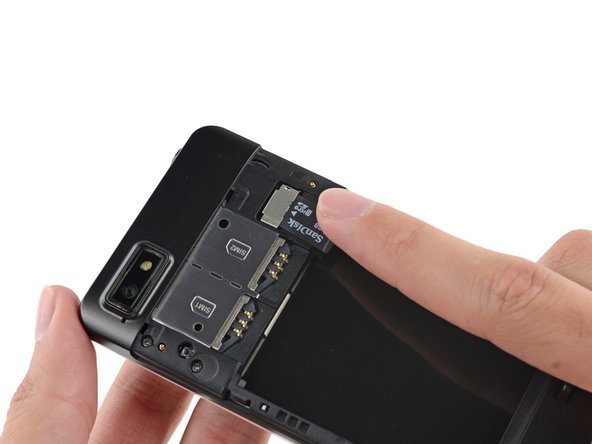
    2. Fairphone SIM Card Replacement: step 6, image 1 of 2 Fairphone SIM Card Replacement: step 6, image 2 of 2
      • If you have a microSD card, use your finger to slide it straight out of its slot.

      • Remove the microSD card from your phone.

      Ask FixBot

      Add Comment

Conclusion

To reassemble your device, follow these instructions in reverse order.

Cancel: I did not complete this guide.

One other person completed this guide.

Sam Goldheart

Member since: 10/18/12

478,949 Reputation

538 Guides authored

Team

iFixit Member of iFixit

Staff

119 Members

72,954 Guides authored

0 Guide Comments

Add Comment

View Statistics:

Past 24 Hours: 4

Past 7 Days: 50

Past 30 Days: 248

All Time: 13,795