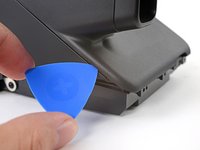
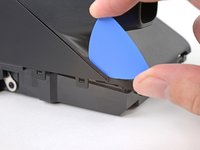
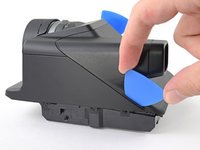
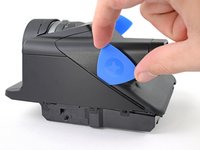
Free Shipping on Domestic Orders $75+

Polaroid I-2 Back Cover Removal

Views: 468

View statistics:

Past 24 Hours:
0
Past 7 Days:
3
Past 30 Days:
23
All Time:
468
Comments: 0

No one has left comments on this guide. Will you be first?

Go to guide comments
Completed: 0

No one has marked this guide "completed." Will you be the first?

Favorites: 0

No one has favorited (and subscribed to) this guide. Will you be the first?

Time Required: 45 minutes - 1 hour
Difficulty: Difficult
Polaroid I-2 Back Cover Removal
Prerequisite Only This is a prerequisite-only guide! This guide is part of another procedure and isn’t meant to be used alone.

Introduction

Go to step 1 ↓

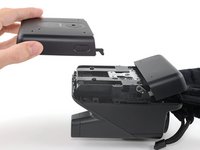
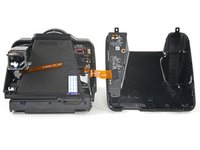
Use this guide to replace the back cover in your Polaroid I-2 camera with the door hinge removed.

What you need

Tools

    1. Polaroid I-2 Back Cover Removal, Safety information: step 1, image 1 of 3 Polaroid I-2 Back Cover Removal, Safety information: step 1, image 2 of 3 Polaroid I-2 Back Cover Removal, Safety information: step 1, image 3 of 3
      • If you have any film left, take some photos and remove the cartridge! Disassembly will expose the film and damage it.

      • Before you begin:

      • Power down and unplug your camera.

      • Put on the lens cap to avoid scratching your lens during disassembly.

      Ask FixBot

      Add Comment

    1. Polaroid I-2 Back Cover Removal, Open the film door: step 2, image 1 of 2 Polaroid I-2 Back Cover Removal, Open the film door: step 2, image 2 of 2
      • In the following steps, "left" and "right" are written from the perspective of using the camera—or when the lens is facing away from you.

      • Use the latch on the left side of the camera to open the film door.

      Ask FixBot

      Add Comment

    2. Polaroid I-2 Back Cover Removal, Insert a blocker: step 3, image 1 of 3 Polaroid I-2 Back Cover Removal, Insert a blocker: step 3, image 2 of 3 Polaroid I-2 Back Cover Removal, Insert a blocker: step 3, image 3 of 3
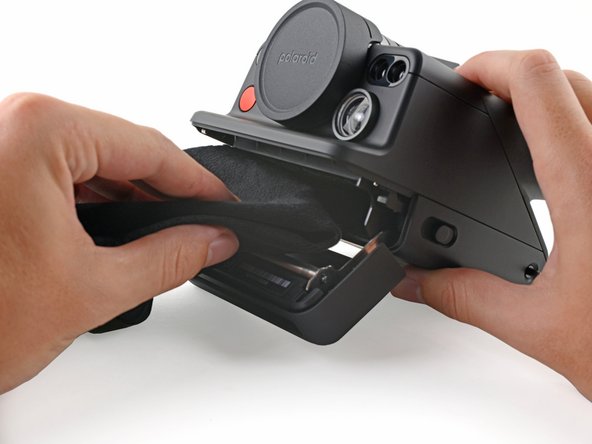
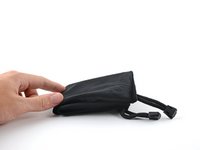
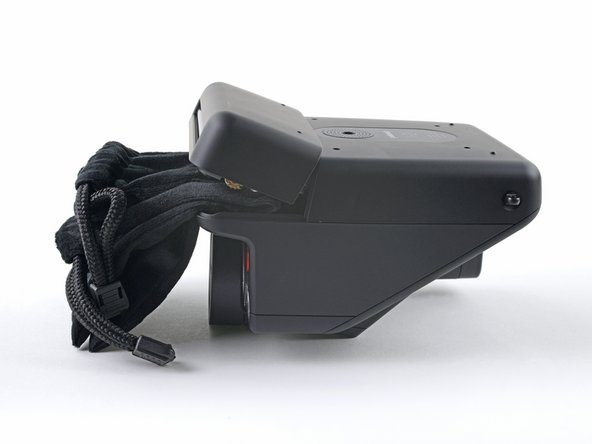
      • Fold a piece of cloth or napkin (or the included bag) into a small square.

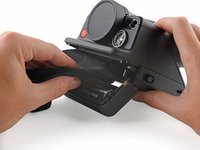
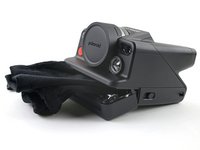
      • Insert the cloth into the film compartment far enough to block the film door from closing during disassembly.

      Ask FixBot

      Add Comment

    3. Polaroid I-2 Back Cover Removal, Flip the camera over: step 4, image 1 of 3 Polaroid I-2 Back Cover Removal, Flip the camera over: step 4, image 2 of 3 Polaroid I-2 Back Cover Removal, Flip the camera over: step 4, image 3 of 3
      • Flip the camera over, making sure the cloth stays lodged in the film compartment.

      Ask FixBot

      Add Comment

    4. Polaroid I-2 Back Cover Removal, Unfasten the bottom cover: step 5, image 1 of 1
      • Use a Phillips screwdriver to remove the four 3.9 mm-long screws securing the bottom cover.

      Ask FixBot

      Add Comment

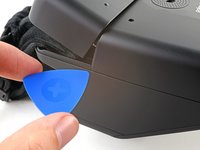
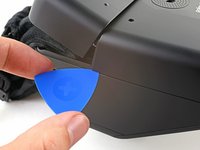
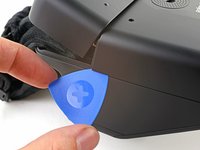
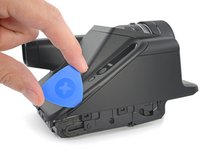
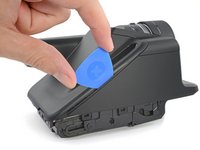
    5. Polaroid I-2 Back Cover Removal, Unclip the bottom cover: step 6, image 1 of 3 Polaroid I-2 Back Cover Removal, Unclip the bottom cover: step 6, image 2 of 3 Polaroid I-2 Back Cover Removal, Unclip the bottom cover: step 6, image 3 of 3
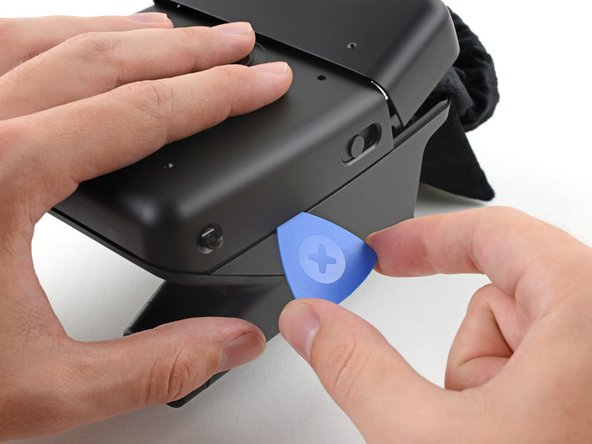
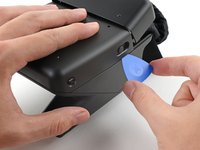
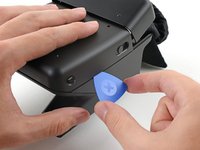
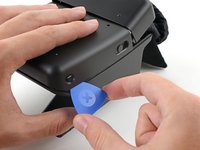
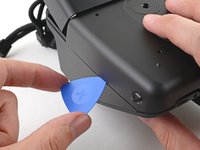
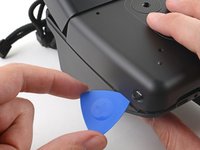
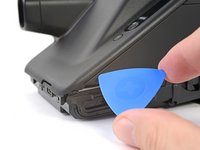
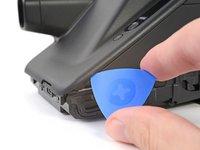
      • Insert the tip of an opening pick under the top left corner of the bottom cover, near the slider button.

      • Tilt the pick up and push to position the pick between the bottom and front covers.

      Ask FixBot

      Add Comment

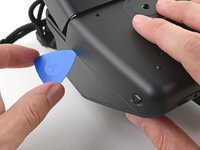
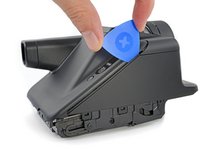
    6. Polaroid I-2 Back Cover Removal: step 7, image 1 of 3 Polaroid I-2 Back Cover Removal: step 7, image 2 of 3 Polaroid I-2 Back Cover Removal: step 7, image 3 of 3
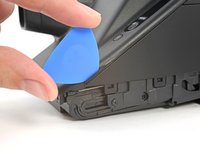
      • Slide the opening pick toward the rear of the camera to release the clips along the left edge.

      • Leave the opening pick at the bottom left corner to prevent the clips from resecuring.

      Ask FixBot

      Add Comment

    7. Polaroid I-2 Back Cover Removal: step 8, image 1 of 3 Polaroid I-2 Back Cover Removal: step 8, image 2 of 3 Polaroid I-2 Back Cover Removal: step 8, image 3 of 3
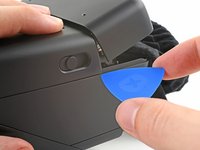
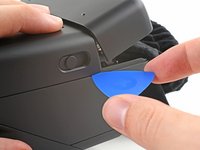
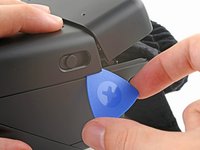
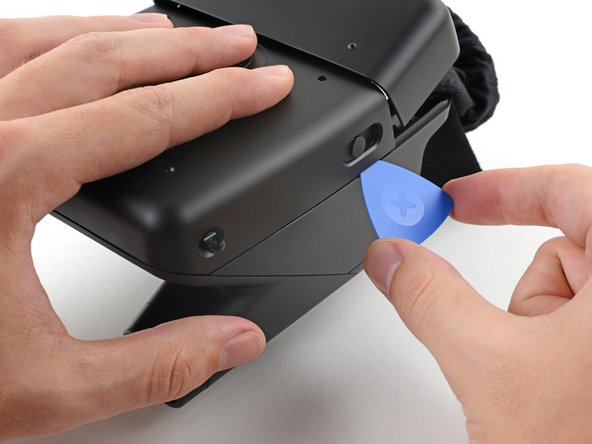
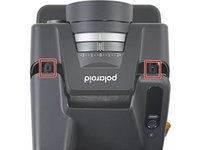
      • Insert the tip of a second opening pick under the top right corner of the bottom cover.

      • Tilt the pick up and push to position the pick between the bottom and front covers.

      Ask FixBot

      Add Comment

    8. Polaroid I-2 Back Cover Removal: step 9, image 1 of 3 Polaroid I-2 Back Cover Removal: step 9, image 2 of 3 Polaroid I-2 Back Cover Removal: step 9, image 3 of 3
      • Slide the opening pick toward the rear of the camera to release the clips along the right edge.

      Ask FixBot

      Add Comment

    9. Polaroid I-2 Back Cover Removal, Remove the bottom cover: step 10, image 1 of 3 Polaroid I-2 Back Cover Removal, Remove the bottom cover: step 10, image 2 of 3 Polaroid I-2 Back Cover Removal, Remove the bottom cover: step 10, image 3 of 3
      • At this point, the bottom cover clips should be released. If not, slide an opening pick along the perimeter of the back cover to release any remaining clips.

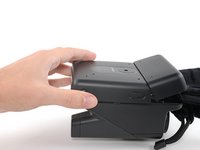
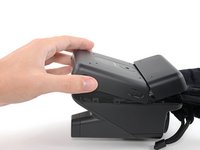
      • Tilt the back of the bottom cover upward and pull it away from the camera, making sure to thread the film door lever from its recess.

      • Remove the back cover.

      • During reassembly, insert the film door lever into its recess before aligning the bottom cover and pressing it into place to secure its clips.

      Ask FixBot

      Add Comment

    1. Polaroid I-2 Back Cover Removal, Disconnect the film door: step 11, image 1 of 3 Polaroid I-2 Back Cover Removal, Disconnect the film door: step 11, image 2 of 3 Polaroid I-2 Back Cover Removal, Disconnect the film door: step 11, image 3 of 3
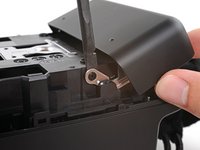
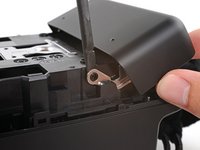
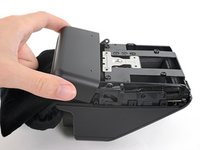
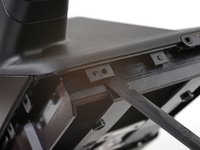
      • Insert the flat end of a spudger between the film door's left hinge and the frame.

      • Twist the spudger to separate the rubber hinge grommet from its peg in the frame.

      • Pull the film door towards the front of the camera to completely disconnect its left hinge.

      Ask FixBot

      Add Comment

    2. Polaroid I-2 Back Cover Removal: step 12, image 1 of 3 Polaroid I-2 Back Cover Removal: step 12, image 2 of 3 Polaroid I-2 Back Cover Removal: step 12, image 3 of 3
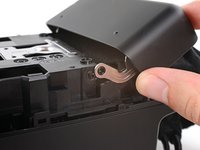
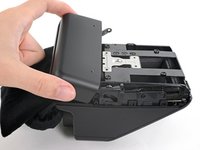
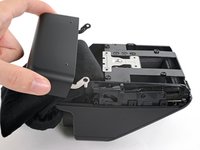
      • Tilt the left edge of the film door up to separate the left hinge's rubber grommet.

      • Remove the film door.

      • At this point, you can remove the cloth blocker from under the print roller.

      • During reassembly, hook the left hinge on its post and push the right hinge over its post until it snaps into place.

      Ask FixBot

      Add Comment

    1. Polaroid I-2 Back Cover Removal, Unfasten the back cover: step 13, image 1 of 1
      • Use a Phillips screwdriver to remove the two 3.9 mm-long screws securing the back cover.

      Ask FixBot

      Add Comment

    2. Polaroid I-2 Back Cover Removal, Unclip the back cover: step 14, image 1 of 3 Polaroid I-2 Back Cover Removal, Unclip the back cover: step 14, image 2 of 3 Polaroid I-2 Back Cover Removal, Unclip the back cover: step 14, image 3 of 3
      • There are two alignment pegs along the bottom edge of the back cover.

      • Insert a spudger between the frame and the alignment hole on the back cover.

      • Twist the spudger to lift the back cover off of the alignment peg.

      • Repeat for the second alignment peg.

      Ask FixBot

      Add Comment

    3. Polaroid I-2 Back Cover Removal, Disassembly information: step 15, image 1 of 3 Polaroid I-2 Back Cover Removal, Disassembly information: step 15, image 2 of 3 Polaroid I-2 Back Cover Removal, Disassembly information: step 15, image 3 of 3
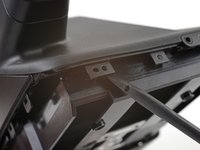
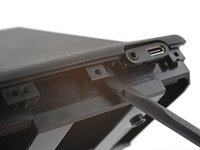
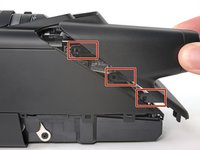
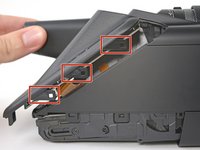
      • There are eight large clips that secure the back cover. The next four steps show how to release them.

      • These clips are very strong and require significant force to release.

      • The procedure to release the clips is tricky and will require time and patience to perform correctly.

      Ask FixBot

      Add Comment

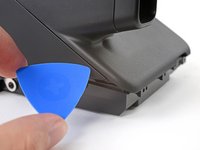
    4. Polaroid I-2 Back Cover Removal, Insert an opening pick: step 16, image 1 of 3 Polaroid I-2 Back Cover Removal, Insert an opening pick: step 16, image 2 of 3 Polaroid I-2 Back Cover Removal, Insert an opening pick: step 16, image 3 of 3
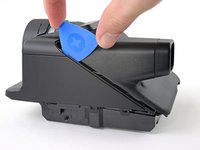
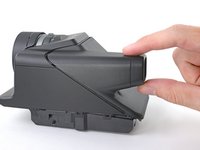
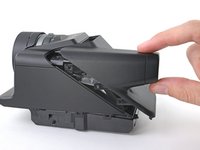
      • Releasing the clips requires getting a tool between the covered "thin" edge of the front cover and the clips themselves.

      • Angle an opening pick upward and insert it at the gap where the bottom right corner of the back cover meets the triangular tip of the front cover’s right edge.

      • Push the pick up to get it above the overhanging lip in the back cover.

      • You'll see the plastic warp a little. This is normal.

      • While pushing upward, slowly rotate the pick towards the left edge of the camera until it's under the front cover.

      • The pick can slip out easily, so this may take a few tries.

      Ask FixBot

      Add Comment

    5. Polaroid I-2 Back Cover Removal: step 17, image 1 of 3 Polaroid I-2 Back Cover Removal: step 17, image 2 of 3 Polaroid I-2 Back Cover Removal: step 17, image 3 of 3
      • While pushing the pick downward, slide it all the way up the right edge to release the clips.

      • Keep the pick as upright as possible while sliding to avoid hitting the clips.

      • The plastic in the lip of the back cover will warp. This is normal.

      • Leave the pick at the top corner before continuing to prevent the clips from resecuring.

      Ask FixBot

      Add Comment

    6. Polaroid I-2 Back Cover Removal: step 18, image 1 of 3 Polaroid I-2 Back Cover Removal: step 18, image 2 of 3 Polaroid I-2 Back Cover Removal: step 18, image 3 of 3
      • Angle a second opening pick upward and insert it at the gap where the bottom left corner of the back cover meets the triangular tip of the front cover’s left edge.

      • Push the pick up to get it above the overhanging lip in the back cover.

      • You'll see the plastic warp a little. This is normal.

      • While pushing upward, slowly rotate the pick towards the right edge of the camera until it's under the front cover.

      • The pick can slip out easily, so this may take a few tries.

      Ask FixBot

      Add Comment

    7. Polaroid I-2 Back Cover Removal: step 19, image 1 of 3 Polaroid I-2 Back Cover Removal: step 19, image 2 of 3 Polaroid I-2 Back Cover Removal: step 19, image 3 of 3
      • While pushing the pick downward, slide it all the way up the left edge to release the remaining clips.

      • Keep the pick as upright as possible while sliding to avoid hitting the clips.

      • The plastic in the lip of the back cover will warp. This is normal.

      Ask FixBot

      Add Comment

    8. Polaroid I-2 Back Cover Removal, Reposition the back cover: step 20, image 1 of 3 Polaroid I-2 Back Cover Removal, Reposition the back cover: step 20, image 2 of 3 Polaroid I-2 Back Cover Removal, Reposition the back cover: step 20, image 3 of 3
      • Don't try to pull the back cover off just yet, as it's still connected by a cable.

      • At this point, the back cover should feel loose. If any parts still feel connected, repeat the last four steps until all the clips release.

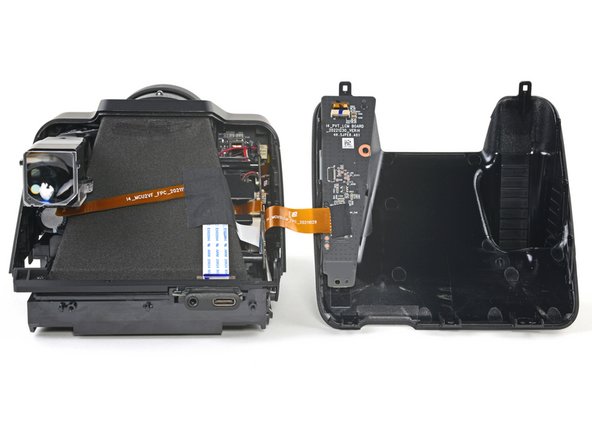
      • Pull the back cover off the camera and rotate it over the right edge to expose the flex cable.

      • During reassembly, make sure the the flex cable isn't caught between the covers before re‑engaging the clips.

      Ask FixBot

      Add Comment

    9. Polaroid I-2 Back Cover Removal, Remove the tape: step 21, image 1 of 3 Polaroid I-2 Back Cover Removal, Remove the tape: step 21, image 2 of 3 Polaroid I-2 Back Cover Removal, Remove the tape: step 21, image 3 of 3
      Tool used on this step:
      Tweezers
      $4.99
      Buy
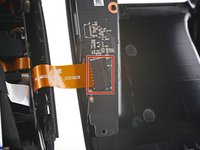
      • Use tweezers to peel off the tape covering the interconnect cable ZIF connector on the control board.

      • Set the tape aside. You'll reuse it during reassembly.

      Ask FixBot

      Add Comment

    10. Polaroid I-2 Back Cover Removal, Disconnect the control board: step 22, image 1 of 2 Polaroid I-2 Back Cover Removal, Disconnect the control board: step 22, image 2 of 2
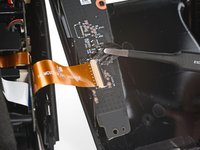
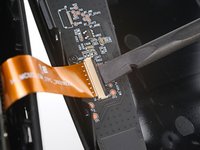
      • Use the flat end of a spudger to lift up the locking flap on the control board ZIF connector.

      Ask FixBot

      Add Comment

    11. Polaroid I-2 Back Cover Removal: step 23, image 1 of 3 Polaroid I-2 Back Cover Removal: step 23, image 2 of 3 Polaroid I-2 Back Cover Removal: step 23, image 3 of 3
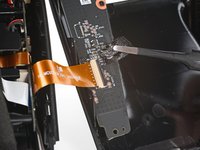
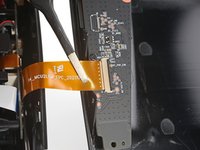
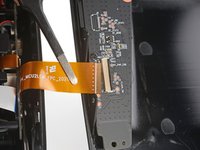
      • Use tweezers to pull the interconnect cable out of its slot in the control board.

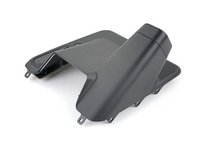
      • Remove the back cover.

      Ask FixBot

      Add Comment

Conclusion

To reassemble your device, follow these instructions in reverse order.

Cancel: I did not complete this guide.

Alex Diaz-Kokaisl

Member since: 01/16/22

251,222 Reputation

1,200 Guides authored

Team

Guide Team Member of Guide Team

Staff

10 Members

62,156 Guides authored

0 Guide Comments

Add Comment

View Statistics:

Past 24 Hours: 0

Past 7 Days: 3

Past 30 Days: 23

All Time: 468