Free Shipping on Domestic Orders $75+

HP Pavilion x360 11m-ad013dx Motherboard Replacement

Views: 1.9K

View statistics:

Past 24 Hours:
1
Past 7 Days:
21
Past 30 Days:
84
All Time:
1,918
Comments: 0

No one has left comments on this guide. Will you be first?

Go to guide comments
Completed: 2

2 people have marked this guide "completed." Will you be next?

Favorites: 0

No one has favorited (and subscribed to) this guide. Will you be the first?

Time Required: 20 - 30 minutes
Difficulty: Moderate
HP Pavilion x360 11m-ad013dx Motherboard Replacement

Introduction

Go to step 1 ↓

Below you will find the steps to replace the motherboard for the HP Pavilion x360 11m-ad013dx. Whether you want to upgrade your laptop’s performance or your motherboard is malfunctioning, follow these steps to replace the motherboard. The motherboard, also known as the system board, is a main part of the system, containing the WLAN module, PSU, and memory module. The motherboard also provides access to the heat sink, located on the backside of the motherboard. Be careful when handling the motherboard, as some parts may be delicate.

What you need

Tools

    1. HP Pavilion x360 11m-ad013dx Motherboard Replacement, Keyboard: step 1, image 1 of 1
      • Lay the HP Pavilion top-down with the front edge facing towards you.

      Ask FixBot

      Add Comment

    2. HP Pavilion x360 11m-ad013dx Motherboard Replacement: step 2, image 1 of 1
      • Remove the three 4.8mm Phillips #0 screws from the front side.

      Ask FixBot

      Add Comment

    3. HP Pavilion x360 11m-ad013dx Motherboard Replacement: step 3, image 1 of 2 HP Pavilion x360 11m-ad013dx Motherboard Replacement: step 3, image 2 of 2
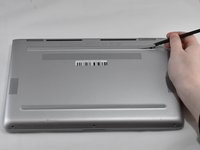
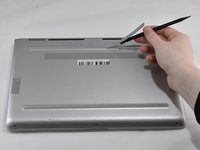
      • Using a plastic spudger, remove the grey silicon strip closest to the back-side.

      Ask FixBot

      Add Comment

    4. HP Pavilion x360 11m-ad013dx Motherboard Replacement: step 4, image 1 of 1
      • Remove the three 5.7mm Phillips #1 screws.

      Ask FixBot

      Add Comment

    5. HP Pavilion x360 11m-ad013dx Motherboard Replacement: step 5, image 1 of 2 HP Pavilion x360 11m-ad013dx Motherboard Replacement: step 5, image 2 of 2
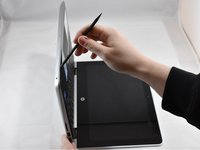
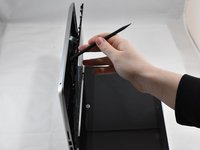
      • Open the HP Pavilion so that the screen is showing. Then tilt it down so that the screen is on its back, facing up.

      • Using a spudger, pry off the black keyboard panel.

      • This step requires force to unclasp the latches keeping the keyboard in place.

      Ask FixBot

      Add Comment

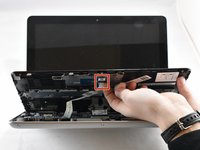
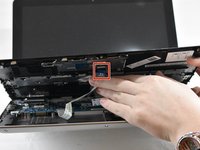
    6. HP Pavilion x360 11m-ad013dx Motherboard Replacement: step 6, image 1 of 2 HP Pavilion x360 11m-ad013dx Motherboard Replacement: step 6, image 2 of 2
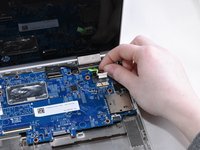
      • Using your fingernail, disconnect the zero insertion force (ZIF) keyboard connector cable by flipping up the small locking flap.

      • You may disconnect the other end of the cable, for ease of access to other parts. Keep in mind that the end labeled MB connects to the motherboard.

      Ask FixBot

      Add Comment

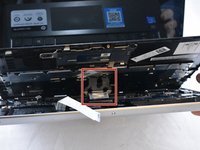
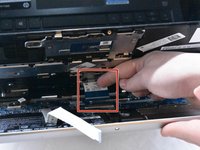
    7. HP Pavilion x360 11m-ad013dx Motherboard Replacement: step 7, image 1 of 2 HP Pavilion x360 11m-ad013dx Motherboard Replacement: step 7, image 2 of 2
      • Using your fingernail, disconnect the zero insertion force (ZIF) connector for the touch pad cable by flipping up the small locking flap.

      Ask FixBot

      Add Comment

    8. HP Pavilion x360 11m-ad013dx Motherboard Replacement: step 8, image 1 of 1
      • Remove the keyboard.

      Ask FixBot

      Add Comment

    1. HP Pavilion x360 11m-ad013dx Motherboard Replacement, Battery: step 9, image 1 of 1
      • Remove the five 4.6mm Phillips #1 screws located around the battery.

      Ask FixBot

      Add Comment

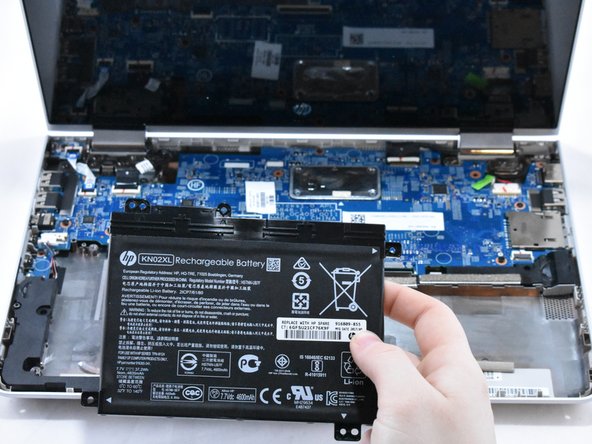
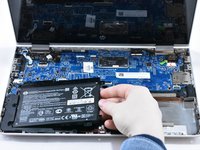
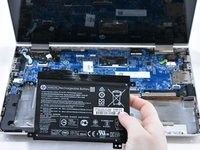
    2. HP Pavilion x360 11m-ad013dx Motherboard Replacement: step 10, image 1 of 2 HP Pavilion x360 11m-ad013dx Motherboard Replacement: step 10, image 2 of 2
      • Using a spudger for assistance, lift up the right edge of the battery.

      • Remove the battery.

      Ask FixBot

      Add Comment

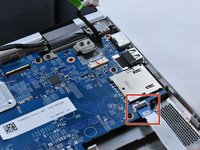
    1. HP Pavilion x360 11m-ad013dx Motherboard Replacement, Speaker: step 11, image 1 of 2 HP Pavilion x360 11m-ad013dx Motherboard Replacement, Speaker: step 11, image 2 of 2
      • Using your fingernail, disconnect the ZIF (zero insertion force) hard drive cable by flipping up the small locking flap.

      Ask FixBot

      Add Comment

    2. HP Pavilion x360 11m-ad013dx Motherboard Replacement: step 12, image 1 of 2 HP Pavilion x360 11m-ad013dx Motherboard Replacement: step 12, image 2 of 2
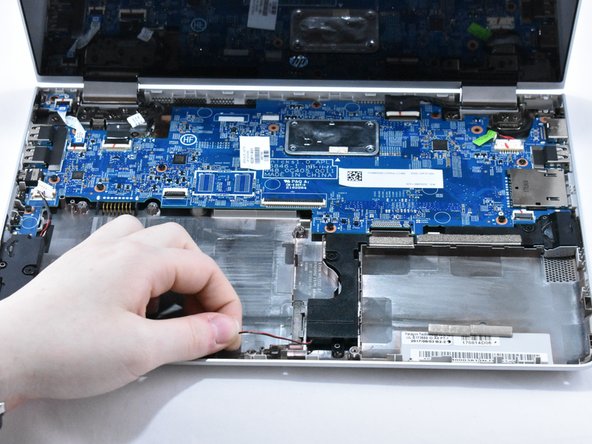
      • With your fingernails, disconnect the speaker cable from the motherboard by pulling back on the connector.

      • Do not directly pull on the wires, as this can damage the connector.

      Ask FixBot

      Add Comment

    3. HP Pavilion x360 11m-ad013dx Motherboard Replacement: step 13, image 1 of 2 HP Pavilion x360 11m-ad013dx Motherboard Replacement: step 13, image 2 of 2
      • Lift the speaker cable from its retention chamber.

      Ask FixBot

      Add Comment

    4. HP Pavilion x360 11m-ad013dx Motherboard Replacement: step 14, image 1 of 1
      • Remove the four 6.2mm Phillips #1 screws around the speakers.

      Ask FixBot

      Add Comment

    5. HP Pavilion x360 11m-ad013dx Motherboard Replacement: step 15, image 1 of 1
      • Remove the speakers.

      Ask FixBot

      Add Comment

    1. HP Pavilion x360 11m-ad013dx Motherboard Replacement, Motherboard: step 16, image 1 of 2 HP Pavilion x360 11m-ad013dx Motherboard Replacement, Motherboard: step 16, image 2 of 2
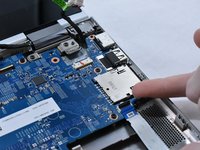
      • Using your fingernail, disconnect the ZIF (zero insertion force) power button connector cable from the motherboard.

      Ask FixBot

      Add Comment

    2. HP Pavilion x360 11m-ad013dx Motherboard Replacement: step 17, image 1 of 2 HP Pavilion x360 11m-ad013dx Motherboard Replacement: step 17, image 2 of 2
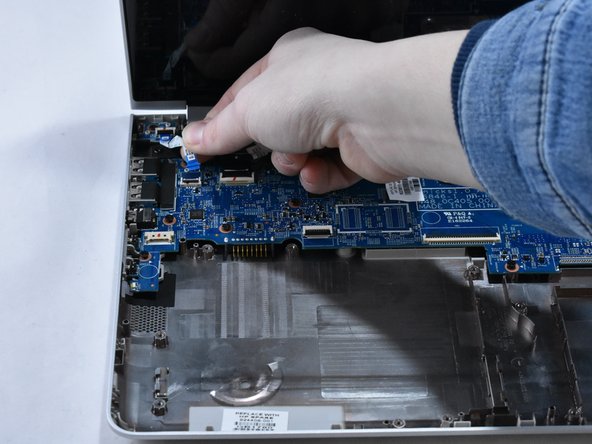
      • Using your fingernail, disconnect the ZIF display panel connector cable from the motherboard.

      Ask FixBot

      Add Comment

    3. HP Pavilion x360 11m-ad013dx Motherboard Replacement: step 18, image 1 of 3 HP Pavilion x360 11m-ad013dx Motherboard Replacement: step 18, image 2 of 3 HP Pavilion x360 11m-ad013dx Motherboard Replacement: step 18, image 3 of 3
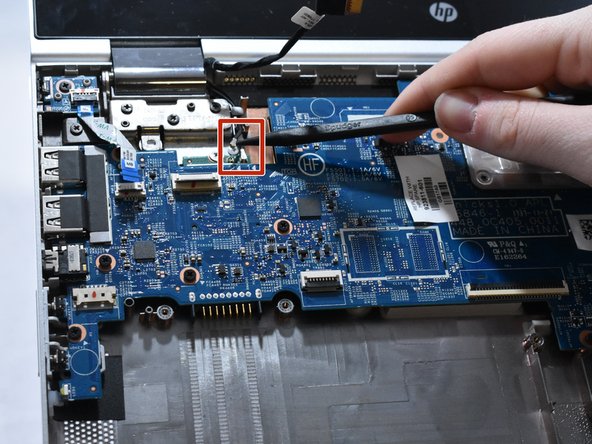
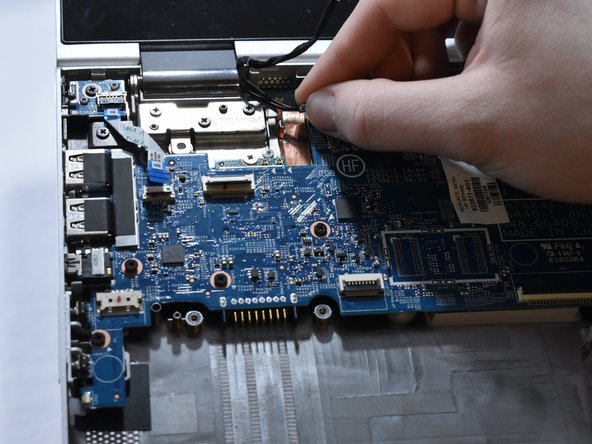
      • Disconnect the two WLAN antenna cables by sliding under the cable with a spudger, then lifting straight up.

      • The black labeled cable inserts into the "A" connection. The white labeled cable inserts into the "B" connection.

      Ask FixBot

      Add Comment

    4. HP Pavilion x360 11m-ad013dx Motherboard Replacement: step 19, image 1 of 3 HP Pavilion x360 11m-ad013dx Motherboard Replacement: step 19, image 2 of 3 HP Pavilion x360 11m-ad013dx Motherboard Replacement: step 19, image 3 of 3
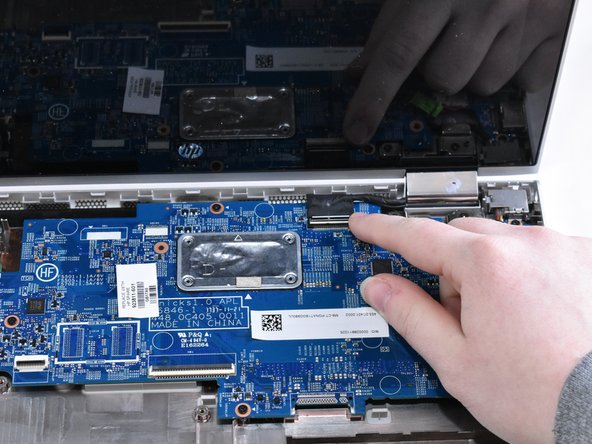
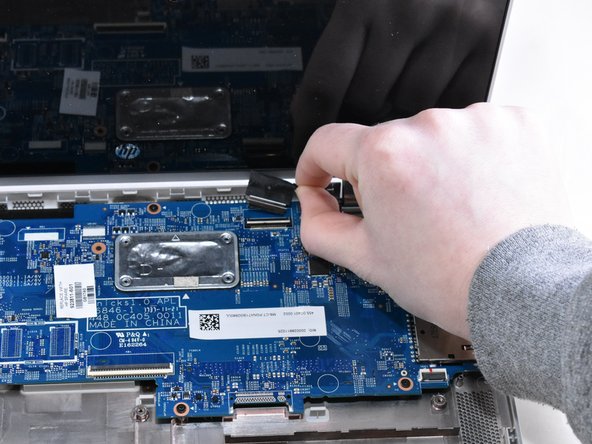
      • Using your fingernail, disconnect the ZIF display touch screen connector cable from the motherboard.

      Ask FixBot

      Add Comment

    5. HP Pavilion x360 11m-ad013dx Motherboard Replacement: step 20, image 1 of 2 HP Pavilion x360 11m-ad013dx Motherboard Replacement: step 20, image 2 of 2
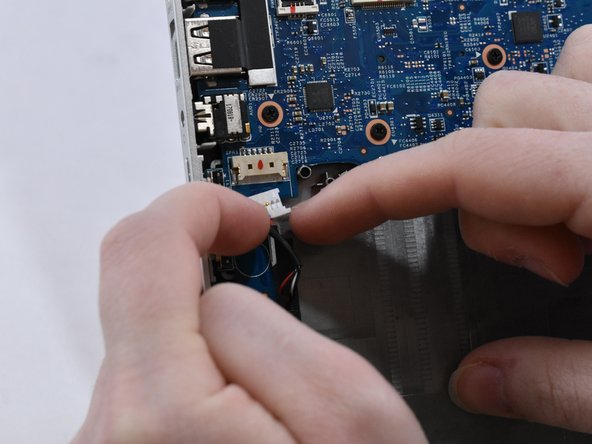
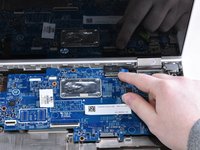
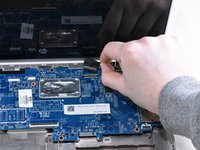
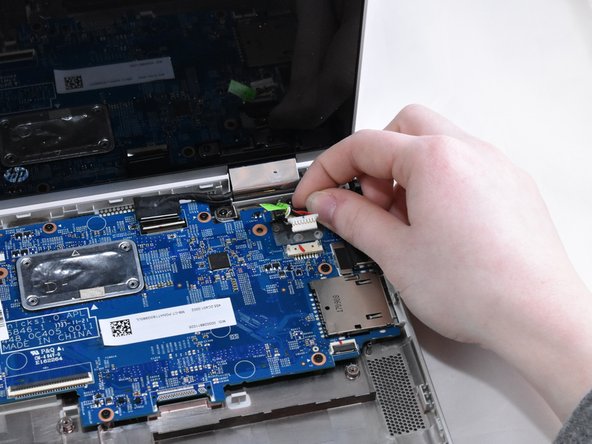
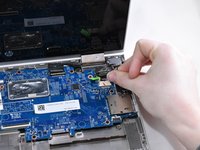
      • Using your fingernails, disconnect the power connector cable by pulling straight out.

      • Do not directly pull the wires, as this can damage the connector. Instead, pull on the white, plastic part of the connector.

      Ask FixBot

      Add Comment

    6. HP Pavilion x360 11m-ad013dx Motherboard Replacement: step 21, image 1 of 1
      • Remove the eleven 4.6 mm Phillips #1 screws from around the motherboard.

      Ask FixBot

      Add Comment

    7. HP Pavilion x360 11m-ad013dx Motherboard Replacement: step 22, image 1 of 1
      • Remove the one 2.2 mm Phillips #1 broad head screw in the WLAN module.

      Ask FixBot

      Add Comment

    8. HP Pavilion x360 11m-ad013dx Motherboard Replacement: step 23, image 1 of 1
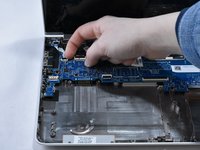
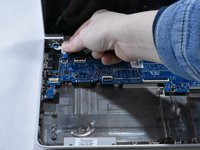
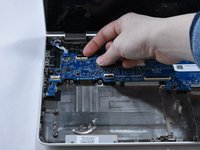
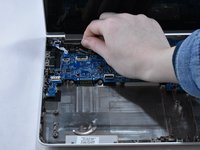
      • Lift the motherboard up on the right side. Then, gently pull the motherboard straight out to the right.

      Ask FixBot

      Add Comment

Conclusion

To reassemble your device, follow these instructions in reverse order.

Cancel: I did not complete this guide.

2 other people completed this guide.

0 Guide Comments

Add Comment

View Statistics:

Past 24 Hours: 1

Past 7 Days: 21

Past 30 Days: 84

All Time: 1,918