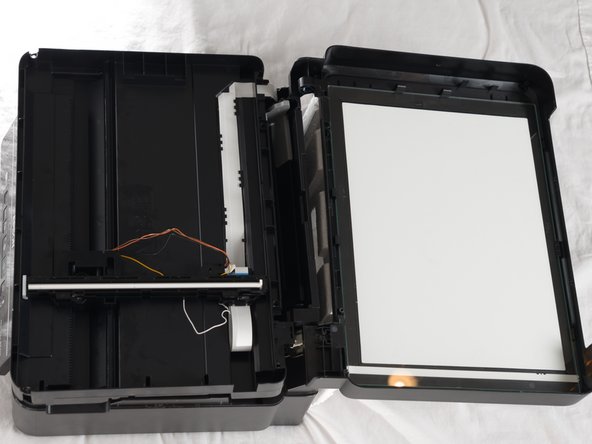
Epson Stylus NX230 Scanner Motor Replacement

What you need

  1. Epson Stylus NX230 Scanner Motor Replacement, Scanner Motor: step 1, image 1 of 1
    • Check that the printer is unplugged to prevent shock.

    • Turn the printer so the front buttons are facing away from you.

  2. Epson Stylus NX230 Scanner Motor Replacement: step 2, image 1 of 1
    • Locate the 3mm Phillips #0 screw in the top left corner of the printer.

    • Remove the screw using a Phillips head screwdriver.

    • Store the screw in a safe place where you can access them later.

  3. Epson Stylus NX230 Scanner Motor Replacement: step 3, image 1 of 1
    • Flip the top of the printer up so that you can see the inside of the printer.

    • There is a white ribbon cable in the right top corner of the printer.

    • Make sure that the white ribbon does not come detached from the right side of the printer.

  4. Epson Stylus NX230 Scanner Motor Replacement: step 4, image 1 of 1
    • Lay the scanner face up so you can access the under side, and place something, such as a piece of Styrofoam, underneath of it so that the white tape does not become detached.

    • Locate the four 3mm Phillips #2 screws along the edge, and remove all of them.

    • Store the screws in a safe place where you can access them later.

  5. Epson Stylus NX230 Scanner Motor Replacement: step 5, image 1 of 2 Epson Stylus NX230 Scanner Motor Replacement: step 5, image 2 of 2
    • Locate the seam on between outer shell of the printer and the inside of the printer.

    • Starting from the top of the printer, use the plastic opening tool to slowly pry the scanner apart along the seam.

  6. Epson Stylus NX230 Scanner Motor Replacement: step 6, image 1 of 2 Epson Stylus NX230 Scanner Motor Replacement: step 6, image 2 of 2
    • Detach the bottom of the scanner.

    • Flip the bottom of the scanner over so that it rests on top of the printer.

    • This gives you access to the motor.

  7. Epson Stylus NX230 Scanner Motor Replacement: step 7, image 1 of 1
    • Gently lift the scanner bar in order to remove it from the scanner.

    • Detach the white ribbon cable from the scanner bar.

  8. Epson Stylus NX230 Scanner Motor Replacement: step 8, image 1 of 1
    • Remove the two 3mm Phillips #2 screws on the underside of the scanner bar attached to the silver motor.

    • Remove the motor from the scanner bar by gently pulling the motor upwards.

Conclusion

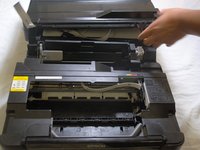
To reassemble your device, follow these instructions in reverse order.

Kimberly Pugel

Member since: 04/07/14

404 Reputation

3 Guides authored

Team

Cal Poly, Team 6-1, Forte Spring 2014 Member of Cal Poly, Team 6-1, Forte Spring 2014

CPSU-FORTE-S14S6G1

4 Members

10 Guides authored

0 Comments

Add Comment

View Statistics:

Past 24 Hours: 0

Past 7 Days: 1

Past 30 Days: 5

All Time: 919