
Epson Powerlite S5 Projection Lamp Replacement

What you need

  1. Epson Powerlite S5 Projection Lamp Replacement, Projection Lamp: step 1, image 1 of 2 Epson Powerlite S5 Projection Lamp Replacement, Projection Lamp: step 1, image 2 of 2
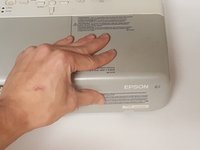
    • Make sure the power is off before beginning.

    • Unplug the projector's power cord from the wall.

    • Allow the projection lamp to cool completely before replacing.

  2. Epson Powerlite S5 Projection Lamp Replacement: step 2, image 1 of 2 Epson Powerlite S5 Projection Lamp Replacement: step 2, image 2 of 2
    • Using a Phillip's head screwdriver, remove the screw from the back.

  3. Epson Powerlite S5 Projection Lamp Replacement: step 3, image 1 of 3 Epson Powerlite S5 Projection Lamp Replacement: step 3, image 2 of 3 Epson Powerlite S5 Projection Lamp Replacement: step 3, image 3 of 3
    • Slide the cover back.

    • Lift cover to remove.

  4. Epson Powerlite S5 Projection Lamp Replacement: step 4, image 1 of 3 Epson Powerlite S5 Projection Lamp Replacement: step 4, image 2 of 3 Epson Powerlite S5 Projection Lamp Replacement: step 4, image 3 of 3
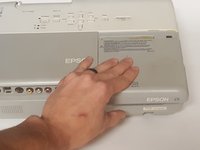
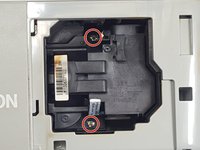
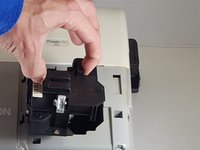
    • Locate the two screws on either side of the projection lamp.

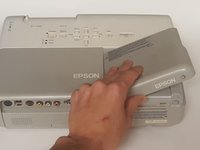
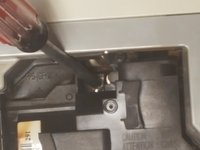
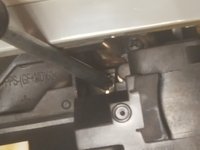
    • Using a Phillip's head screwdriver, loosen the two screws.

    • The screws only loosen. You don't have to worry about them falling out.

  5. Epson Powerlite S5 Projection Lamp Replacement: step 5, image 1 of 3 Epson Powerlite S5 Projection Lamp Replacement: step 5, image 2 of 3 Epson Powerlite S5 Projection Lamp Replacement: step 5, image 3 of 3
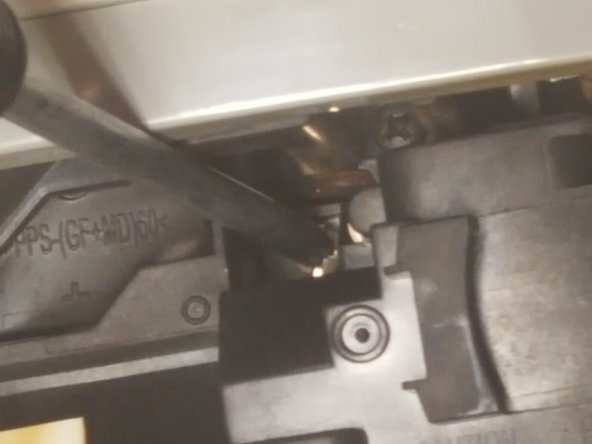
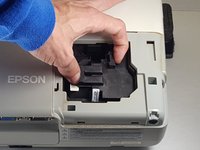
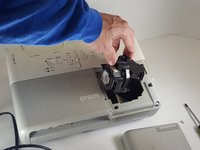
    • Grip the two plastic bars on the top of the old projection lamp.

    • Remove the projection lamp by pulling straight up.

    • If there is any lamp breakage, handle the shards carefully to avoid injury.

Conclusion

To reassemble your device, follow these instructions in reverse order.

Greg Brown

Member since: 10/06/16

121 Reputation

1 Guide authored

0 Comments

Add Comment

View Statistics:

Past 24 Hours: 0

Past 7 Days: 3

Past 30 Days: 6

All Time: 1,214