Introduction
Follow this guide to remove and replace the power supply in the Epson Powerlite 460.
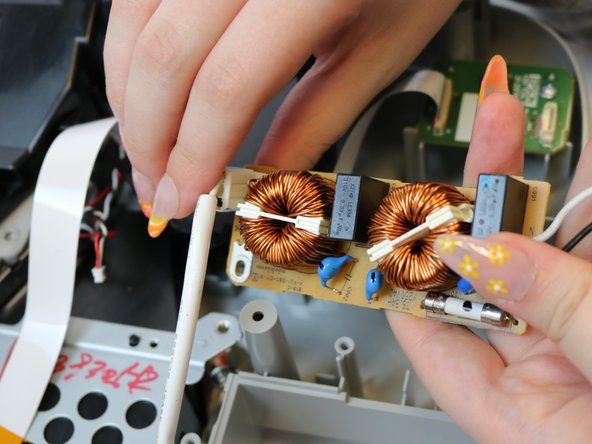
The internal power supply supplies power to the device which gives the device the ability to turn on and off.
If the device is not turning on while plugged in or is turning on and off, this could be an issue with the internal power supply. Look at the troubleshooting guide for this device; other parts of the device are connected to the power supply and could solve other power supply issues.
What you need
-
-
Remove the eleven 13.3mm screws using a Phillips #2 screwdriver.
-
Remove the bottom cover of the projector.
-
Flip the device over and remove the air filter cover.
-
-


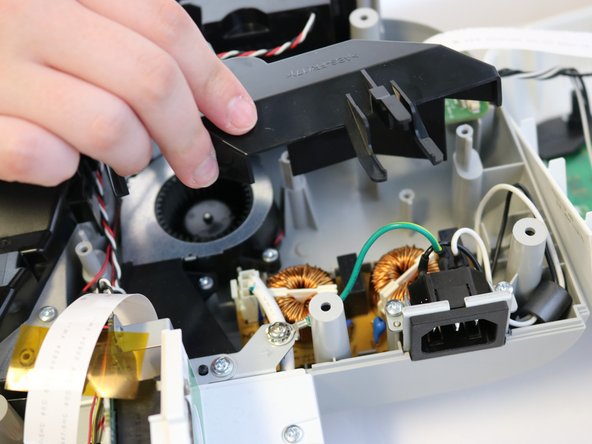


To reassemble your device, follow these instructions in reverse order.
To reassemble your device, follow these instructions in reverse order.

Team

Eastern Washington University, Team 1-1, Carnegie Spring 2022 Member of Eastern Washington University, Team 1-1, Carnegie Spring 2022
EWU-CARNEGIE-S22S1G1
3 Members
5 Guides authored