Introduction
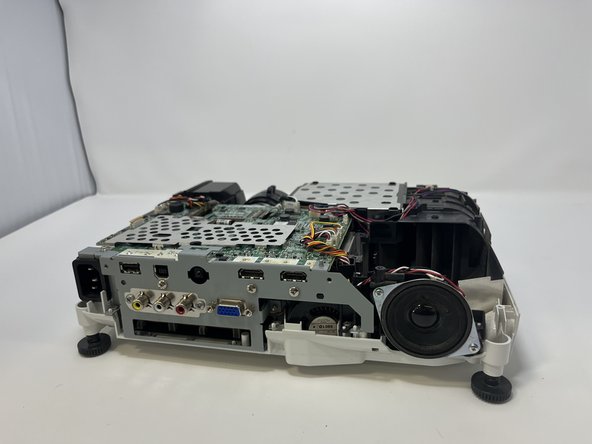
The speaker in the Epson PowerLite Home Cinema 1040 (model V11H772020 or H772A) is a built-in audio unit that is designed to output sound from the projector. The speaker helps to provide audio to complement the visual presentation that is being projected onto a screen or surface.
If your projector is not producing any sound even with the volume turned up on both the source device and the projector, and there are no external speakers connected, then the speaker may be broken.
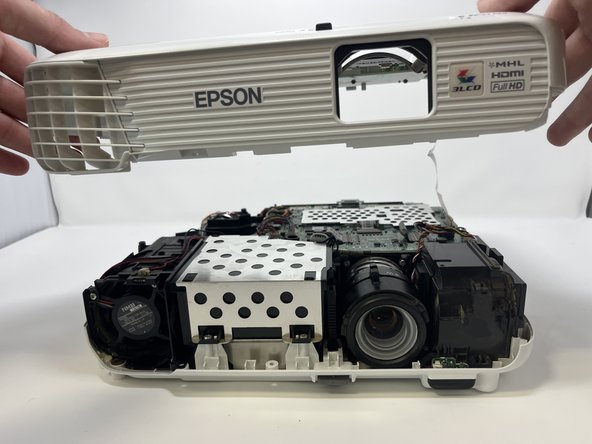
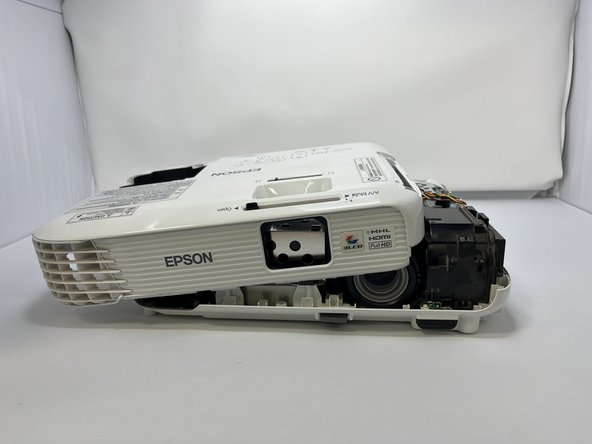
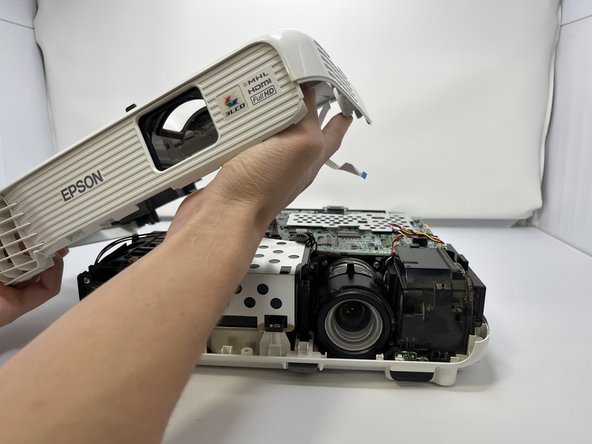
This guide demonstrates the steps necessary for replacing the built-in speaker.
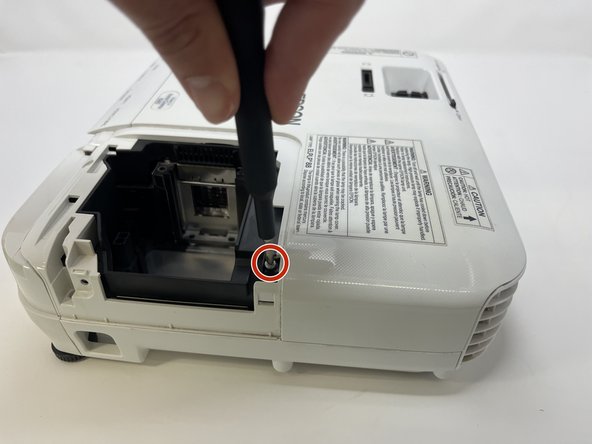
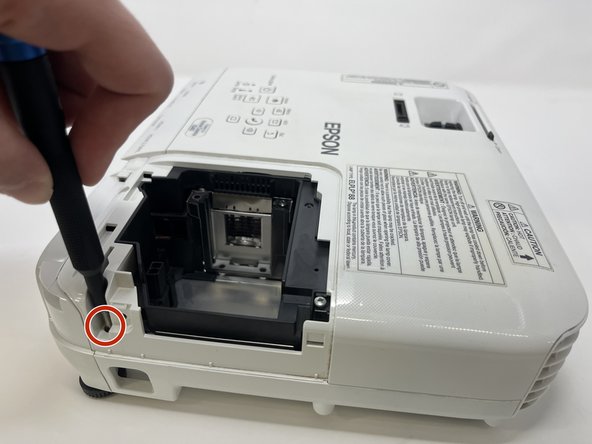
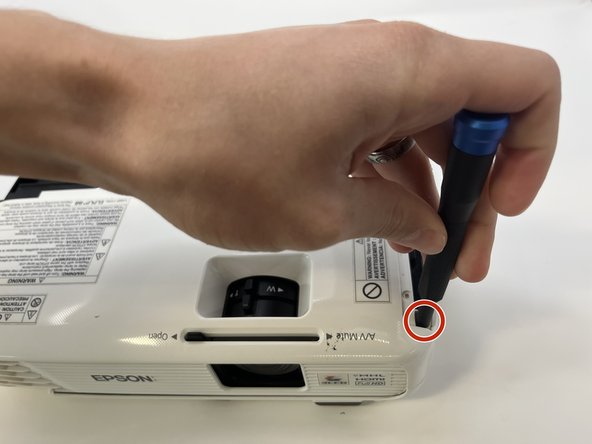
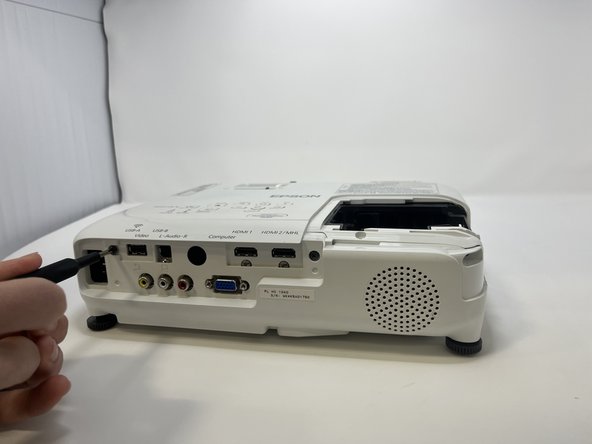
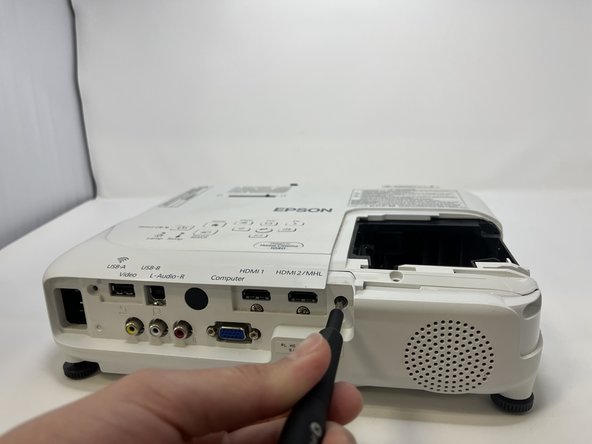
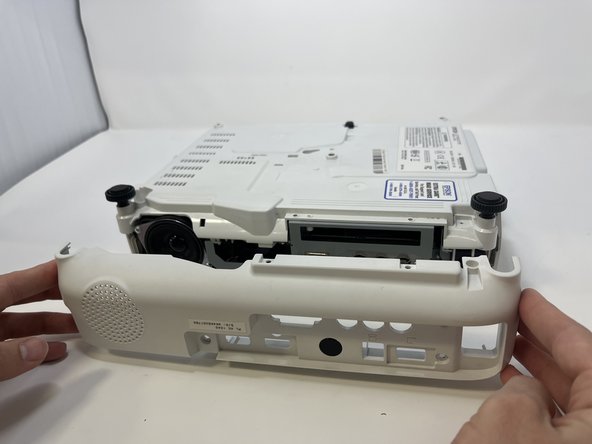
Before beginning, make sure to turn off the projector and unplug the power cord.
What you need


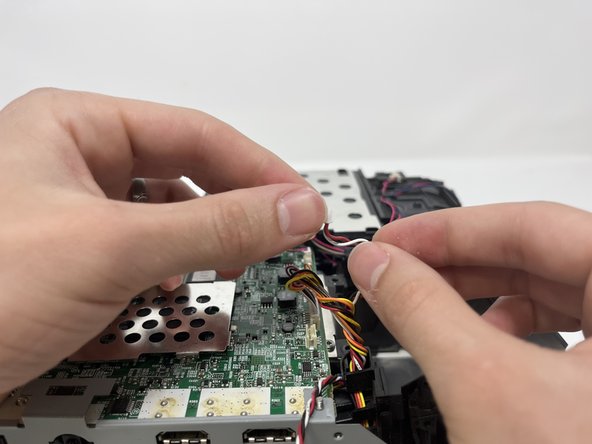
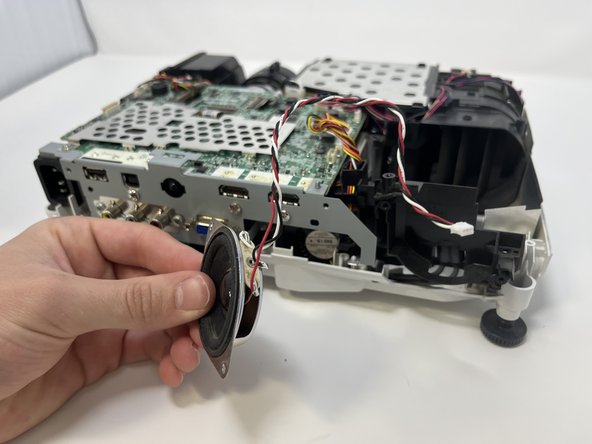
To reassemble your device, follow these instructions in reverse order.
To reassemble your device, follow these instructions in reverse order.

Team

Utah Tech University, Team 1-6, McMurrin Spring 2023 Member of Utah Tech University, Team 1-6, McMurrin Spring 2023
UTAHTECH-MCMURRIN-S23S1G6
3 Members
6 Guides authored