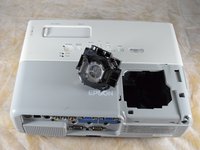
Epson PowerLite 83+ Lamp Replacement

What you need

  1. Epson PowerLite 83+ Lamp Replacement, Lamp: step 1, image 1 of 1
    • Turn off and unplug the projector.

    • Allow the projector to cool for an hour before performing maintenance on it.

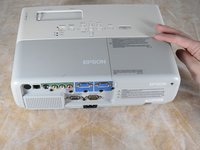
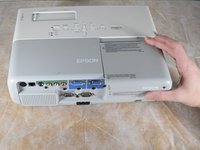
  2. Epson PowerLite 83+ Lamp Replacement: step 2, image 1 of 2 Epson PowerLite 83+ Lamp Replacement: step 2, image 2 of 2
    • Remove the 6 mm Phillips #2 screw securing the lamp cover.

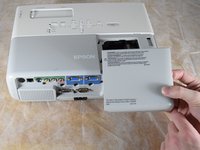
  3. Epson PowerLite 83+ Lamp Replacement: step 3, image 1 of 3 Epson PowerLite 83+ Lamp Replacement: step 3, image 2 of 3 Epson PowerLite 83+ Lamp Replacement: step 3, image 3 of 3
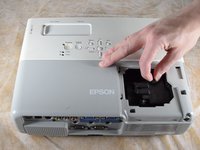
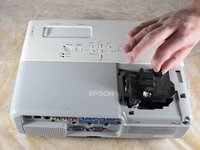
    • Apply gentle pressure to the end of the lamp cover.

    • Pull the lamp cover towards the end of the projector.

    • When the cover is released, pull the cover straight up off of the projector to reveal the lamp.

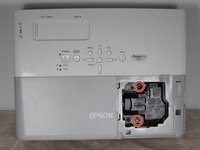
  4. Epson PowerLite 83+ Lamp Replacement: step 4, image 1 of 2 Epson PowerLite 83+ Lamp Replacement: step 4, image 2 of 2
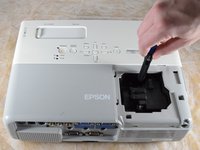
    • Loosen the two captive Phillips #2 screws securing the lamp.

    • Captive screws cannot be removed. They are secured to the lamp itself with retaining rings and will be removed along with the lamp.

  5. Epson PowerLite 83+ Lamp Replacement: step 5, image 1 of 3 Epson PowerLite 83+ Lamp Replacement: step 5, image 2 of 3 Epson PowerLite 83+ Lamp Replacement: step 5, image 3 of 3
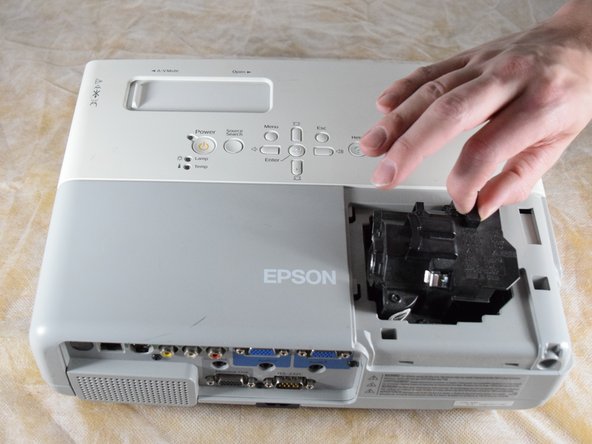
    • Gently grip the lamp by the finger hold.

    • Remove the lamp by pulling it off the guide rail, straight out of the projector.

Conclusion

To reassemble your device, follow these instructions in reverse order.

2 other people completed this guide.

Billy Fox

Member since: 02/22/22

467 Reputation

3 Guides authored

Team

Clemson, Team 2-4, Hunter Spring 2022 Member of Clemson, Team 2-4, Hunter Spring 2022

CLEM-HUNTER-S22S2G4

4 Members

6 Guides authored

0 Comments

Add Comment

View Statistics:

Past 24 Hours: 0

Past 7 Days: 3

Past 30 Days: 6

All Time: 592