Introduction
If your Eluktronics P650 laptop is not functioning correctly, one of the first things you can do is to check the RAM modules. If your computer is sluggish or defective one of the cheapest and easiest upgrade/repair you can do is to add more RAM. This guide will teach you how to replace/add RAM modules in your laptop so that your computer is running in top shape.
It is strongly advised that you assess what RAM you already have and use another of the same module to ensure system stability. The RAM in my laptop was a 260 pin DDR4 SODIMM Module, but yours may vary if you chose a different configuration while purchasing.
Before using this guide, you must make sure that the laptop is unplugged from a power source and shut down.
What you need
-
-
-
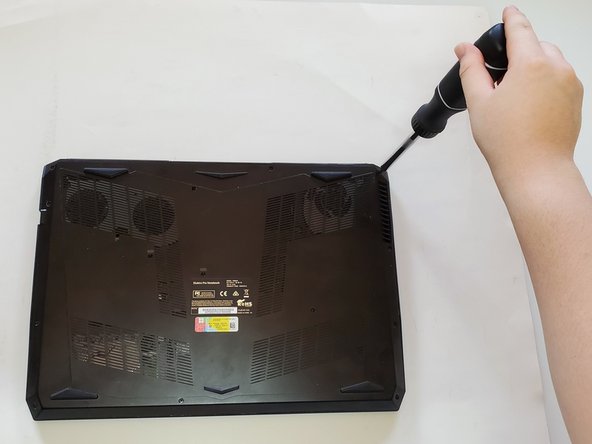
Unscrew the fourteen 6mm screws on the back panel with a Phillips #00 screwdriver.
-
-
-
-
Begin lifting the backplate apart from the laptop, starting at the ethernet port.
-
-
-
Press the clips on either side of the RAM module away from each other to release the RAM card.
-
-
-
Pull the old RAM card out and replace it with a new one.
-
Be sure to align the notches of the new card with the port, and to remove and insert the RAM modules with respect to the angle at which they rest.
-
Press the RAM module down to reengage the clips.
-

 Ask FixBot


To reassemble your device simply replace the backplate and screws.

Team

UW Tacoma, Team S1-G48, Cardinal Fall 2020 Member of UW Tacoma, Team S1-G48, Cardinal Fall 2020
UWT-CARDINAL-F20S1G48
1 Member
12 Guides authored
1 Guide Comment
The slots say 3 and 4, should i be using 1and 2 on the flipside instead?
