Free Shipping on Domestic Orders $75+

Electrical Outlet Replacement

Archived Guide
This guide is retained solely for historical purposes. Use the updated version of the guide to perform your repair.

What you need

    1. Electrical Outlet Replacement, Outlet: step 1, image 1 of 1
      • First, turn off the power to the area you’re working on.

      • If you aren’t sure about which breaker or fuse powers the outlet you’re working on just cut the power thorugh the whole house.

      Ask FixBot

      Add Comment

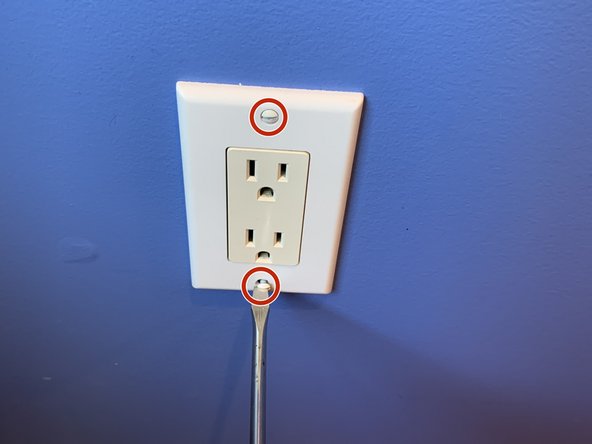
    2. Electrical Outlet Replacement: step 2, image 1 of 2 Electrical Outlet Replacement: step 2, image 2 of 2
      • Remove the face plate from the wall by unscrewing the two screws.

      Ask FixBot

      Add Comment

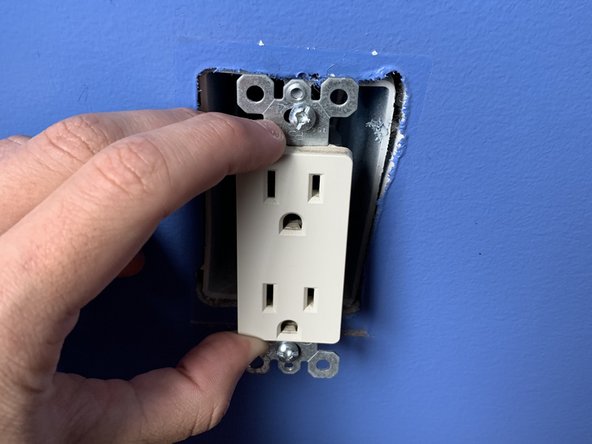
    3. Electrical Outlet Replacement: step 3, image 1 of 1
      • Remove the outlet from the box by unscrewing the two screws.

      Ask FixBot

      Add Comment

    4. Electrical Outlet Replacement: step 4, image 1 of 1
      • Pull the outlet Away from the box.

      Ask FixBot

      Add Comment

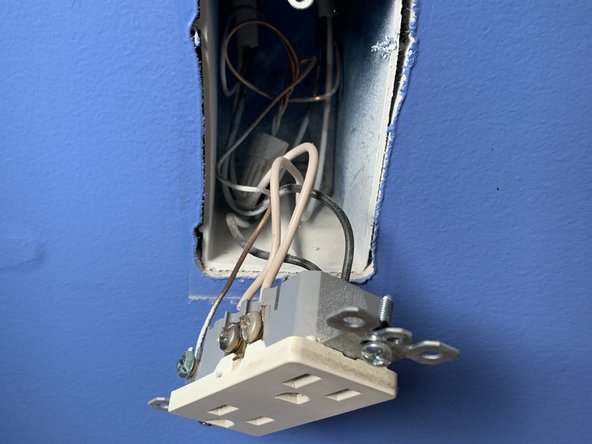
    5. Electrical Outlet Replacement: step 5, image 1 of 1
      • Remove the wires from the outlet by unscrewing the screws just enough to slip the wires out.

      • In this particular case, there are two sets of wires for both black and white. In most cases, there will only be one black and white wire.

      Ask FixBot

      Add Comment

    6. Electrical Outlet Replacement: step 6, image 1 of 1
      • Atach the ground wire to the new electrical outlet. (to the green screw)

      • It’ll either be the green wire, or a copper wire.

      • If your box is metal, you'll need to ground the wire first to the box screw AND the outlet. In this case, It's a plastic box so it does not need to be grounded to the box.

      Ask FixBot

      Add Comment

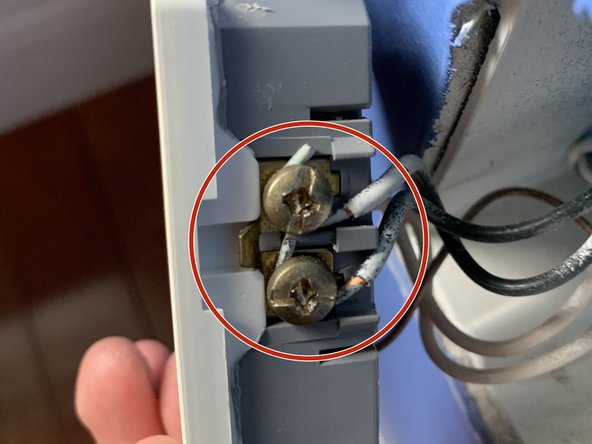
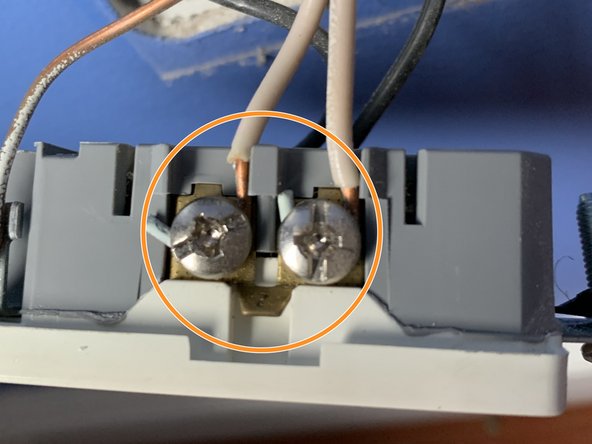
    7. Electrical Outlet Replacement: step 7, image 1 of 3 Electrical Outlet Replacement: step 7, image 2 of 3 Electrical Outlet Replacement: step 7, image 3 of 3
      • Attach the wires by the following

      • The black wire goes to the brass screw.

      • The white wire goes to the silver screw.

      • See how there are two silver screws? It doesn’t matter which one you use.

      • Hook your wires so they are going in the same direction as the screw is when tightening. This will help clamp the wire down as opposed to pushing it off.

      Ask FixBot

      Add Comment

    8. Electrical Outlet Replacement: step 8, image 1 of 1
      • Insert outlet back into box.

      Ask FixBot

      Add Comment

    9. Electrical Outlet Replacement: step 9, image 1 of 1
      • Screw the outlet back into the wall and box.

      Ask FixBot

      Add Comment

    10. Electrical Outlet Replacement: step 10, image 1 of 1
      • Cover with the faceplate and you are all set.

      • Don't forget to turn the power back on!

      Ask FixBot

      Add Comment

Conclusion

To reassemble your device, follow these instructions in reverse order.

Cancel: I did not complete this guide.

One other person completed this guide.

Bryce Afonso

Member since: 03/24/21

231 Reputation

1 Guide authored

Team

0 Guide Comments

Add Comment

View Statistics:

Past 24 Hours: 3

Past 7 Days: 5

Past 30 Days: 11

All Time: 103