
Eclipse MTE28VGM Plastic Casing Replacement

What you need

  1. Eclipse MTE28VGM Plastic Casing Replacement, Plastic Casing Replacement: step 1, image 1 of 3 Eclipse MTE28VGM Plastic Casing Replacement, Plastic Casing Replacement: step 1, image 2 of 3 Eclipse MTE28VGM Plastic Casing Replacement, Plastic Casing Replacement: step 1, image 3 of 3
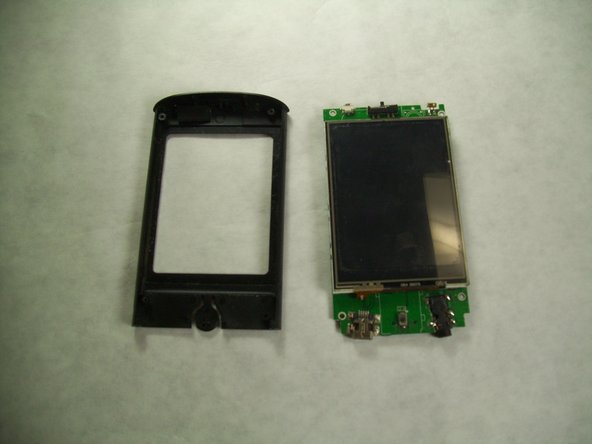
    • Using the screwdriver with the J00 bit, remove the two 4.8 mm Phillips screws.
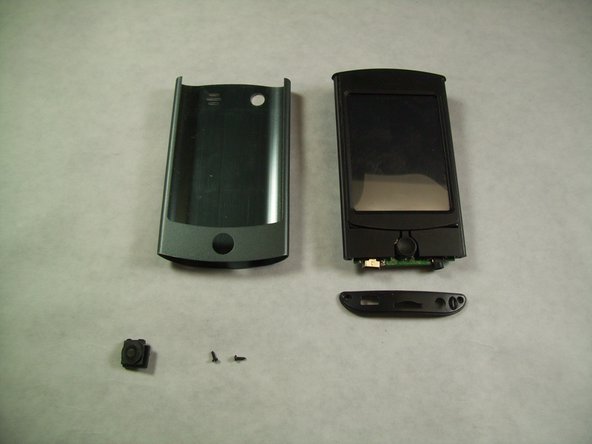
    • Use caution when removing the screws as they can strip easily.

  2. Eclipse MTE28VGM Plastic Casing Replacement: step 2, image 1 of 3 Eclipse MTE28VGM Plastic Casing Replacement: step 2, image 2 of 3 Eclipse MTE28VGM Plastic Casing Replacement: step 2, image 3 of 3
    • Using the small metal pry bar, remove the bottom plastic cover.

    • Using your thumb, press down on the home button and hold the metal casing. With your other hand hold the top plastic part of the device. At the same time slide the metal casing and the plastic casing apart.

    • On occasion the battery can become swollen and make this process difficult. You might need to use the spudger to push on the bottom components to assist in the separation.

  3. Eclipse MTE28VGM Plastic Casing Replacement: step 3, image 1 of 3 Eclipse MTE28VGM Plastic Casing Replacement: step 3, image 2 of 3 Eclipse MTE28VGM Plastic Casing Replacement: step 3, image 3 of 3
    • Using the screwdriver, remove the four 4.8 mm Phillips head J00 screws at each corner of the motherboard.

    • Remove the motherboard from the front plastic cover and screen.

    • Install new plastic case following steps in reverse order

Conclusion

To reassemble your device, follow these instructions in reverse order.

DELETED

Member since: 10/13/16

252 Reputation

2 Guides authored

Team

IUPUI, Team 2-1, Harley Fall 2016 Member of IUPUI, Team 2-1, Harley Fall 2016

IUPUI-HARLEY-F16S2G1

4 Members

12 Guides authored

0 Comments

Add Comment

View Statistics:

Past 24 Hours: 0

Past 7 Days: 0

Past 30 Days: 0

All Time: 150