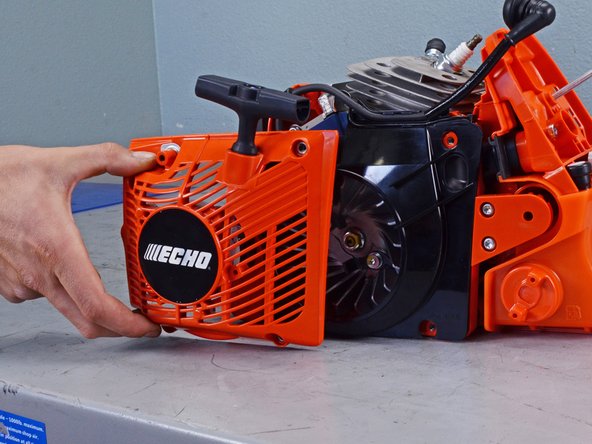
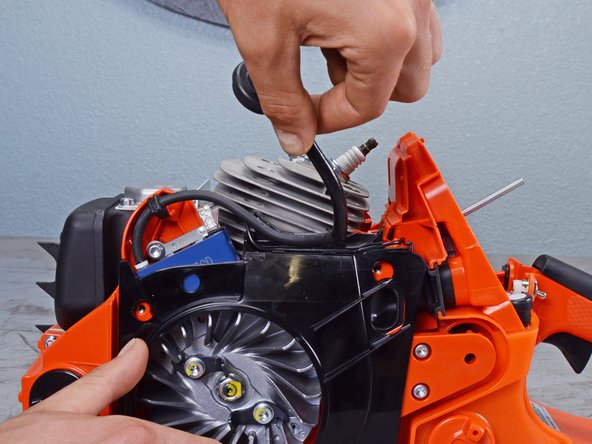
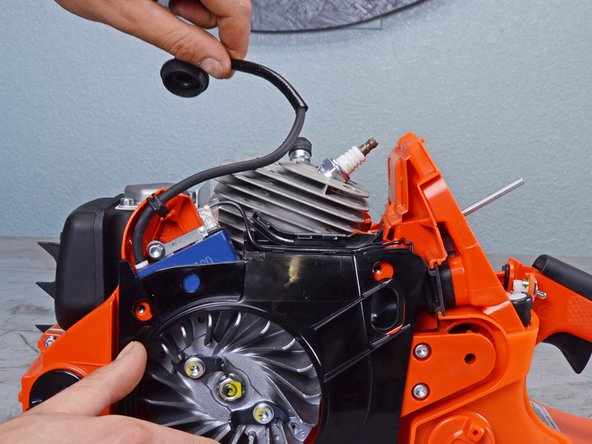
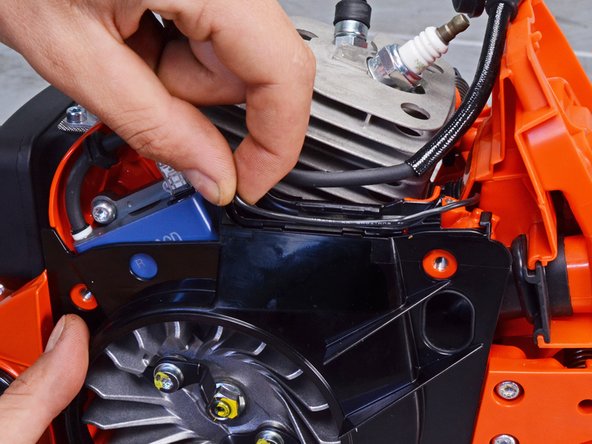
Echo Chain Saw CS590 2019 Ignition Assembly Replacement

What you need

  1. Echo Chain Saw CS590 2019 Ignition Assembly Replacement, Turn off the chainsaw: step 1, image 1 of 2 Echo Chain Saw CS590 2019 Ignition Assembly Replacement, Turn off the chainsaw: step 1, image 2 of 2
    • Make sure you have the ignition switch turned off before starting your repair.

    • The chainsaw should be cool to the touch before continuing.

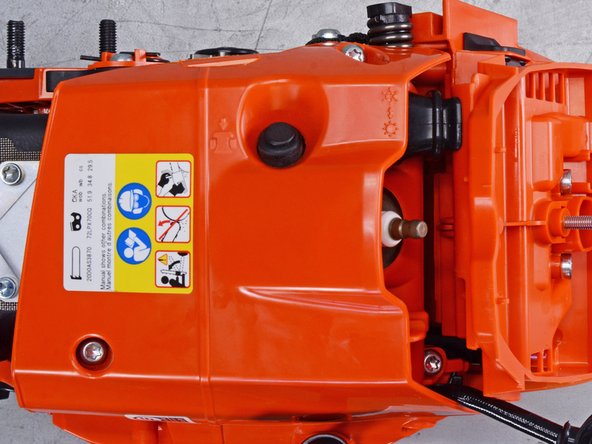
  2. Echo Chain Saw CS590 2019 Ignition Assembly Replacement, Loosen the air filter cover: step 2, image 1 of 2 Echo Chain Saw CS590 2019 Ignition Assembly Replacement, Loosen the air filter cover: step 2, image 2 of 2
    • Use your fingers to loosen the air filter cover knob.

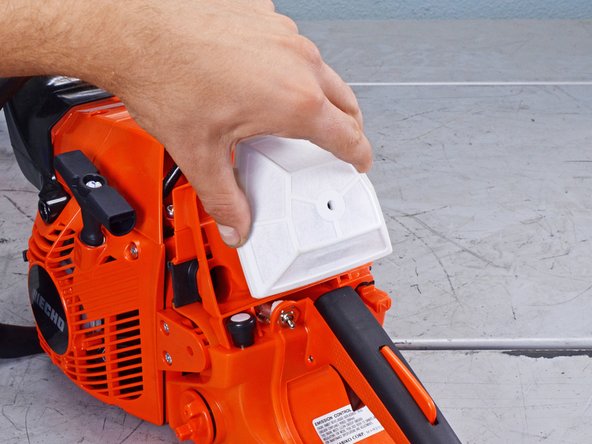
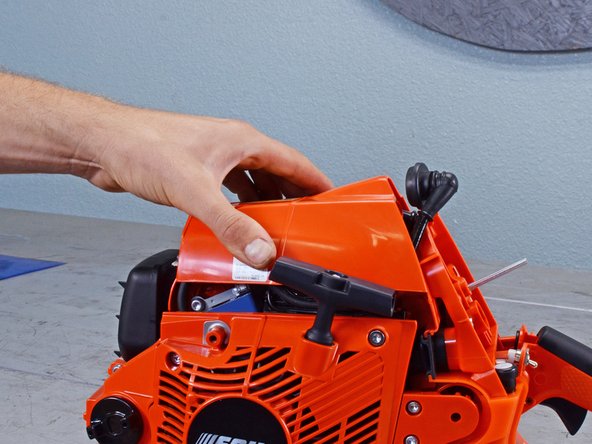
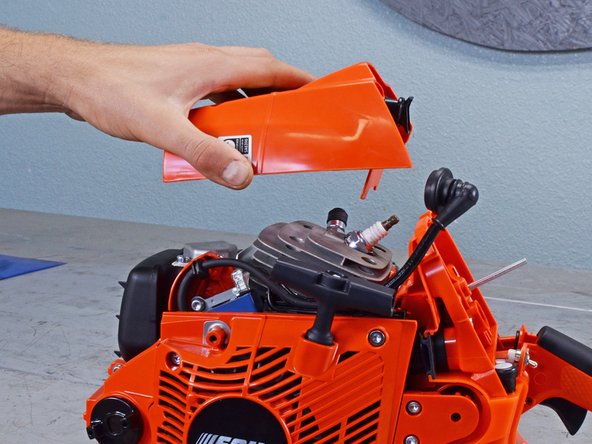
  3. Echo Chain Saw CS590 2019 Ignition Assembly Replacement: step 3, image 1 of 3 Echo Chain Saw CS590 2019 Ignition Assembly Replacement: step 3, image 2 of 3 Echo Chain Saw CS590 2019 Ignition Assembly Replacement: step 3, image 3 of 3
    • Remove the air filter cover.

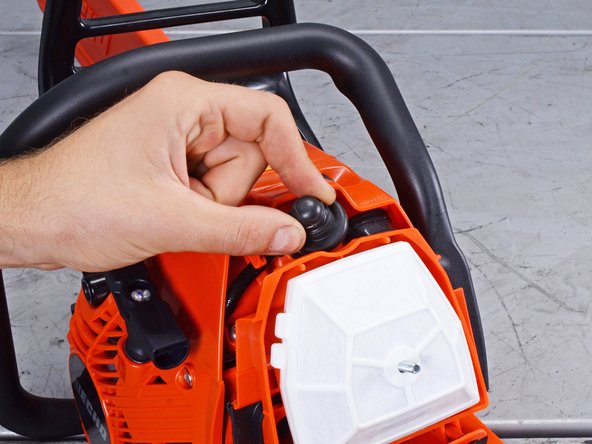
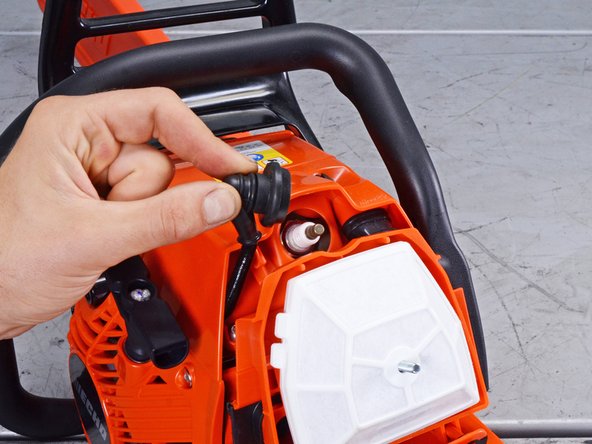
  4. Echo Chain Saw CS590 2019 Ignition Assembly Replacement, Disconnect the spark plug: step 4, image 1 of 3 Echo Chain Saw CS590 2019 Ignition Assembly Replacement, Disconnect the spark plug: step 4, image 2 of 3 Echo Chain Saw CS590 2019 Ignition Assembly Replacement, Disconnect the spark plug: step 4, image 3 of 3
    • Use your fingers to pull up and disconnect the spark plug boot.

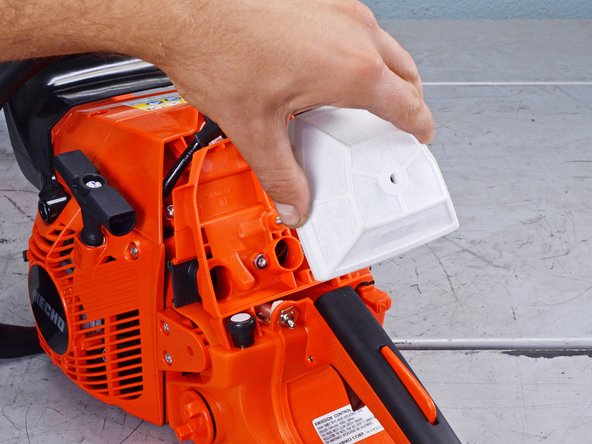
  5. Echo Chain Saw CS590 2019 Ignition Assembly Replacement, Remove the air filter: step 5, image 1 of 3 Echo Chain Saw CS590 2019 Ignition Assembly Replacement, Remove the air filter: step 5, image 2 of 3 Echo Chain Saw CS590 2019 Ignition Assembly Replacement, Remove the air filter: step 5, image 3 of 3
    • To minimize debris entering the intake, pull the choke shut before continuing.

    • Remove the air filter

    • During reassembly, clean the air filter with compressed air or with light brushing before reinstalling it.

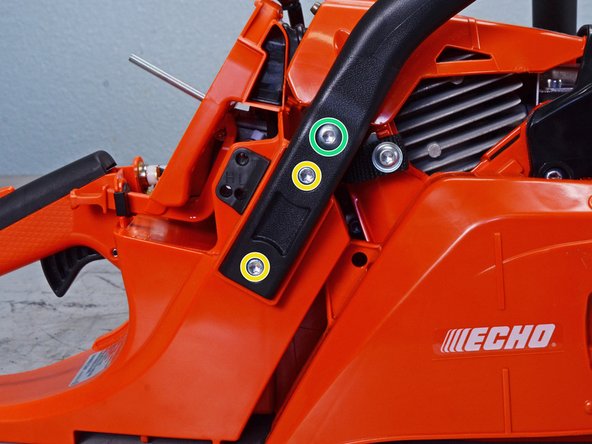
  6. Echo Chain Saw CS590 2019 Ignition Assembly Replacement, Unfasten the front handle: step 6, image 1 of 2 Echo Chain Saw CS590 2019 Ignition Assembly Replacement, Unfasten the front handle: step 6, image 2 of 2
    • Use a T25 Torx screwdriver to remove the five screws securing the front handle to the bottom and right side of the device:

    • Four 24 mm-long screws

    • One 25 mm-long screw

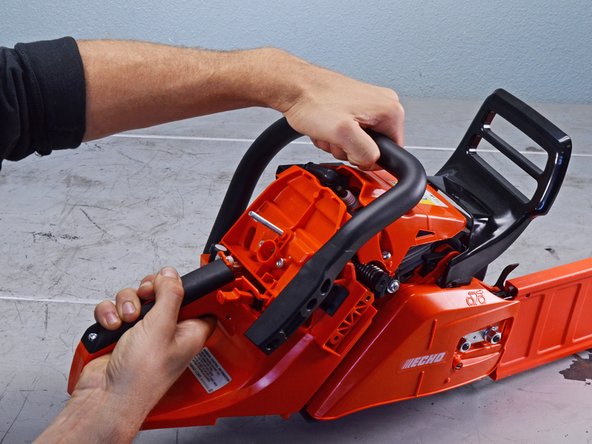
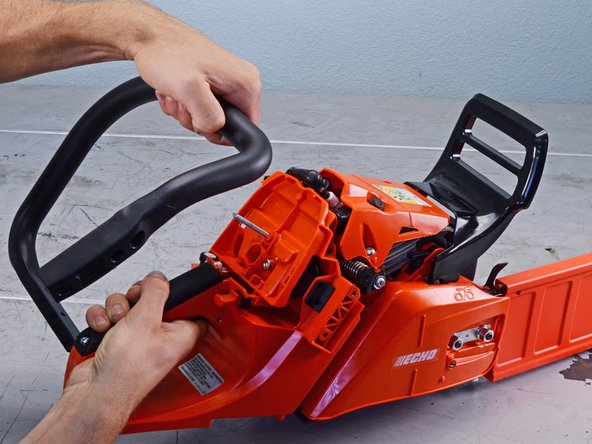
  7. Echo Chain Saw CS590 2019 Ignition Assembly Replacement, Remove the front handle: step 7, image 1 of 3 Echo Chain Saw CS590 2019 Ignition Assembly Replacement, Remove the front handle: step 7, image 2 of 3 Echo Chain Saw CS590 2019 Ignition Assembly Replacement, Remove the front handle: step 7, image 3 of 3
    • Pull the handle toward the rear of the device to remove it.

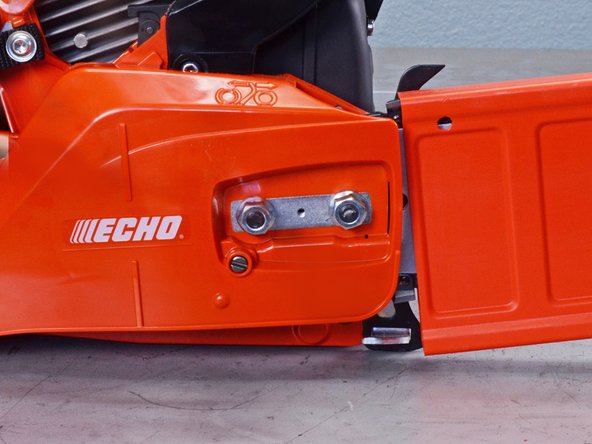
  8. Echo Chain Saw CS590 2019 Ignition Assembly Replacement, Remove the sprocket guard: step 8, image 1 of 2 Echo Chain Saw CS590 2019 Ignition Assembly Replacement, Remove the sprocket guard: step 8, image 2 of 2
    • Use a 13 mm wrench to remove the two nuts securing the sprocket guard.

  9. Echo Chain Saw CS590 2019 Ignition Assembly Replacement: step 9, image 1 of 3 Echo Chain Saw CS590 2019 Ignition Assembly Replacement: step 9, image 2 of 3 Echo Chain Saw CS590 2019 Ignition Assembly Replacement: step 9, image 3 of 3
    • Remove the sprocket guard.

  10. Echo Chain Saw CS590 2019 Ignition Assembly Replacement, Remove the guide bar: step 10, image 1 of 3 Echo Chain Saw CS590 2019 Ignition Assembly Replacement, Remove the guide bar: step 10, image 2 of 3 Echo Chain Saw CS590 2019 Ignition Assembly Replacement, Remove the guide bar: step 10, image 3 of 3
    • Push the guide bar towards the back of the device to create slack in the saw chain.

    • Pull the guide bar away from the device to separate the saw chain from the clutch drum.

    • Remove the guide bar.

  11. Echo Chain Saw CS590 2019 Ignition Assembly Replacement, Unfasten the front hand guard: step 11, image 1 of 2 Echo Chain Saw CS590 2019 Ignition Assembly Replacement, Unfasten the front hand guard: step 11, image 2 of 2
    • Make sure the front hand guard is in the unlocked position before continuing.

    • Use a T25 Torx screwdriver to remove the two 20 mm screws securing the front hand guard.

  12. Echo Chain Saw CS590 2019 Ignition Assembly Replacement, Remove the front hand guard: step 12, image 1 of 2 Echo Chain Saw CS590 2019 Ignition Assembly Replacement, Remove the front hand guard: step 12, image 2 of 2
    • Pull the front hand guard toward the rear of the device to remove it.

  13. Echo Chain Saw CS590 2019 Ignition Assembly Replacement, Unfasten the engine cover: step 13, image 1 of 2 Echo Chain Saw CS590 2019 Ignition Assembly Replacement, Unfasten the engine cover: step 13, image 2 of 2
    • Use a T25 Torx screwdriver to remove the three 20 mm screws securing the engine cover.

  14. Echo Chain Saw CS590 2019 Ignition Assembly Replacement, Remove the engine cover: step 14, image 1 of 3 Echo Chain Saw CS590 2019 Ignition Assembly Replacement, Remove the engine cover: step 14, image 2 of 3 Echo Chain Saw CS590 2019 Ignition Assembly Replacement, Remove the engine cover: step 14, image 3 of 3
    • Pull the engine cover straight off the device to remove it.

  15. Echo Chain Saw CS590 2019 Ignition Assembly Replacement, Unfasten the starter case: step 15, image 1 of 2 Echo Chain Saw CS590 2019 Ignition Assembly Replacement, Unfasten the starter case: step 15, image 2 of 2
    • Use a T25 Torx screwdriver to remove the four 24 mm screws securing the starter case.

  16. Echo Chain Saw CS590 2019 Ignition Assembly Replacement: step 16, image 1 of 3 Echo Chain Saw CS590 2019 Ignition Assembly Replacement: step 16, image 2 of 3 Echo Chain Saw CS590 2019 Ignition Assembly Replacement: step 16, image 3 of 3
    • Remove the starter case.

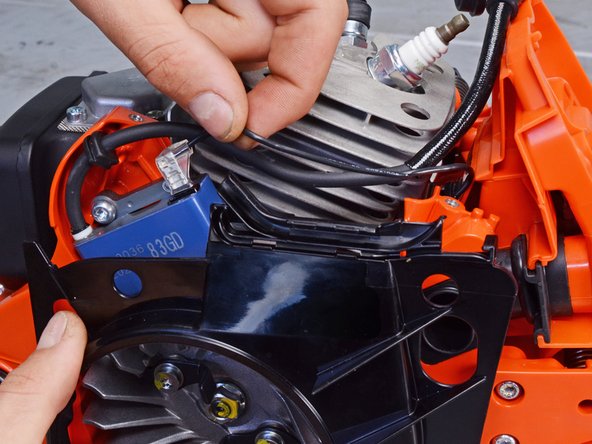
  17. Echo Chain Saw CS590 2019 Ignition Assembly Replacement, Reposition the spark plug cable: step 17, image 1 of 3 Echo Chain Saw CS590 2019 Ignition Assembly Replacement, Reposition the spark plug cable: step 17, image 2 of 3 Echo Chain Saw CS590 2019 Ignition Assembly Replacement, Reposition the spark plug cable: step 17, image 3 of 3
    • Use your fingers to reroute the spark plug cable from its slot in the fan cover.

  18. Echo Chain Saw CS590 2019 Ignition Assembly Replacement, Reposition the ignition coil cable: step 18, image 1 of 3 Echo Chain Saw CS590 2019 Ignition Assembly Replacement, Reposition the ignition coil cable: step 18, image 2 of 3 Echo Chain Saw CS590 2019 Ignition Assembly Replacement, Reposition the ignition coil cable: step 18, image 3 of 3
    • Use your fingers to reroute the ignition coil cable from its slot in the fan cover.

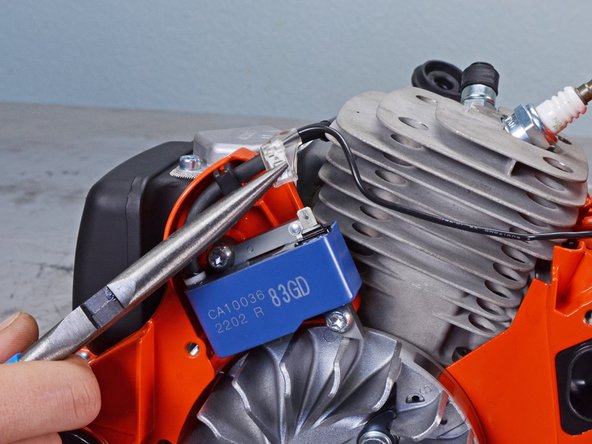
  19. Echo Chain Saw CS590 2019 Ignition Assembly Replacement, Disconnect the ignition coil: step 19, image 1 of 2 Echo Chain Saw CS590 2019 Ignition Assembly Replacement, Disconnect the ignition coil: step 19, image 2 of 2
    • Use pliers, or your fingers, to disconnect the ignition coil cable's spade connector.

    • Grip the connector by the base of the clear head and not the wire itself.

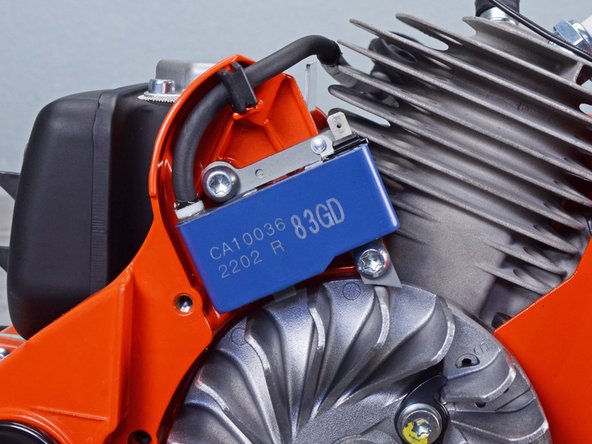
  20. Echo Chain Saw CS590 2019 Ignition Assembly Replacement, Unfasten the ignition coil: step 20, image 1 of 2 Echo Chain Saw CS590 2019 Ignition Assembly Replacement, Unfasten the ignition coil: step 20, image 2 of 2
    • Use a T25 Torx screwdriver to remove the two 20 mm screws securing the ignition coil.

    • During reassembly, insert the ignition air gap gauge to ensure a 0.35 mm space between the coil and the magnet.

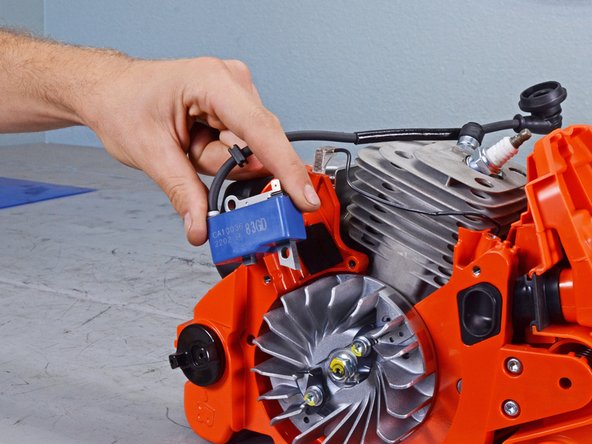
  21. Echo Chain Saw CS590 2019 Ignition Assembly Replacement, Remove the ignition coil: step 21, image 1 of 2 Echo Chain Saw CS590 2019 Ignition Assembly Replacement, Remove the ignition coil: step 21, image 2 of 2
    • Remove the ignition coil.

  22. Echo Chain Saw CS590 2019 Ignition Assembly Replacement, Remove the flange nut: step 22, image 1 of 2 Echo Chain Saw CS590 2019 Ignition Assembly Replacement, Remove the flange nut: step 22, image 2 of 2
    • Wedge a flathead screwdriver between the chassis and the flywheel's spokes to prevent the flywheel from spinning.

    • Alternatively, you can seize the piston by inserting a rope down the spark plug shaft.

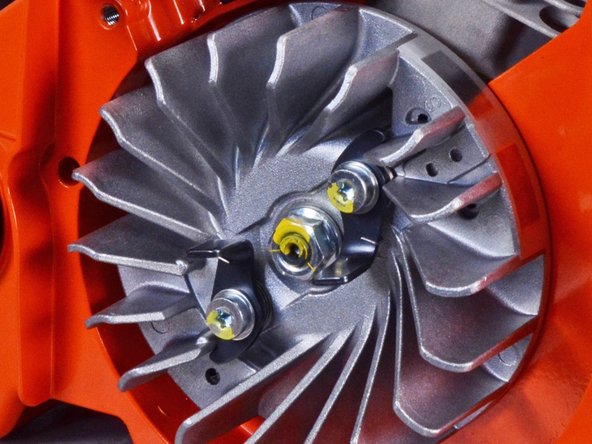
    • Use a 13 mm wrench to loosen and remove the flange nut located in the middle of the flywheel.

  23. Echo Chain Saw CS590 2019 Ignition Assembly Replacement, Unfasten the starter pawls: step 23, image 1 of 2 Echo Chain Saw CS590 2019 Ignition Assembly Replacement, Unfasten the starter pawls: step 23, image 2 of 2
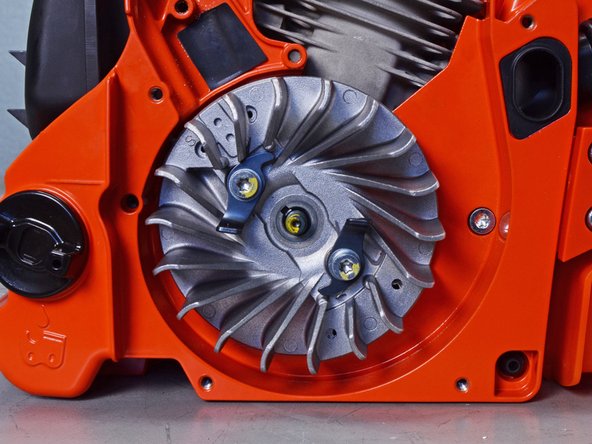
    • Use a T25 Torx screwdriver to remove the two 16 mm screws securing the starter pawls.

    • Remove the starter pawls.

  24. Echo Chain Saw CS590 2019 Ignition Assembly Replacement, Starter pawl assembly information: step 24, image 1 of 2 Echo Chain Saw CS590 2019 Ignition Assembly Replacement, Starter pawl assembly information: step 24, image 2 of 2
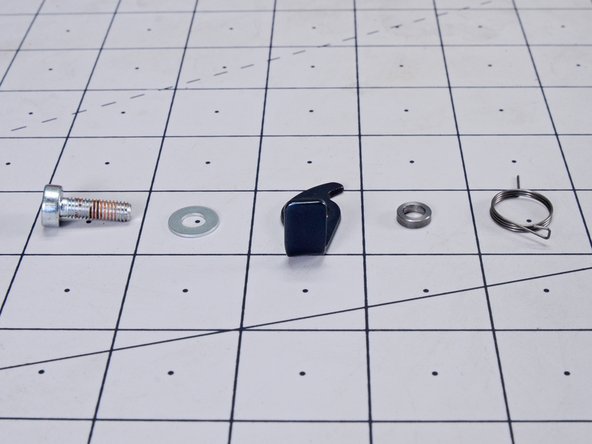
    • During reassembly, be sure to reinstall the starter pawl assembly top to bottom in the following order:

    • 16 mm screw

    • Washer

    • Starter Pawl

    • Spacer

    • Torsion Spring

  25. Echo Chain Saw CS590 2019 Ignition Assembly Replacement, Unfasten the flywheel: step 25, image 1 of 2 Echo Chain Saw CS590 2019 Ignition Assembly Replacement, Unfasten the flywheel: step 25, image 2 of 2
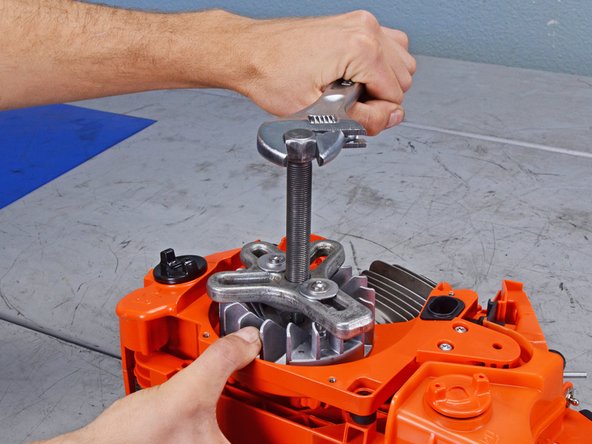
    • Use a flywheel puller to disconnect the flywheel from the woodruff key.

  26. Echo Chain Saw CS590 2019 Ignition Assembly Replacement, Remove the flywheel: step 26, image 1 of 3 Echo Chain Saw CS590 2019 Ignition Assembly Replacement, Remove the flywheel: step 26, image 2 of 3 Echo Chain Saw CS590 2019 Ignition Assembly Replacement, Remove the flywheel: step 26, image 3 of 3
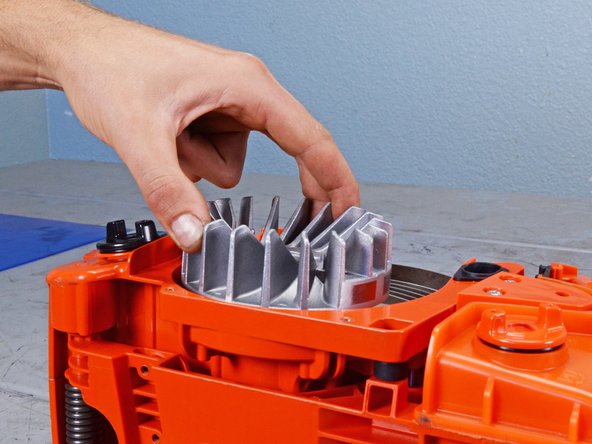
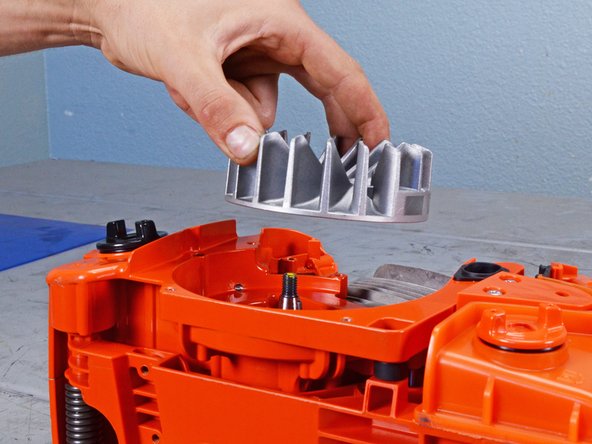
    • Pull the flywheel straight off of the crankshaft and remove it.

  27. Echo Chain Saw CS590 2019 Ignition Assembly Replacement, Remove the woodruff key: step 27, image 1 of 2 Echo Chain Saw CS590 2019 Ignition Assembly Replacement, Remove the woodruff key: step 27, image 2 of 2
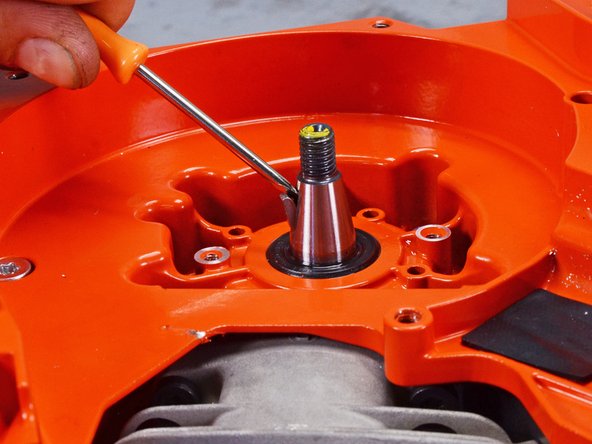
    • Insert a flathead screwdriver into the gap at the top of the woodruff key.

    • Pry with the screwdriver to separate the key from the crankshaft.

  28. Echo Chain Saw CS590 2019 Ignition Assembly Replacement: step 28, image 1 of 1
    • Use pliers, or your fingers, to remove the woodruff key.

    • During reassembly, be sure to reinsert the woodruff key with the flat side facing outward.

Conclusion

To reassemble your device, follow these instructions in reverse order.

One other person completed this guide.

Alex Diaz-Kokaisl

Member since: 01/16/22

125,789 Reputation

592 Guides authored

Team

iFixit Member of iFixit

Staff

137 Members

17,524 Guides authored

0 Comments

Add Comment

View Statistics:

Past 24 Hours: 3

Past 7 Days: 16

Past 30 Days: 76

All Time: 762