EVGA x17 Disassembly and Cleaning

What you need

  1. EVGA x17 Disassembly and Cleaning, Mouse: step 1, image 1 of 1
    • Remove the mouse skates to reveal 5 screws.

  2. EVGA x17 Disassembly and Cleaning: step 2, image 1 of 1
    • Use a Phillips #00 screwdriver to remove the 5 screws that secure the bottom panel

  3. EVGA x17 Disassembly and Cleaning: step 3, image 1 of 1
    • Remove the weight chamber cover and clean with a Q-tip or soft fabric.

  4. EVGA x17 Disassembly and Cleaning: step 4, image 1 of 1
    • Slowly slide a spudger into and around the bottom of the panel, prying until a "popping" sound is heard.

    • Use a Q-tip or soft fabric to clean the bottom panel.

  5. EVGA x17 Disassembly and Cleaning: step 5, image 1 of 1
    • Remove the 13 screws on the interior.

    • There are 2 Phillips truss-head tapping screws, large circular heads, and the 11 Phillips screws from the interior.

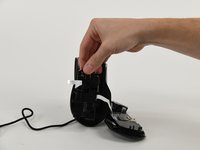
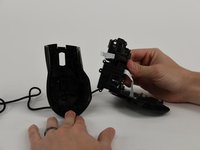
  6. EVGA x17 Disassembly and Cleaning: step 6, image 1 of 2 EVGA x17 Disassembly and Cleaning: step 6, image 2 of 2
    • Once all screws are removed, carefully slide the middle section out and clean with a Q–tip or soft fabric.

    • Clean the top panel with a Q-tip or soft fabric.

    • Optional: you can remove clickers as well and clean them.

    • Remove the smaller sized cross head screws from the piece labeled A29N001-C V1.0 RU 94V-0. Remove truss head tapping screws from the side of the mouse wheel.

    • Remove 4 screws from the piece labeled AZAC001-A V1.0.

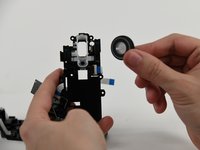
  7. EVGA x17 Disassembly and Cleaning: step 8, image 1 of 1
    • Pull transistor from the side of the mouse wheel.

  8. EVGA x17 Disassembly and Cleaning: step 9, image 1 of 1
    • Carefully slide a spudger between the opaque plastic that holds the scroll wheel in place.

    • Pry the plastic away from the wheel, allowing for the scroll wheel to be removed.

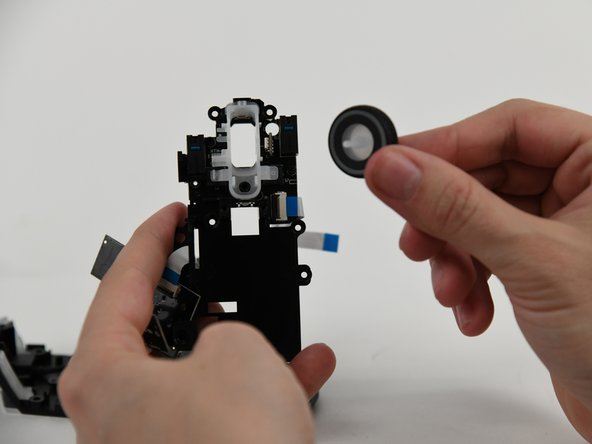
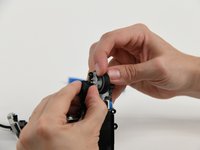
  9. EVGA x17 Disassembly and Cleaning: step 10, image 1 of 2 EVGA x17 Disassembly and Cleaning: step 10, image 2 of 2
    • Remove the scroll wheel cover and replace plastic wheel (or cover if that appears to be the issue.) Clean both with Q-tip or soft fabric.

Conclusion

To reassemble your device, follow these instructions in reverse order.

Melanie

Member since: 09/11/23

181 Reputation

1 Guide authored

0 Comments

Add Comment

View Statistics:

Past 24 Hours: 4

Past 7 Days: 10

Past 30 Days: 114

All Time: 588