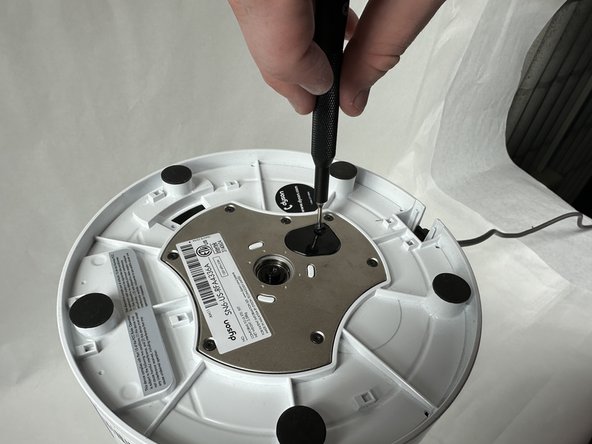
Dyson Pure Cool AM11 Power Cord Replacement

What you need

  1. Dyson Pure Cool AM11 Power Cord Replacement, Power Cord: step 1, image 1 of 2 Dyson Pure Cool AM11 Power Cord Replacement, Power Cord: step 1, image 2 of 2
    • Using a Phillips screwdriver, carefully remove the screws securing the base.

  2. Dyson Pure Cool AM11 Power Cord Replacement: step 2, image 1 of 2 Dyson Pure Cool AM11 Power Cord Replacement: step 2, image 2 of 2
    • Gently pry open the base.

    • Be cautious not to apply too much force.

  3. Dyson Pure Cool AM11 Power Cord Replacement: step 3, image 1 of 1
    • Inside the base, you'll find the power cord connected to the motherboard.

  4. Dyson Pure Cool AM11 Power Cord Replacement: step 4, image 1 of 2 Dyson Pure Cool AM11 Power Cord Replacement: step 4, image 2 of 2
    • Place the base back onto the device. Make sure it fits snugly.

    • Reinsert the previously removed screws and tighten them using the Phillips #00 screwdriver. Ensure they are tight, but do not over-tighten as this can damage the plastic.

    • Turn on your Dyson Pure Cool AM11 to ensure it's functioning correctly.

Finish Line

Zepei

Member since: 11/01/23

255 Reputation

2 Guides authored

Team

0 Comments

Add Comment

View Statistics:

Past 24 Hours: 0

Past 7 Days: 5

Past 30 Days: 29

All Time: 94