Free Shipping on Domestic Orders $75+

Dyson DC39 Origin Replacement

What you need

    1. Dyson DC39 Origin  Replacement, Bin: step 1, image 1 of 3 Dyson DC39 Origin  Replacement, Bin: step 1, image 2 of 3 Dyson DC39 Origin  Replacement, Bin: step 1, image 3 of 3
      • Push down on the gray button located next to the power button to release the bin from the ball housing.

      • Pull the bin away, then up from the ball housing to remove it.

      • If the bin won't fit back into place during re-assembly, you may need to push the grey button again.

      Ask FixBot

      Add Comment

    1. Dyson DC39 Origin  Replacement, Steering Assembly: step 2, image 1 of 3 Dyson DC39 Origin  Replacement, Steering Assembly: step 2, image 2 of 3 Dyson DC39 Origin  Replacement, Steering Assembly: step 2, image 3 of 3
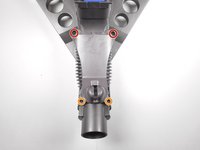
      • Place the ball housing on its side and orient it so that the underside of the steering assembly is facing you.

      • Remove the four 18.0 mm Torx 15 screws.

      Ask FixBot

      Add Comment

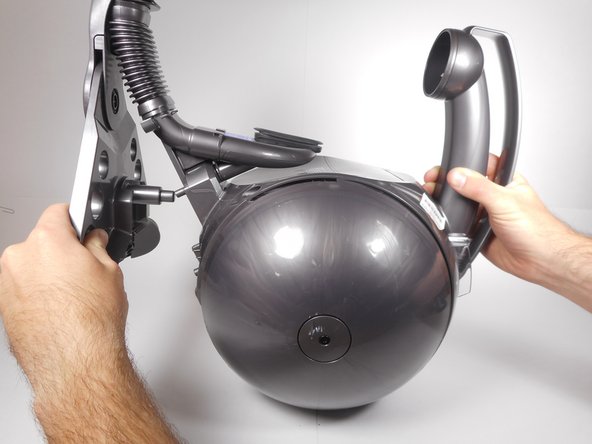
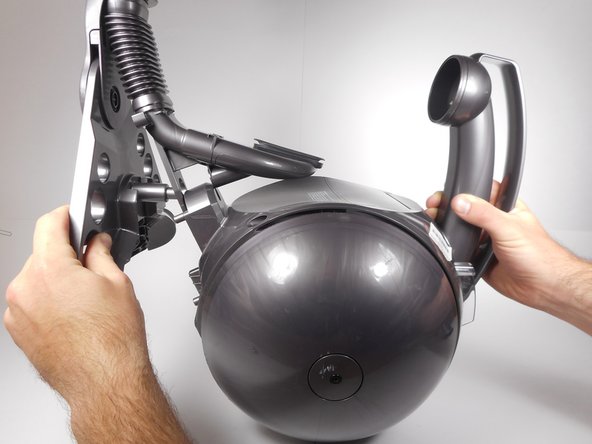
    2. Dyson DC39 Origin  Replacement: step 3, image 1 of 3 Dyson DC39 Origin  Replacement: step 3, image 2 of 3 Dyson DC39 Origin  Replacement: step 3, image 3 of 3
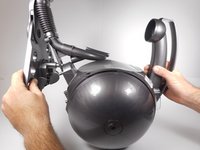
      • Using two hands, hold the ball housing with the handle in one hand and the steering assembly base in the other.

      • Hold the steering assembly base near one of the wheels.

      • Pull the steering assembly base directly away from the ball housing. You should notice a pin release.

      • Push up on the steering assembly to remove it completely from the ball housing.

      • During reassembly, slide the steering assembly in first, then push the pin back into its locking position.

      Ask FixBot

      Add Comment

    1. Dyson DC39 Origin  Replacement, Inlet Hose: step 4, image 1 of 2 Dyson DC39 Origin  Replacement, Inlet Hose: step 4, image 2 of 2
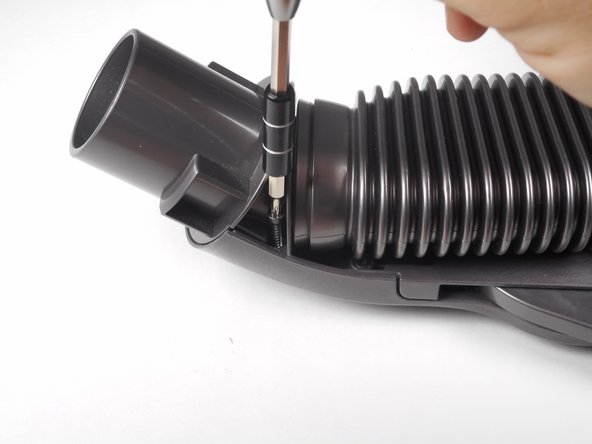
      • Remove the two 17.8 mm Phillips #2 screws located in the top of the inlet hose bracket.

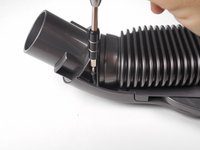
      • Remove the two 13.7 mm Torx 8 screws located at the opposite end of the inlet hose.

      • The Torx 8 screws are located at an odd angle. Be sure the screwdriver is secure to prevent stripping the screws.

      Ask FixBot

      Add Comment

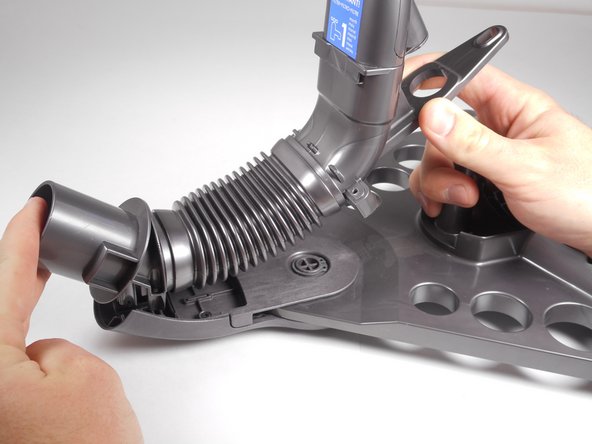
    2. Dyson DC39 Origin  Replacement: step 5, image 1 of 2 Dyson DC39 Origin  Replacement: step 5, image 2 of 2
      • Pull the inlet hose straight up from the steering assembly.

      • The inlet hose 'snaps' out of its position, so you may have to apply a little extra force while pulling.

      Ask FixBot

      Add Comment

Conclusion

To reassemble your device, follow these instructions in reverse order.

Cancel: I did not complete this guide.

6 other people completed this guide.

Michael Hutcheson

Member since: 04/26/17

330 Reputation

2 Guides authored

Team

Cal Poly, Team S23-G6, Livingston Spring 2017 Member of Cal Poly, Team S23-G6, Livingston Spring 2017

CPSU-LIVINGSTON-S17S23G6

3 Members

72 Guides authored

2 Guide Comments

Really clear instructions - thank you

collette - Reply Share

Can’t thank you enough Michael! Manage to pull out a huge ball of hair stuck with a small pencil and curly hair band after dissemble the lower parts. It allow the hose to bend and me wiggle and pull them out. Would’ve post the photo of what was stuck inside if this platform allow.

Danniel Loh - Reply Share

Add Comment

View Statistics:

Past 24 Hours: 6

Past 7 Days: 22

Past 30 Days: 92

All Time: 4,945