Introduction
Cleaning your optical drive is standard maintenance especially if your movies wont play. Here is how you get to it and clean it properly.
What you need
-
-
Remove the four 5mm Phillips #1 screws that connect the black outer shell to the silver back of the device.
-
-
-
-
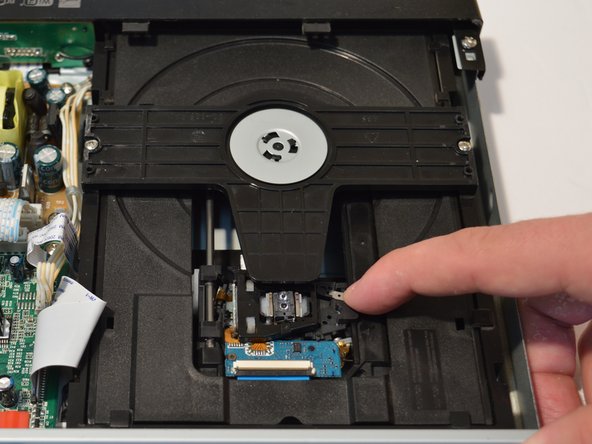
To access the optical lens, pull back the optical drive as shown in the pictures located on the two metal rails.
-


To reassemble your device, follow these instructions in reverse order.
To reassemble your device, follow these instructions in reverse order.
Cancel: I did not complete this guide.
3 other people completed this guide.
Team

Linn Benton Community College, Team S1-G2, Johnson Spring 2018 Member of Linn Benton Community College, Team S1-G2, Johnson Spring 2018
LBCC-JOHNSON-S18S1G2
4 Members
6 Guides authored